 Save
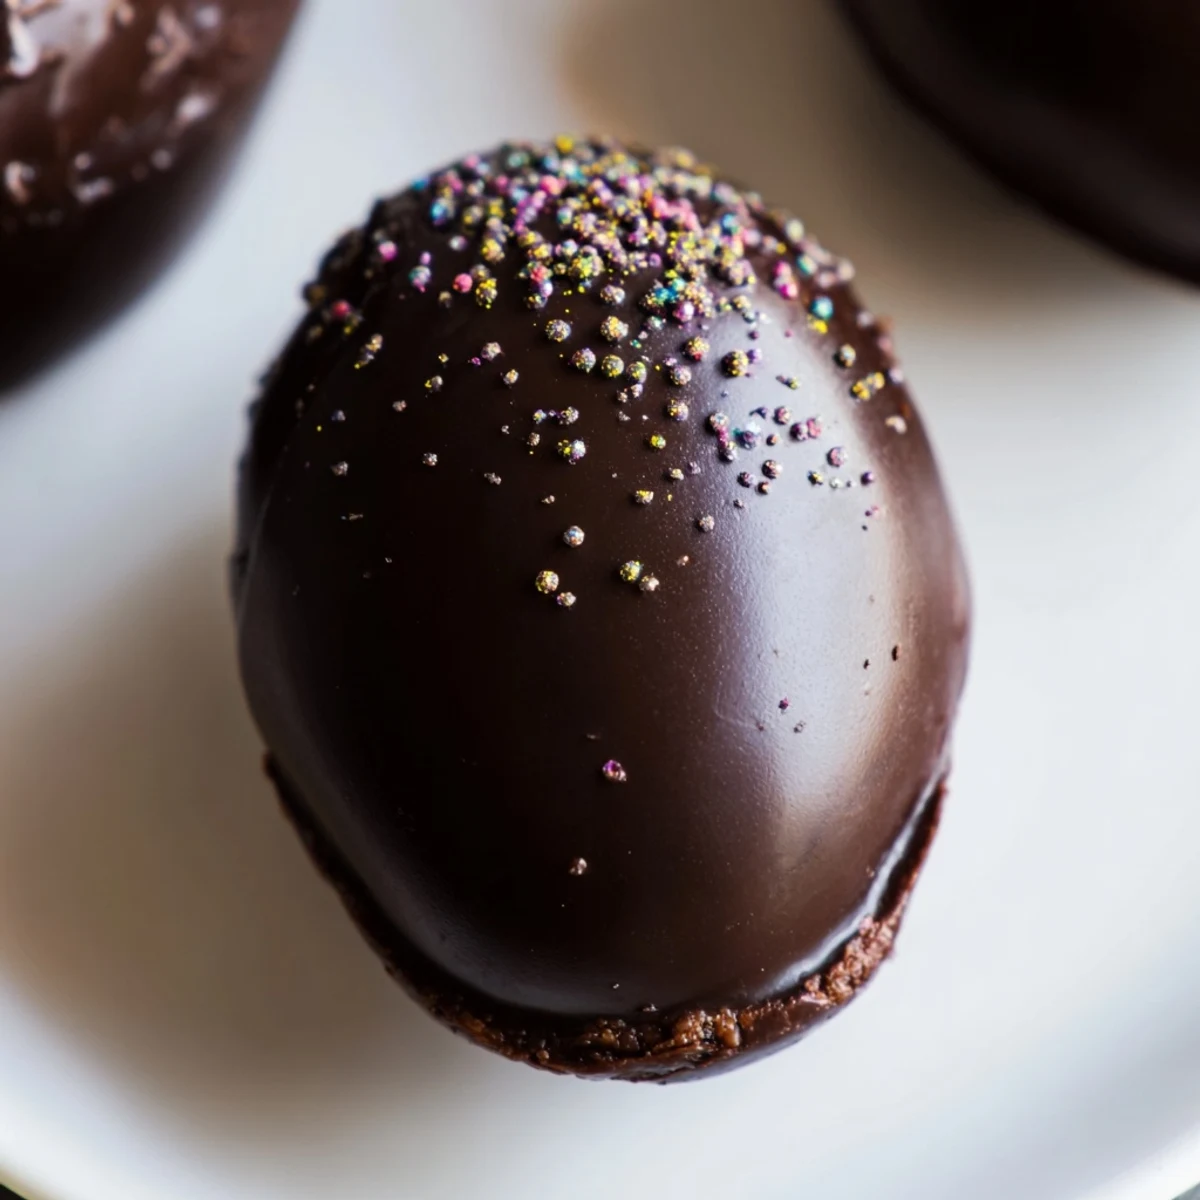
Save These delightful egg-shaped treats combine the classic Oreo and cream cheese pairing everyone loves, shaped into festive Easter eggs and dipped in smooth chocolate. The no-bake method makes them perfect for busy spring schedules, while the simple ingredients create an irresistible creamy center. Kids love helping decorate with colorful sprinkles and candy melts, making these ideal for family baking time. Chill until firm for easy dipping, then let your creativity shine with Easter-themed decorations. Store chilled for up to a week—their rich texture only improves after a day in the refrigerator.
My kitchen counter looked like a pastel explosion last April when I decided these egg-shaped truffles would be the perfect addition to our family gathering. I got a little carried away with the sprinkles and edible glitter, but honestly, the mess was worth it when I saw my niece reaching for her third one. There is something deeply satisfying about transforming simple sandwich cookies into something that looks fancy enough for a bakery display.
Last year I made a double batch because my neighbor mentioned she was hosting her first Easter dinner and feeling overwhelmed. I showed up with a platter of these colorful eggs and watched her face relax as she realized she had one impressive dessert checked off her list. Now she texts me every March asking for the recipe, claiming her family has already started their requests.
Ingredients
- 36 Oreo cookies: One standard package gives you exactly the right amount, though I have used Double Stuf in a pinch and the results are even more decadent
- 8 oz cream cheese, softened: Room temperature is crucial here as cold cream cheese creates lumps that refuse to blend smoothly
- 12 oz semi-sweet or white chocolate: Chopping bars into even pieces melts more consistently than chips, which sometimes seize unexpectedly
- Colored candy melts: These transform simple coated eggs into festive Easter decorations that look almost too pretty to eat
- Sprinkles or edible glitter: Apply immediately after dipping or the chocolate will set and nothing will stick to the surface
Instructions
- Prepare your workspace:
- Line a baking sheet with parchment paper before you start as the mixture becomes too sticky to handle once you begin shaping
- Crush the cookies:
- Pulse the entire Oreos, filling included, until they resemble fine sand without any large chunks remaining
- Make the dough:
- Add the softened cream cheese and blend until the mixture holds together when squeezed, scraping the bowl midway to ensure even incorporation
- Shape into eggs:
- Scoop tablespoon portions and gently roll into oval egg shapes, placing them on the prepared sheet as you work
- Chill thoroughly:
- Freeze for 30 minutes until firm to the touch, as warm centers will cause the chocolate coating to slide right off during dipping
- Melt the chocolate:
- Heat in 20-second intervals, stirring between each, until completely smooth and glossy, being careful not to overheat
- Coat the eggs:
- Dip each chilled egg using a fork, tapping gently to remove excess chocolate, then return to the lined sheet
- Add decorations:
- Drizzle with colored melts or sprinkle immediately while the chocolate is still wet and tacky
- Set completely:
- Refrigerate for at least 15 minutes until the coating is firm and no longer soft to the touch
 Save
Save My sister started making these every year after I brought them to her Easter brunch, and now her children insist on being the official decorators. The three of them sit around the kitchen table with bowls of sprinkles, each egg becoming more elaborate than the last. It has become their holiday tradition and honestly, the messy countertop and sugary fingerprints are part of the charm.
Making Them Ahead
I learned through experience that these freeze beautifully for up to a month, layered between parchment paper in an airtight container. Thaw them overnight in the refrigerator before serving to prevent condensation from forming on the chocolate surface. This has saved me more than once when holiday preparations start feeling overwhelming.
Flavor Variations
Golden Oreos create a vanilla version that pairs beautifully with white chocolate coating. Mint Oreos transform these into thin mint truffles that disappear faster than any other variation I have tried. Peanut butter Oreos with milk chocolate coating taste remarkably like a beloved peanut butter cup.
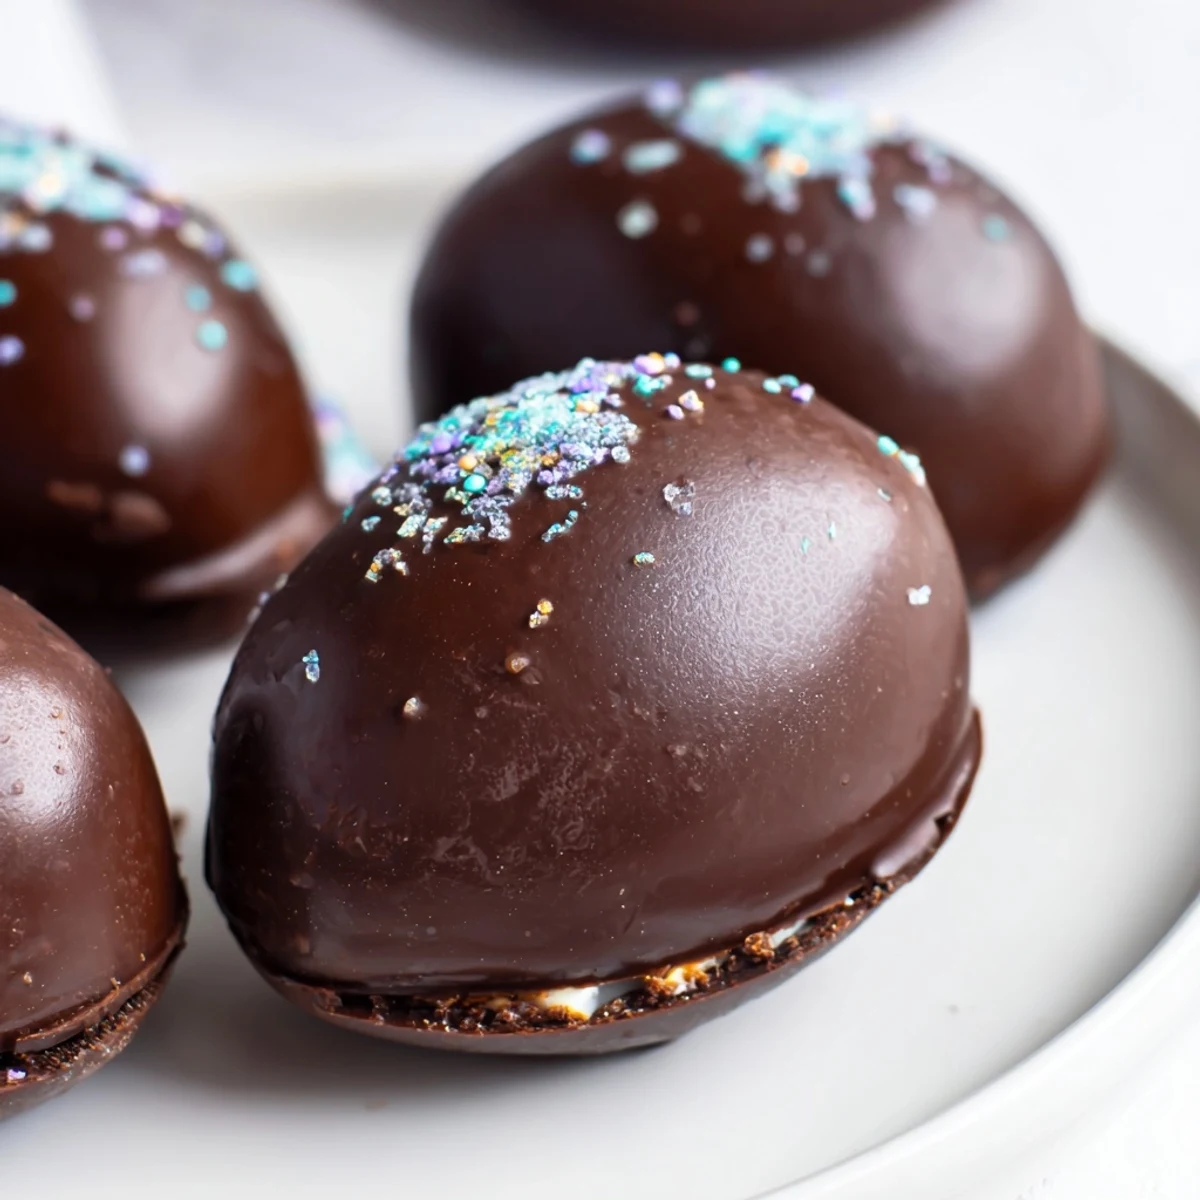
Decoration Ideas That Work
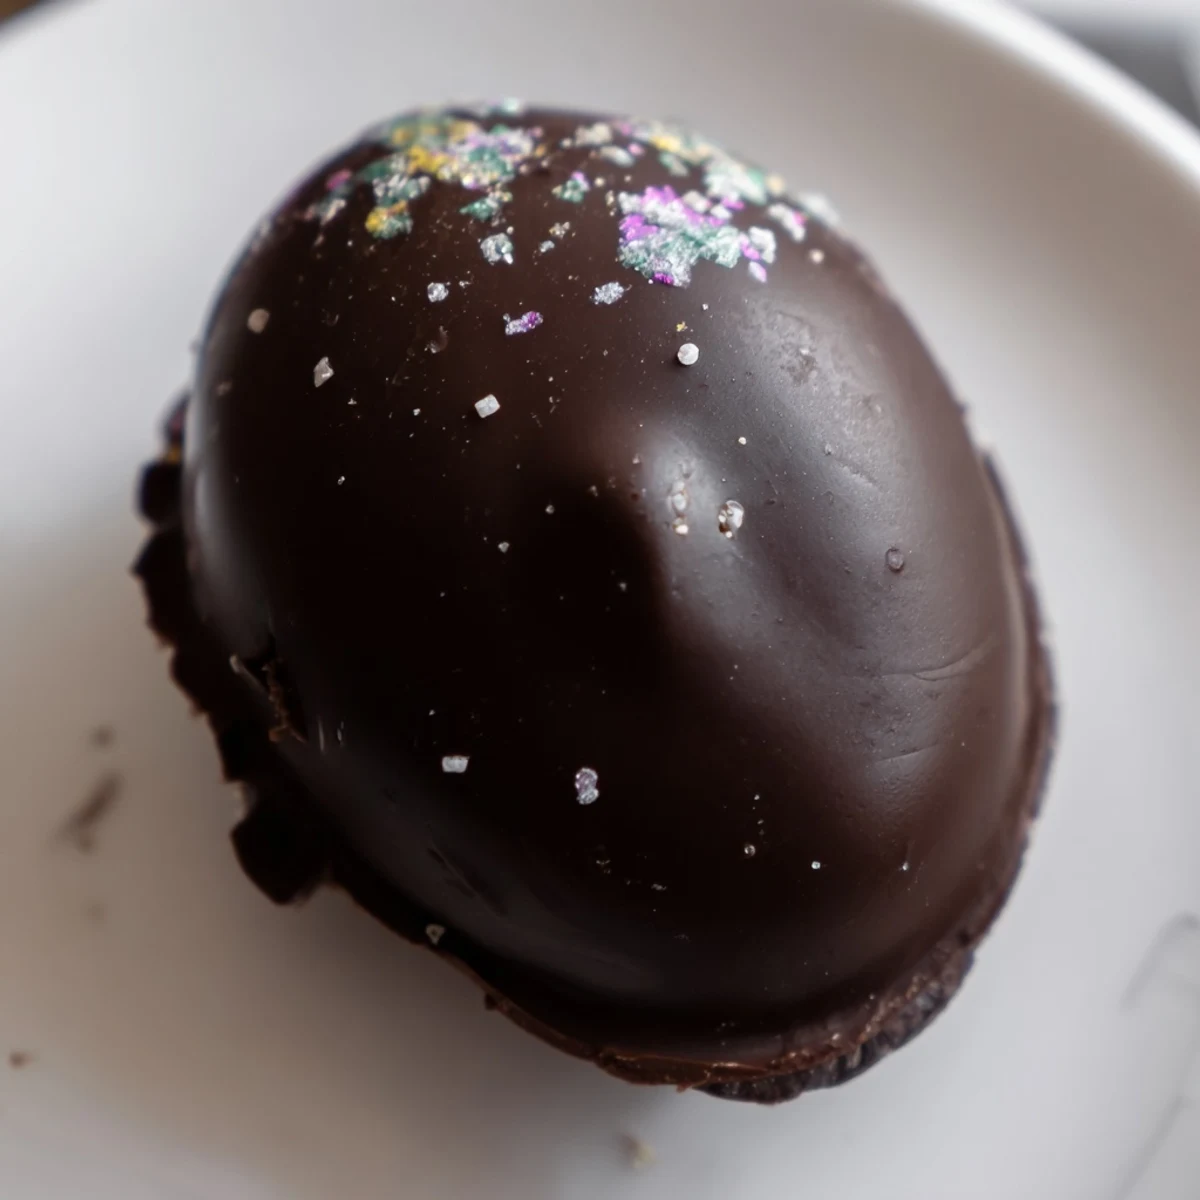
Drizzling contrasting colors creates a professional look without requiring steady hands or artistic talent. Simple pastel sprinkles feel more elegant than bold primary colors for spring celebrations. Edible pearl dust adds a subtle shimmer that catches light beautifully on a dessert table.
- Work quickly once you start dipping as chocolate begins setting within minutes
- Keep a fork and a toothpick handy for moving eggs without leaving fingerprints
- Set your decorating station up before melting any chocolate to avoid panic
 Save
Save These little egg-shaped treats have become one of those recipes I can make without even measuring anymore, their appearance signaling that spring has truly arrived. Hope they bring some colorful joy to your table too.
Recipe FAQs
- → How long do Oreo balls need to chill before dipping?
-
Freeze the shaped Oreo eggs for 30 minutes until firm. This prevents them from falling apart when dipped in warm chocolate and ensures a smooth coating.
- → Can I use different types of cookies?
-
Golden Oreos work wonderfully for a lighter vanilla version. You can also try sandwich cookies or chocolate wafers, though texture may vary slightly.
- → What's the best way to melt the chocolate coating?
-
Melt chocolate in a microwave-safe bowl in 20-second intervals, stirring between each. This prevents scorching and ensures smooth, evenly melted chocolate for dipping.
- → How should I store these Easter treats?
-
Keep in an airtight container in the refrigerator for up to one week. The cold temperature helps maintain the coating's shine and the creamy center's texture.
- → Can I make these ahead for Easter gatherings?
-
Absolutely! These actually taste better after a day or two in the refrigerator as flavors meld. Prepare them 2-3 days before your event for stress-free hosting.
