 Save
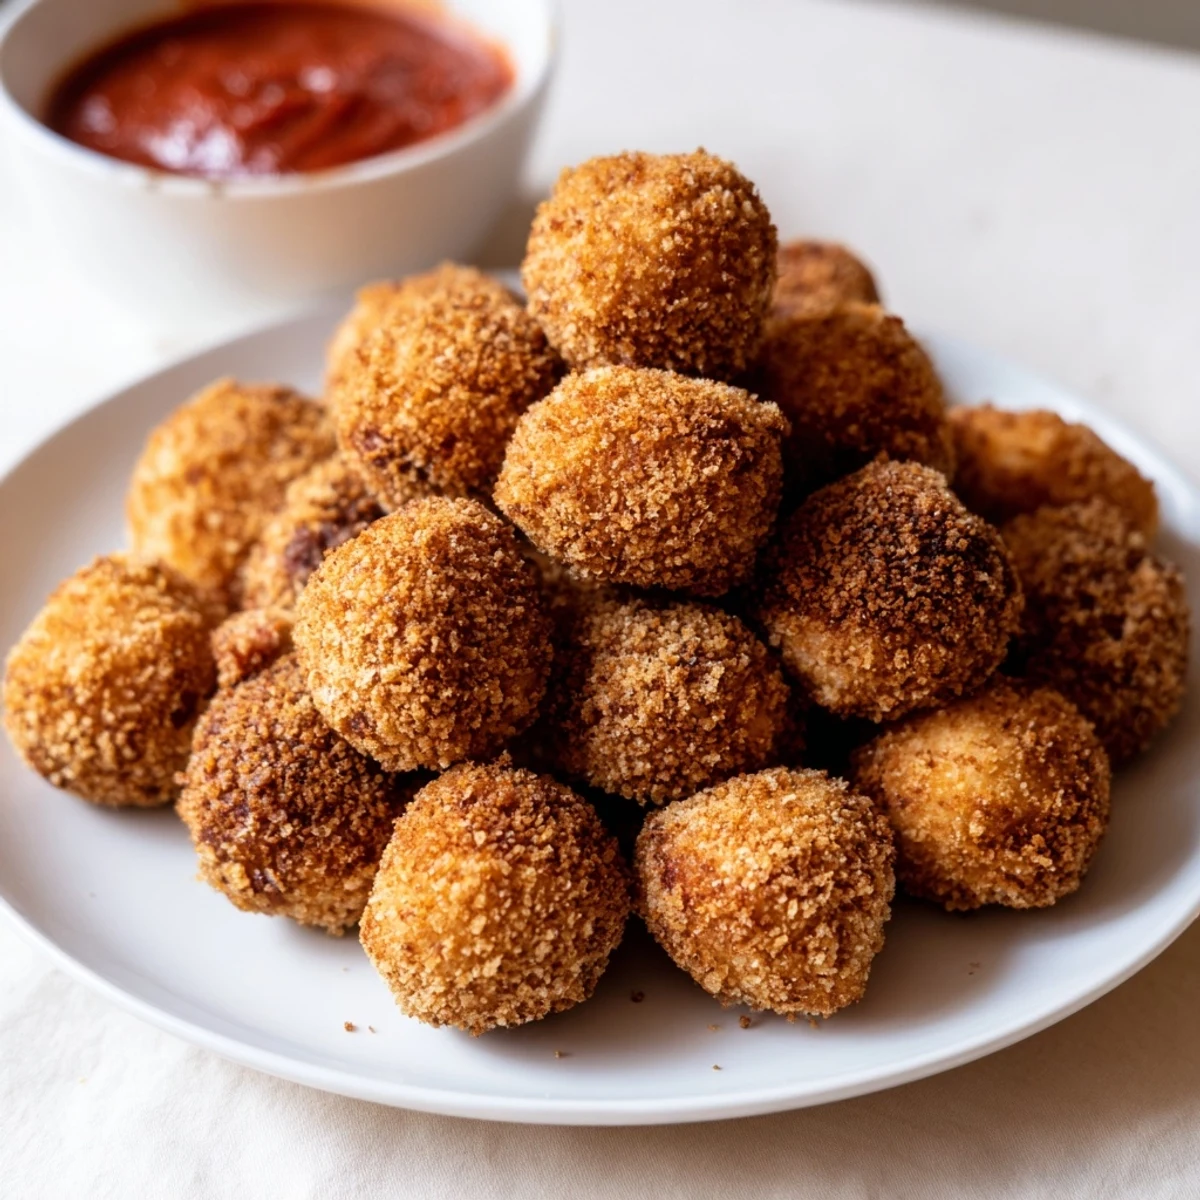
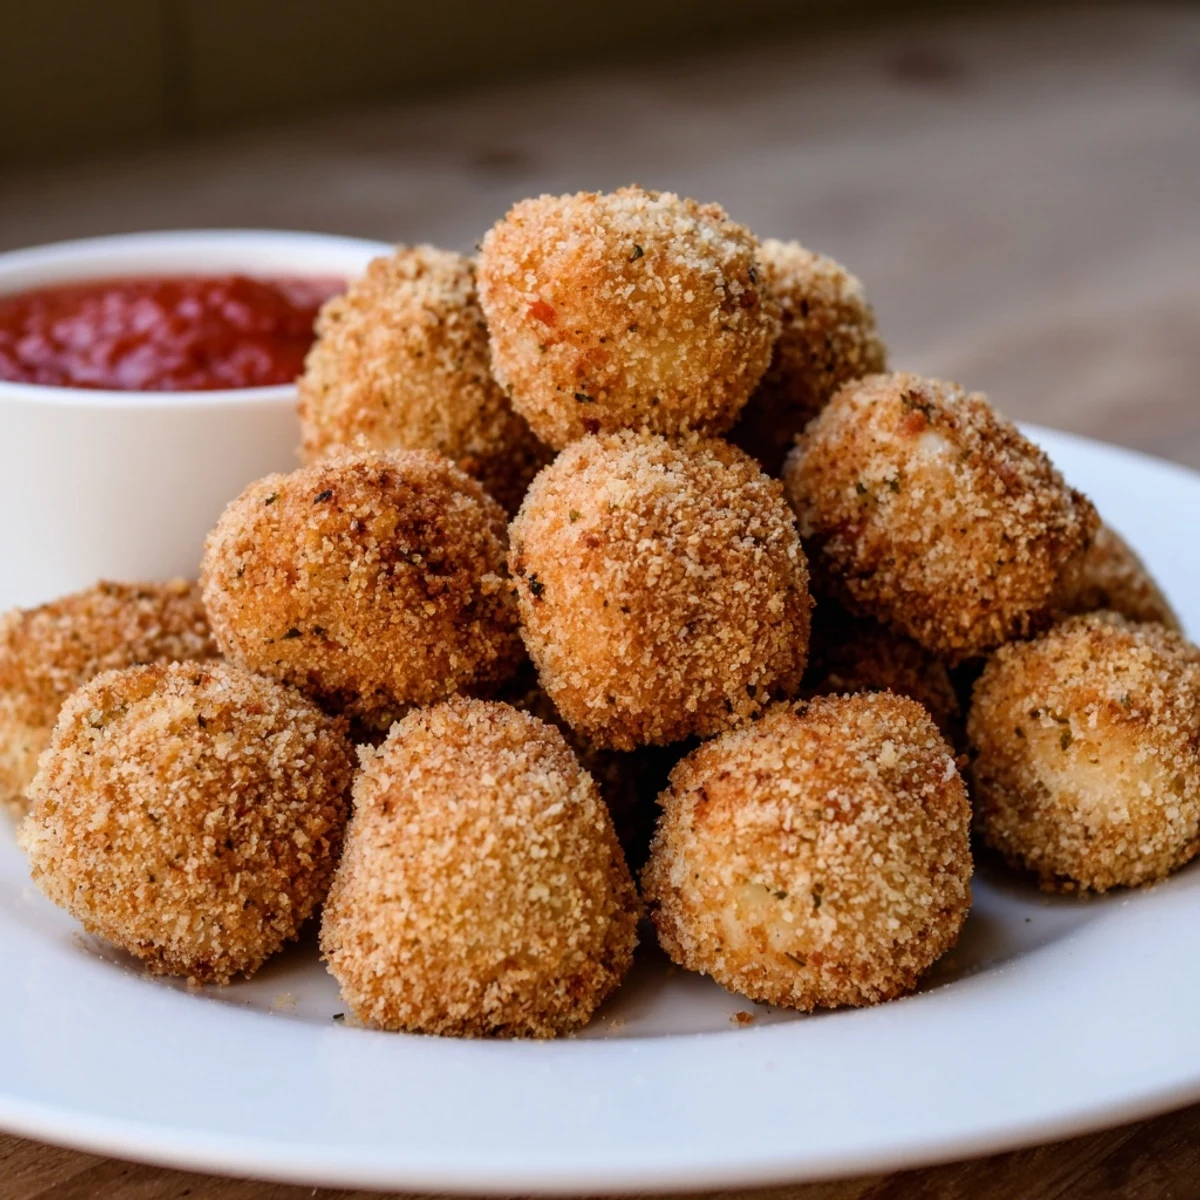
Save These golden mozzarella cheese balls feature a perfectly crispy exterior with irresistibly gooey melted cheese inside. The three-step breading process—flour, egg, and seasoned breadcrumbs—creates that satisfying crunch while sealing in the mozzarella. A quick 10-minute chill before frying helps the coating set properly, preventing cheese leakage during cooking. Double breading is the secret to extra crunch, while the optional Italian herbs and garlic powder add layers of flavor.
Frying at 175°C ensures even golden browning without overcooking the cheese. Each bite-sized ball delivers that perfect pull-apart cheese experience. They're ideal for parties, game days, or as an indulgent snack. Pair with classic marinara, creamy aioli, or cool ranch dip for the complete appetizer experience.
The first time I made mozzarella cheese balls, I was hosting last minute dinner guests and raided my fridge for anything that could pass as an appetizer. Those golden crispy spheres disappeared faster than anything else on the table, with people reaching for seconds before I had even finished frying the batch.
Last Super Bowl, I made three batches because my brother kept eating them straight from the cooling rack while insisting he was just quality control. The oil was still hot when we ran out completely, and nobody even noticed the actual main dish.
Ingredients
- Mozzarella cheese: Cut into exactly 2 cm cubes so they cook through evenly and stay contained inside that crispy coating
- All purpose flour: The base layer that helps everything else stick, so season it generously
- Large eggs: Beat them thoroughly until no whites are visible for the smoothest coating
- Panko breadcrumbs: These create that restaurant style crunch that regular crumbs just cannot achieve
- Italian herbs and garlic powder: Optional but they add such a fragrant savory note to the breading
- Salt and black pepper: Essential since the cheese is mild and needs seasoning support
- Vegetable oil: Use something neutral with a high smoke point like canola or peanut oil
Instructions
- Set up your breading station:
- Arrange three shallow bowls in order flour mixed with all seasonings, beaten eggs, then breadcrumbs so you can work efficiently without making a mess
- Prep the cheese:
- Pat each mozzarella cube completely dry with paper towels because any moisture will make the breading slide right off during frying
- Start the coating process:
- Roll each cube in flour first, tapping off excess, then dip in egg, and finally press firmly into breadcrumbs to coat thoroughly
- Double coat for extra crunch:
- Go back through the egg and breadcrumb steps again for that restaurant style thick shell that will not break apart
- Chill before frying:
- Place all breaded balls on a tray and refrigerate for at least 10 minutes because cold cheese takes longer to melt and gives you more wiggle room
- Heat your oil:
- Bring vegetable oil to exactly 175C or 350F and use a thermometer because guessing temperature is how you end up with soggy or burnt balls
- Fry in batches:
- Cook only a few at a time for 1 to 2 minutes until golden brown, then immediately transfer to paper towels to drain
 Save
Save My youngest daughter helped me make these once and accidentally discovered that triple coating makes them impossibly crunchy. Now she insists on being the official breader whenever they are on the menu.
Mastering the Perfect Fry
Temperature control is everything when frying cheese. I keep an instant read thermometer clipped to the side of my pot because even a 10 degree drop can mean the difference between perfectly crisp and sadly soggy. If your oil starts smoking, it is too hot and will burn the exterior before the cheese even begins to melt.
Sauce Pairings That Work
Classic marinara is the obvious choice, but a spicy arrabbiata sauce adds such a nice kick. I have also served these with garlic aioli, honey mustard, and even a quick balsamic glaze that cuts through all that richness.
Make Ahead Strategy
You can bread these completely up to 6 hours before frying and keep them refrigerated on a parchment lined tray. Just let them sit at room temperature for about 15 minutes before they hit the hot oil.
- Crowd the pan and the oil temperature will plummet, ruining everything
- Double check that every cube is completely coated or cheese will escape
- Have your serving platter ready because these wait for no one
 Save
Save These have saved me so many times when unexpected guests show up and I need something that feels special but comes together fast. Everyone assumes you spent hours on them.
Recipe FAQs
- → How do I prevent the cheese from leaking during frying?
-
Ensure your mozzarella cubes are patted completely dry before breading. Double coating with egg and breadcrumbs creates an extra seal. Refrigerating for at least 10 minutes before frying helps the coating set properly, keeping the cheese contained while it melts.
- → Can I bake these instead of frying?
-
Yes, though the texture won't be quite as crispy. Preheat your oven to 200°C (400°F) and arrange the breaded balls on a parchment-lined baking sheet. Lightly spray with cooking oil and bake for 12-15 minutes, turning halfway through, until golden and heated through.
- → What's the best oil temperature for frying?
-
Maintain your oil at 175°C (350°F) for optimal results. Too cool and the coating absorbs excess oil; too hot and the exterior burns before the cheese melts. Use a kitchen thermometer to monitor temperature consistently between batches.
- → Can I prepare these in advance?
-
Absolutely. You can bread the mozzarella cubes up to 24 hours ahead. Store them layered between parchment paper in an airtight container in the refrigerator. Fry just before serving—they're best enjoyed immediately while hot and crispy.
- → What dipping sauces work best?
-
Classic marinara is the traditional choice, balancing the rich cheese with acidity. Aioli adds creamy garlic notes, while ranch provides cool contrast. For something different, try spicy arrabbiata sauce, pesto, or even a balsamic glaze for sweetness.
- → How do I make these gluten-free?
-
Replace all-purpose flour with a 1:1 gluten-free flour blend and use certified gluten-free breadcrumbs. Panko-style gluten-free crumbs work exceptionally well for maintaining that desired crunch. All other ingredients naturally fit gluten-free dietary needs.
