 Save
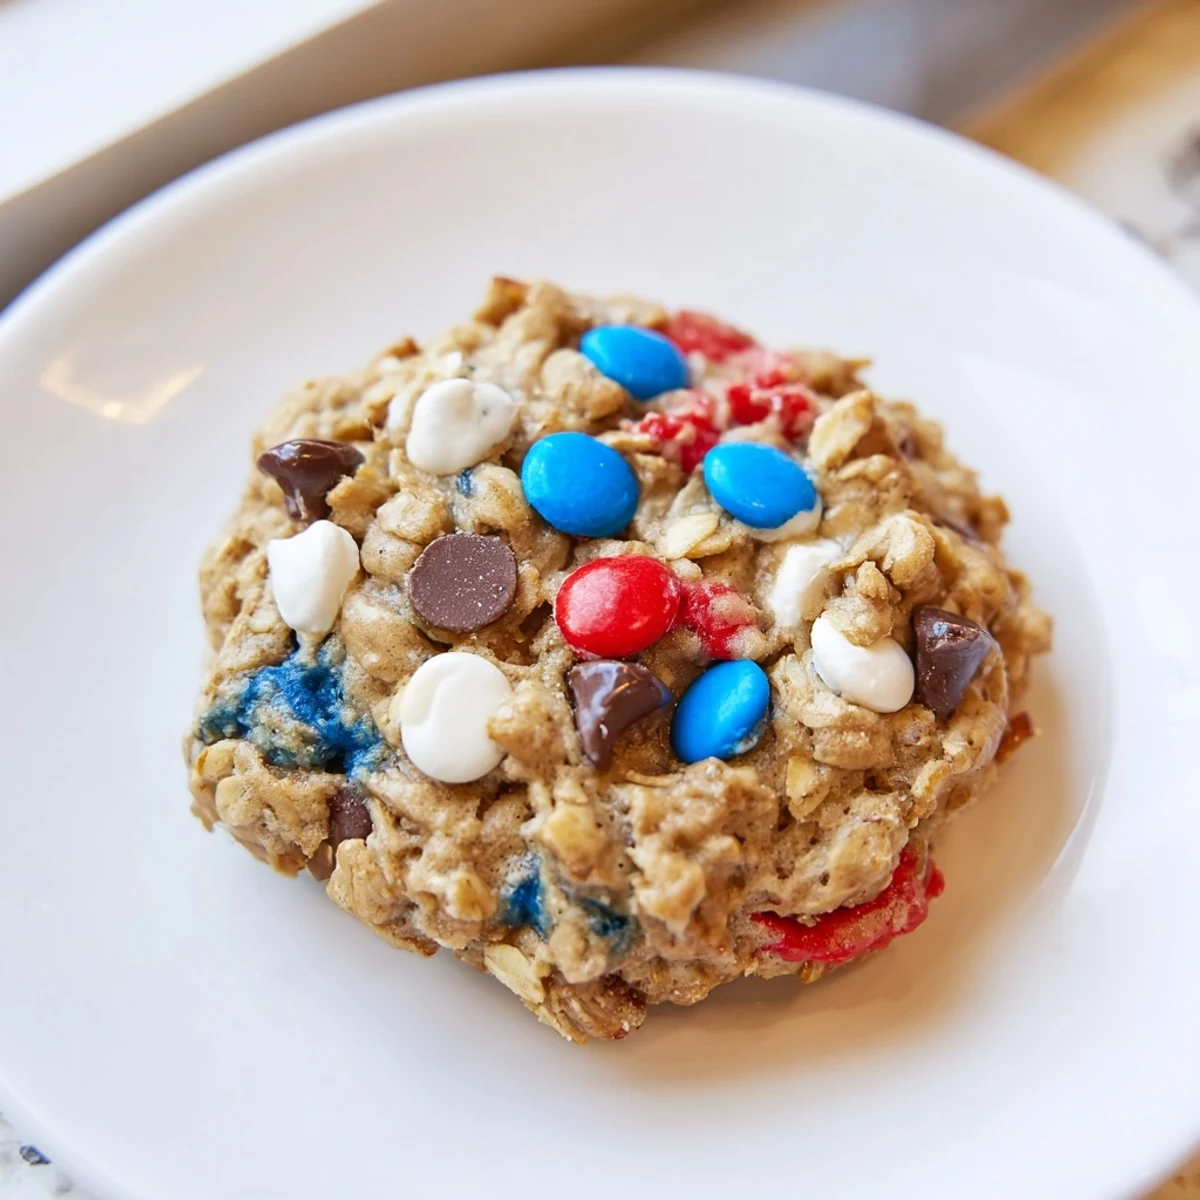
Save This batch yields about 24 chewy, festive monster cookies: a buttery, peanut‑butter enriched dough folded with old‑fashioned oats, semisweet chips and red, white, and blue chocolate candies. Scoop rounded tablespoons, bake at 350°F (175°C) for 10–12 minutes until edges are golden; underbake slightly and cool on the sheet for maximum chew.
The first time I made these patriotic monster cookies, the kitchen was filled with the muffled clatter of measuring cups and the unmistakable aroma of warm peanut butter mingling with chocolate. My playlist was set to an upbeat mix, and as I tapped red, white, and blue candies onto each round of dough, I realized this was less about perfection, and more about the pure fun of baking. Even the flour dusted on my sleeves and countertop felt like part of the celebration. Baking these truly turns a regular afternoon into something festive and full of life.
I remember taking a batch of these over to a backyard get-together on the Fourth of July, dodging fireflies with a cooling rack in hand. Watching everyone reach for a cookie before the grill was even hot, I realized they were devoured as quickly as I’d hoped. That night, the combination of laughter, sparklers, and melting chocolate smudges on fingers perfectly captured the spirit of summer in just one bite.
Ingredients
- Unsalted butter: Use butter at true room temperature so it creams smoothly and gives these cookies their soft, rich base.
- Granulated sugar: Adds essential sweetness and encourages pleasant browning—don’t pack it when measuring.
- Light brown sugar: This boosts chewiness and depth, so make sure it’s fresh and not clumpy.
- Creamy peanut butter: For maximum spread and that signature, nutty aroma, avoid the natural kind with separated oil.
- Large eggs: Use eggs at room temperature for easier mixing and lighter cookies—crack them into a cup to check for shells first.
- Vanilla extract: Real vanilla gives a fragrant backbone that holds up against the other bold flavors.
- Old-fashioned oats: Their sturdy texture survives baking and gives every bite that satisfying chew.
- All-purpose flour: The structure-maker; aerate it with a quick whisk so your cookies don’t turn out dense.
- Baking soda: This subtle booster ensures a gentle rise and a softer, thicker cookie—sift if you see any lumps.
- Salt: Don’t skip it; a small sprinkle brings all the other flavors into focus and keeps the cookies from tasting flat.
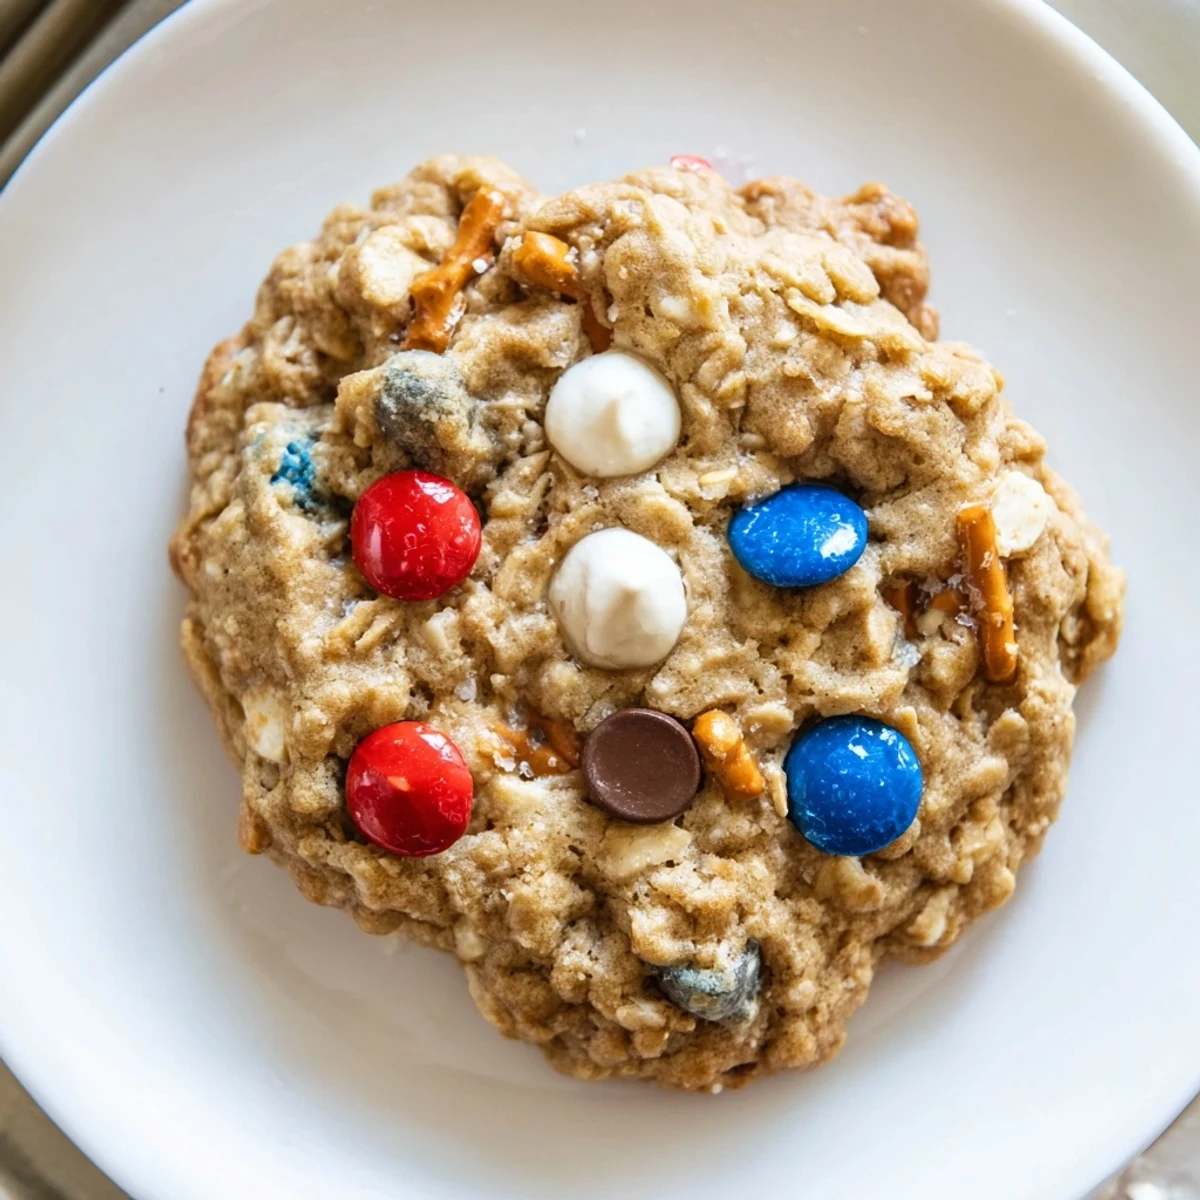
- Red, white, and blue chocolate candies: The festive centerpiece. Press a few extra on top right before baking for that bakery-ready look.
- Semisweet chocolate chips: They melt into little puddles and have just the right balance of rich and sweet—don’t use milk chocolate if you want deeper flavor.
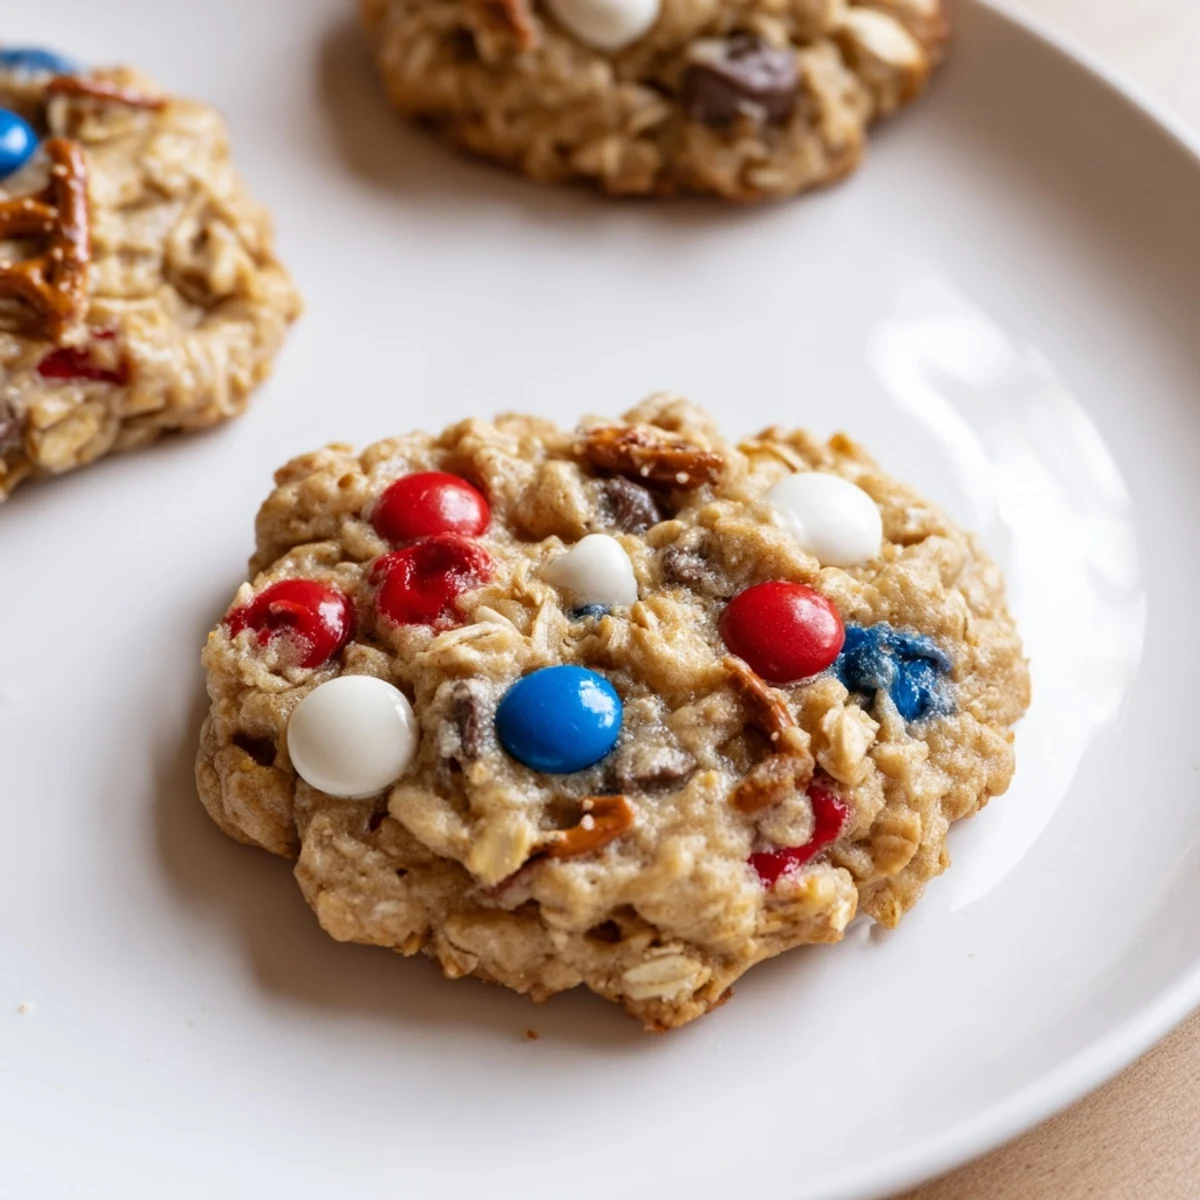
- Mini pretzels (optional): These add unexpected crunch and a whisper of saltiness—try breaking them just enough so there’s a mix of small pieces and bigger shards.
Instructions
- Set the stage:
- Preheat your oven to 350°F and line two baking sheets with parchment; the sizzle as the dough hits the pan later is worth the wait.
- Cream the butter and sugars:
- Beat together butter, granulated sugar, and light brown sugar on medium speed until the mixture is pale, light, and almost fluffy—there should be no visible lumps.
- Add the wet ingredients:
- Scoop in the creamy peanut butter and mix until smooth, then add eggs one by one, mixing after each so the batter stays silky; pour in the vanilla extract last and swirl it to combine.
- Prepare the dry ingredients:
- In another big bowl, whisk the oats, flour, baking soda, and salt together, listening for the soft rustle that means everything’s really mixed.
- Combine wet and dry:
- Add the dry mixture in thirds to the wet, stirring just enough to make the dough come together—stop as soon as no dry streaks remain, or the cookies could toughen up.
- Fold in the add-ins:
- Use a spatula to gently fold in your chocolate candies, chocolate chips, and pretzels if using; you want those pops of color peeking out without breaking up too much crunch.
- Scoop and space:
- Grab rounded tablespoons of dough and space them two inches apart on your baking sheets; if you tuck in a few extra candies on top, they’ll look irresistible fresh from the oven.
- Bake:
- Slide in the trays for 10 to 12 minutes, baking until the edges turn golden and the centers look just barely set—they’ll finish setting as they cool.
- Cool down:
- Allow the cookies to cool on the sheets for five minutes (they’re very soft while hot) before moving them to a rack so they stay chewy.
 Save
Save One afternoon, my cousin wandered into the kitchen mid-batch and started helping out, mock-arguing over who could press the most candies onto a single cookie. In the end, the most decorated ones disappeared first—proving that extra chocolate is always the best kind of kitchen compromise. Sometimes, the best family memories start with slightly sticky hands and shared laughter around a tray of warm cookies.
Let’s Talk Add-In Twists
The great thing about this recipe is you can swap in chopped walnuts or white chocolate chips if you want a different kind of crunch. I once tossed in a few dried cherries left over from another bake, and the sudden burst of tartness made the cookies feel brand new. Pretzel pieces, if you choose to add them, give each bite a subtle snap and a salty nudge.
Making Them Gluten-Free (Or Not)
Gluten-free oats and a good cup-for-cup GF flour blend work here with barely a detectable difference; just be sure to check the candy coating ingredients to avoid surprise gluten sources. I’ve had a friend with celiac disease happily enjoy these at a cookout, and nobody could spot the swap. For the best results, mix gently and don’t skimp on chilling the dough before baking if you go gluten-free.
How to Store & Share Them
These cookies keep beautifully in an airtight tin for about a week, and they freeze even better for make-ahead party planning. If you’re lucky enough to have leftovers, pop them in a lunchbox—they somehow taste even chewier after a day or two.
- Layer cookies between sheets of parchment to prevent sticking.
- Reheat briefly in the microwave for that fresh-from-the-oven softness.
- Gift a dozen in a mason jar with a ribbon for a simple, heartfelt surprise.
 Save
Save Let these cookies bring a burst of fun and color to your next gathering. Here’s to plenty of crumbs, laughter, and maybe even a few sticky fingers along the way.
Recipe FAQs
- → How do I keep these cookies chewy?
-
Underbake by a minute or two so centers remain soft, then cool on the baking sheet for 5–10 minutes. Use slightly more brown sugar than granulated and avoid overmixing once flour is added to retain moisture.
- → Can I swap the peanut butter?
-
Yes. Almond butter or sunflower seed butter work well; choose a creamy variety for similar texture. Expect a slight flavor and color change and possibly a small adjustment in dough stickiness.
- → How can I make these gluten-free?
-
Use certified gluten-free old‑fashioned oats and substitute the all-purpose flour with a 1:1 gluten-free flour blend. Check labels for cross-contamination and note the texture may be a touch different.
- → What prevents cookies from spreading too much?
-
Chill the dough 15–30 minutes before baking, ensure butter isn't overly soft, and measure flour accurately. If dough is very loose, add a tablespoon of flour at a time until it holds shape.
- → How should I store or freeze them?
-
Store cooled cookies in an airtight container at room temperature up to 3 days. Freeze baked cookies layered with parchment up to 2 months. For dough, freeze scooped balls on a tray, then transfer to a bag for up to 3 months; bake from frozen adding a couple minutes to the time.
- → Are the pretzels necessary and how to include them?
-
Pretzels are optional for a salty crunch. Lightly crush and fold in at the end to maintain texture, or press a few pieces onto tops before baking for visual contrast.
