 Save
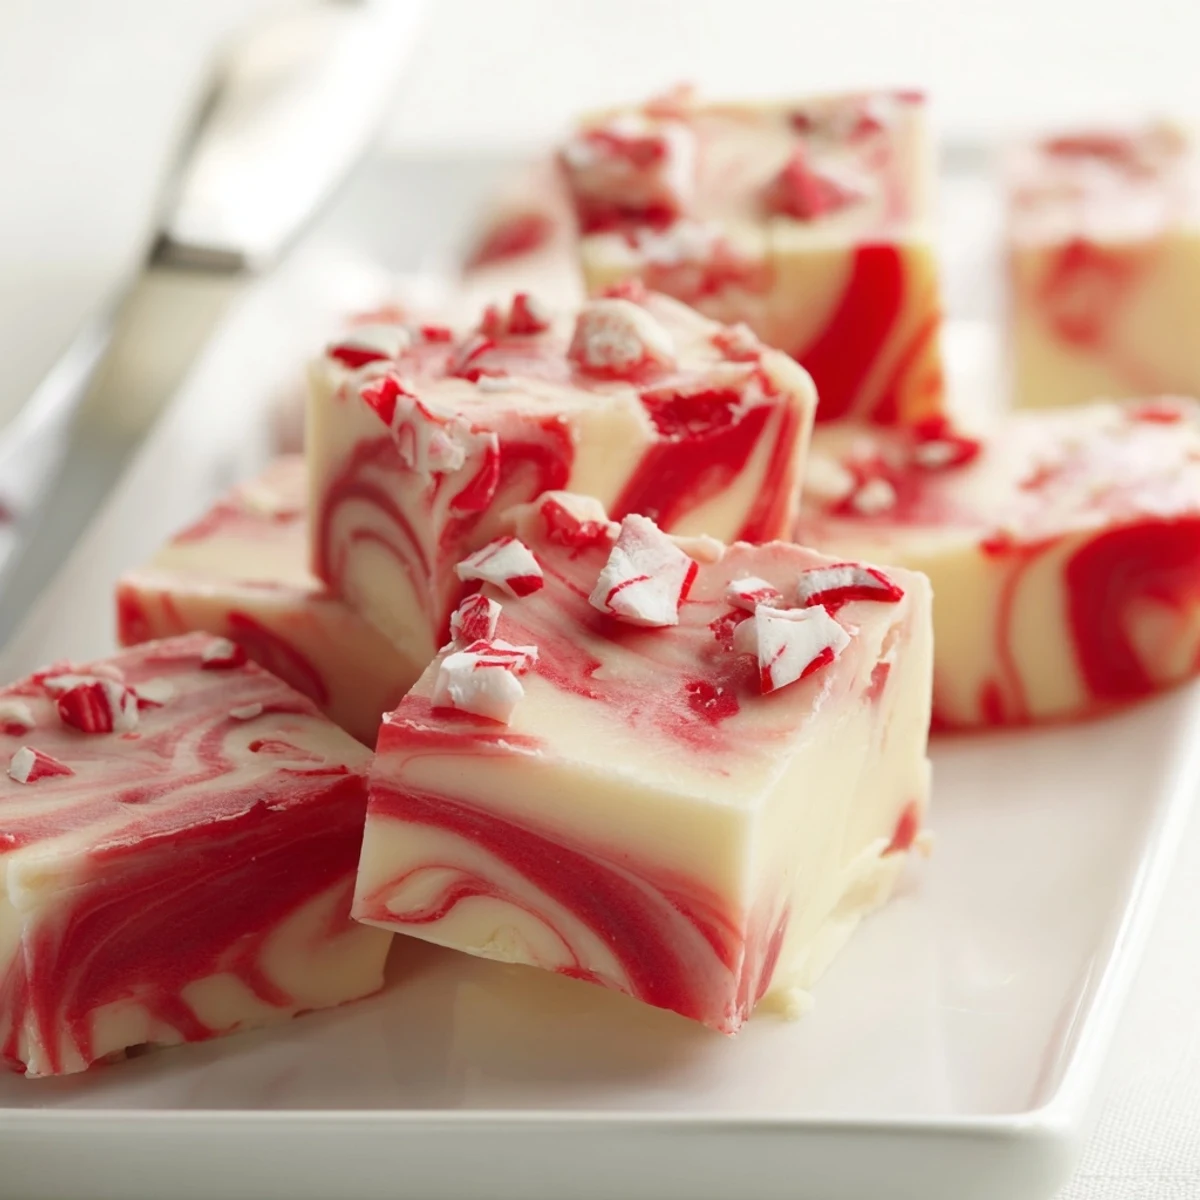
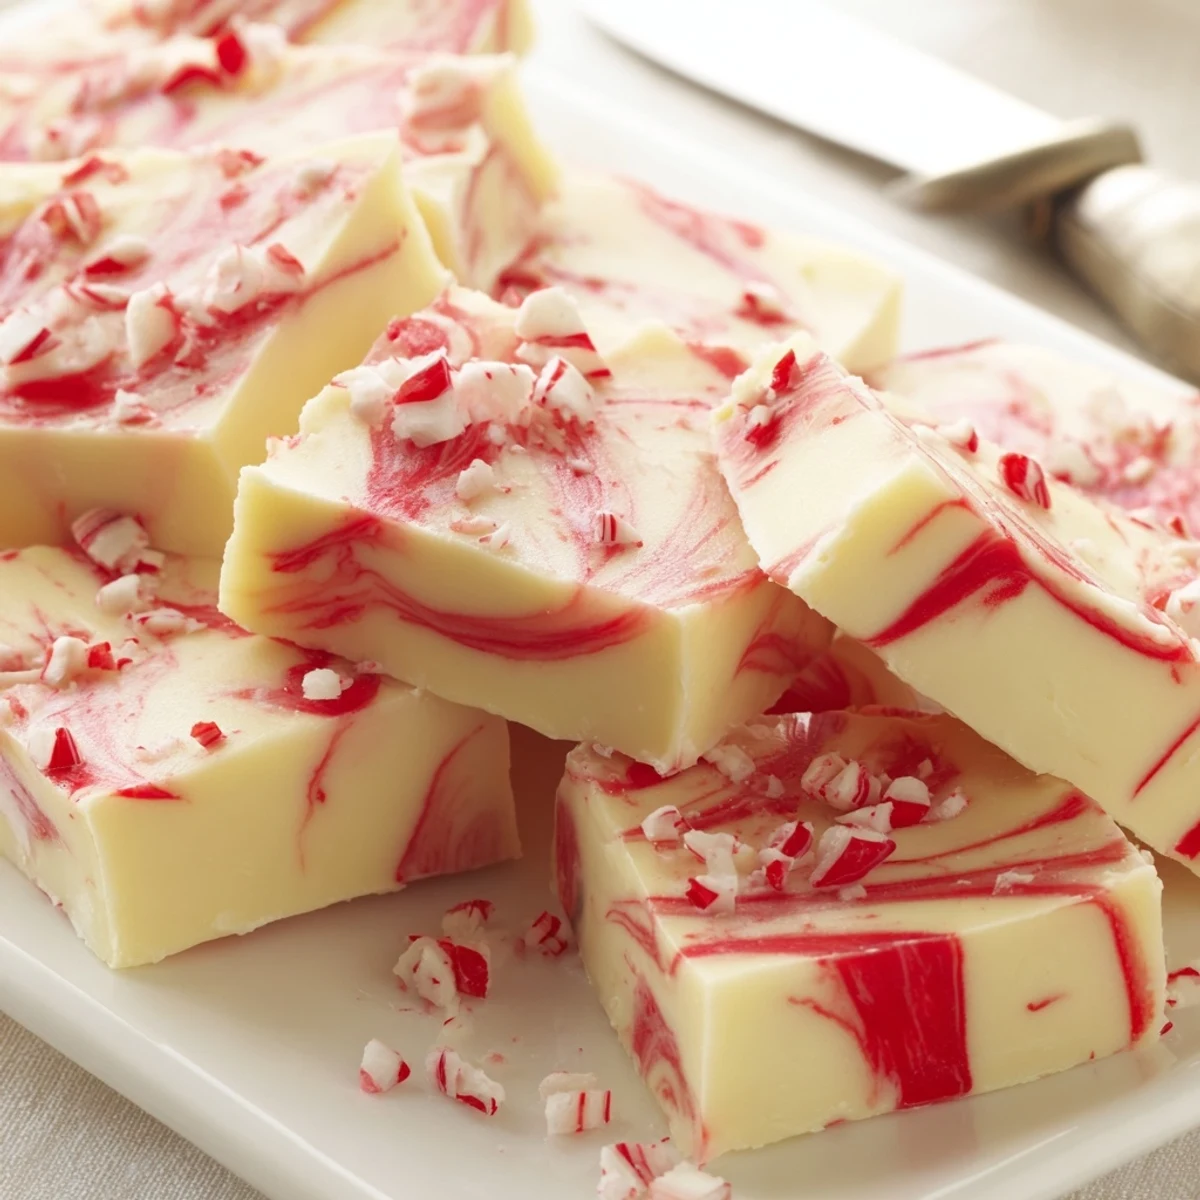
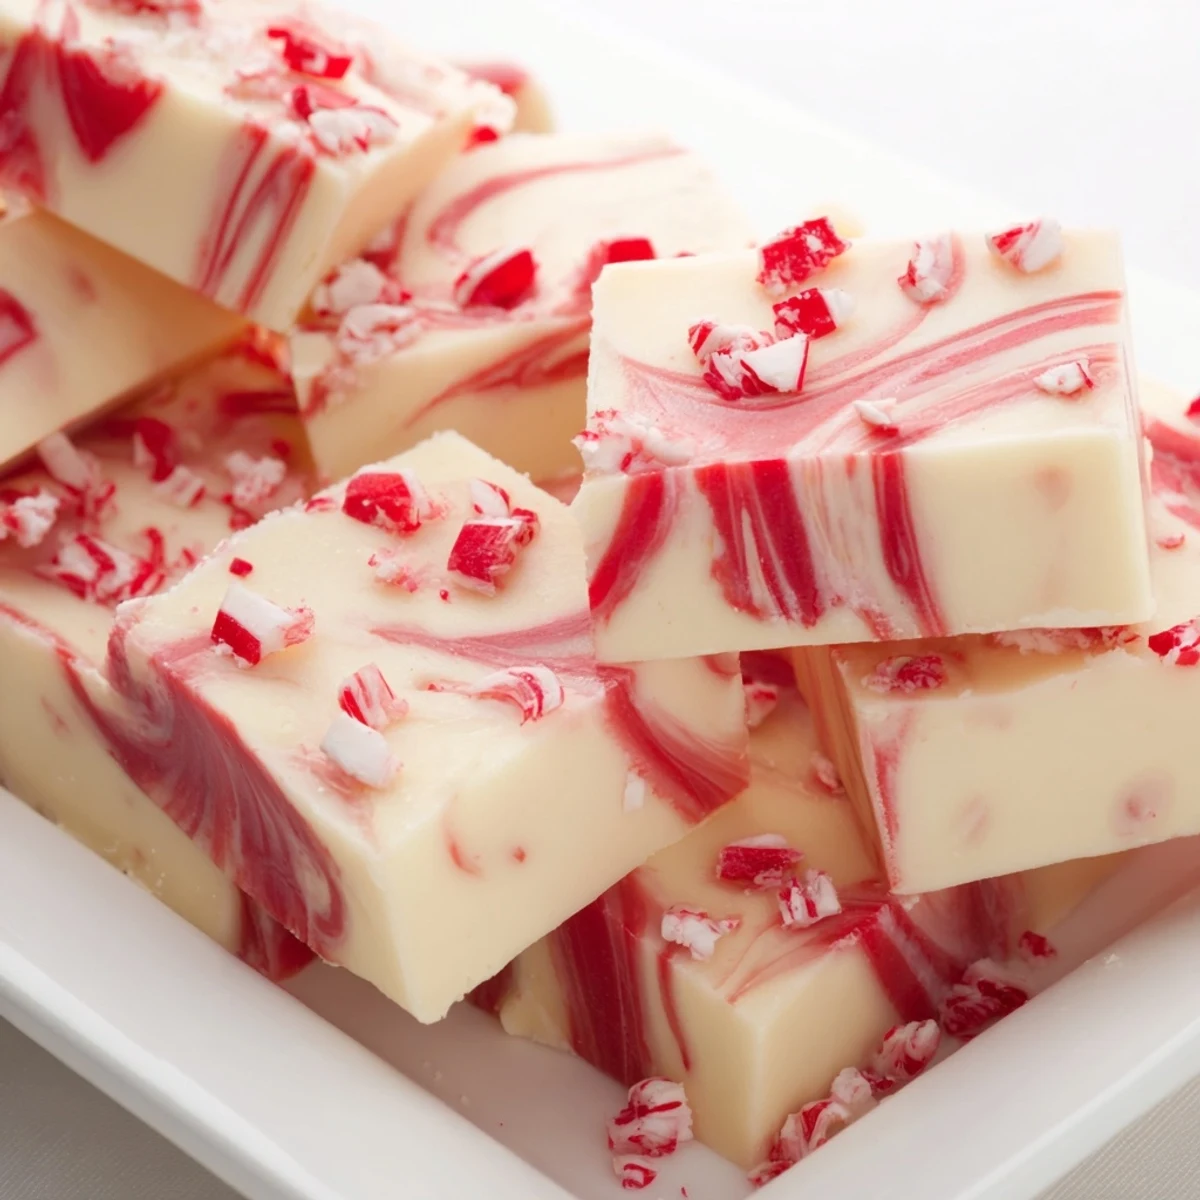
Save This indulgent peppermint swirl fudge combines smooth white chocolate with sweetened condensed milk for a rich, melt-in-your-mouth texture. The addition of peppermint extract and red food coloring creates beautiful marbling throughout, while crushed candy canes add a satisfying crunch and festive finish.
Preparation takes just 15 minutes of active cooking time, followed by a quick chill in the refrigerator. The result is 25 decadent squares that balance creamy sweetness with refreshing minty notes—ideal for cookie exchanges, holiday parties, or homemade gifts.
The technique involves melting white chocolate with condensed milk and butter, then dividing the mixture to create the signature swirl pattern. Refrigeration sets the fudge perfectly, and storing it in an airtight container keeps it fresh for up to two weeks.
The first snow had just started falling when my grandmother pulled out her ancient metal mixing bowl. We were going to make peppermint fudge, she announced, like it was the most natural thing in the world to do on a Tuesday afternoon. I watched her crush candy canes with a rolling pin, the minty scent filling the whole kitchen, and somehow that smell became synonymous with Christmas itself.
Last year I made three batches for our neighborhood cookie exchange and they disappeared faster than anything else on the table. My friend Sarah actually hid two pieces in her purse before leaving. Now I double the recipe and keep a secret stash in the back of the refrigerator.
Ingredients
- White chocolate chips: Good quality chips melt more smoothly and give you that luxurious creamy texture
- Sweetened condensed milk: This is what makes the fudge set perfectly without any thermometers or tricky temperature work
- Unsalted butter: Adds richness and helps the fudge achieve that melt in your mouth consistency
- Peppermint extract: A little goes a long way, so measure carefully but do not be afraid of it
- Red gel food coloring: Gel coloring works better than liquid because it will not make your fudge too thin
- Crushed peppermint candies: These add both festive color and that satisfying crunch on top
Instructions
- Prep your pan first:
- Line an 8x8 inch pan with parchment paper, letting the edges hang over like little handles for easy lifting later
- Melt everything together:
- Combine the white chocolate chips, sweetened condensed milk, and butter in a saucepan over low heat, stirring constantly until completely smooth
- Add the mint:
- Remove from heat and stir in the peppermint extract, breathing in that wonderful fresh scent
- Layer it up:
- Pour about three quarters of the white mixture into your prepared pan and spread it evenly with a spatula
- Make it festive:
- Stir red gel food coloring into the remaining mixture until it is a pretty pink color
- Create the swirl:
- Drop spoonfuls of the pink fudge over the white layer, then use a knife to gently swirl them together in a marble pattern
- Add the crunch:
- Sprinkle crushed candy canes over the top and press them in gently so they stick
- Let it set:
- Refrigerate for at least 2 hours until completely firm
- Finish and serve:
- Lift the fudge out using the parchment paper handles, cut into squares, and watch people smile
 Save
Save My daughter insisted on making the swirl pattern herself last year. She was so proud of her creation that she took a photo before we even cut into it. That picture is now my phone wallpaper.
Choosing Your Chocolate
I have learned that not all white chocolate is created equal. The cheaper brands often have an odd waxy texture that does not melt smoothly. Spend a little extra on good quality chips and you will taste the difference immediately.
Getting That Perfect Swirl
The key is not overworking the pattern. Just three or four gentle passes with your knife is enough. Too much swirling and you end up with pink fudge instead of that beautiful marble effect.
Storage Secrets
This fudge keeps beautifully in the refrigerator for up to two weeks, though it never lasts that long in my house. Layer pieces between wax paper in an airtight container so they do not stick together.
- Let the fudge sit at room temperature for 10 minutes before serving for the best texture
- Cut it with a warm knife for clean edges that look professional
- Package small boxes of this fudge for the most welcome holiday gifts
 Save
Save Every time I make this fudge now, I think of snowy afternoons and rolling pins and my grandmother is hands covered in powdered sugar. Some recipes are just meant to be shared.
Recipe FAQs
- → How do I store peppermint fudge?
-
Store your fudge in an airtight container in the refrigerator for up to 2 weeks. Separate layers with parchment paper to prevent sticking. The cool temperature helps maintain the texture and prevents the chocolate from becoming too soft.
- → Can I make this fudge ahead of time?
-
Yes, this fudge actually improves after chilling for a day or two as the flavors meld together. You can make it up to a week in advance of serving. Wrap the uncut slab tightly in plastic and foil, then cut just before gifting or serving.
- → What type of white chocolate works best?
-
Use high-quality white chocolate chips or baking bars for the smoothest texture. Avoid white chips labeled as 'white morsels' which contain palm oil instead of cocoa butter. Real white chocolate melts more evenly and creates a creamier finished product.
- → Why use gel food coloring instead of liquid?
-
Gel food coloring provides concentrated color without adding extra liquid that could affect the fudge's texture. Liquid coloring can make the chocolate seize or become grainy. A tiny amount of red gel creates that vibrant holiday swirl without compromising consistency.
- → Can I use peppermint oil instead of extract?
-
Yes, but peppermint oil is much more concentrated than extract. Use only 3-4 drops instead of the half teaspoon called for in the ingredients. Oil provides a more intense minty flavor, so start small and add more if needed after tasting.
- → How do I get clean cuts when slicing the fudge?
-
Let the fudge sit at room temperature for 5-10 minutes before cutting. Use a sharp knife dipped in hot water and wiped dry between cuts. The warmth helps the knife glide through cleanly. You can also lift the entire slab out using the parchment paper edges for more control.
