 Save
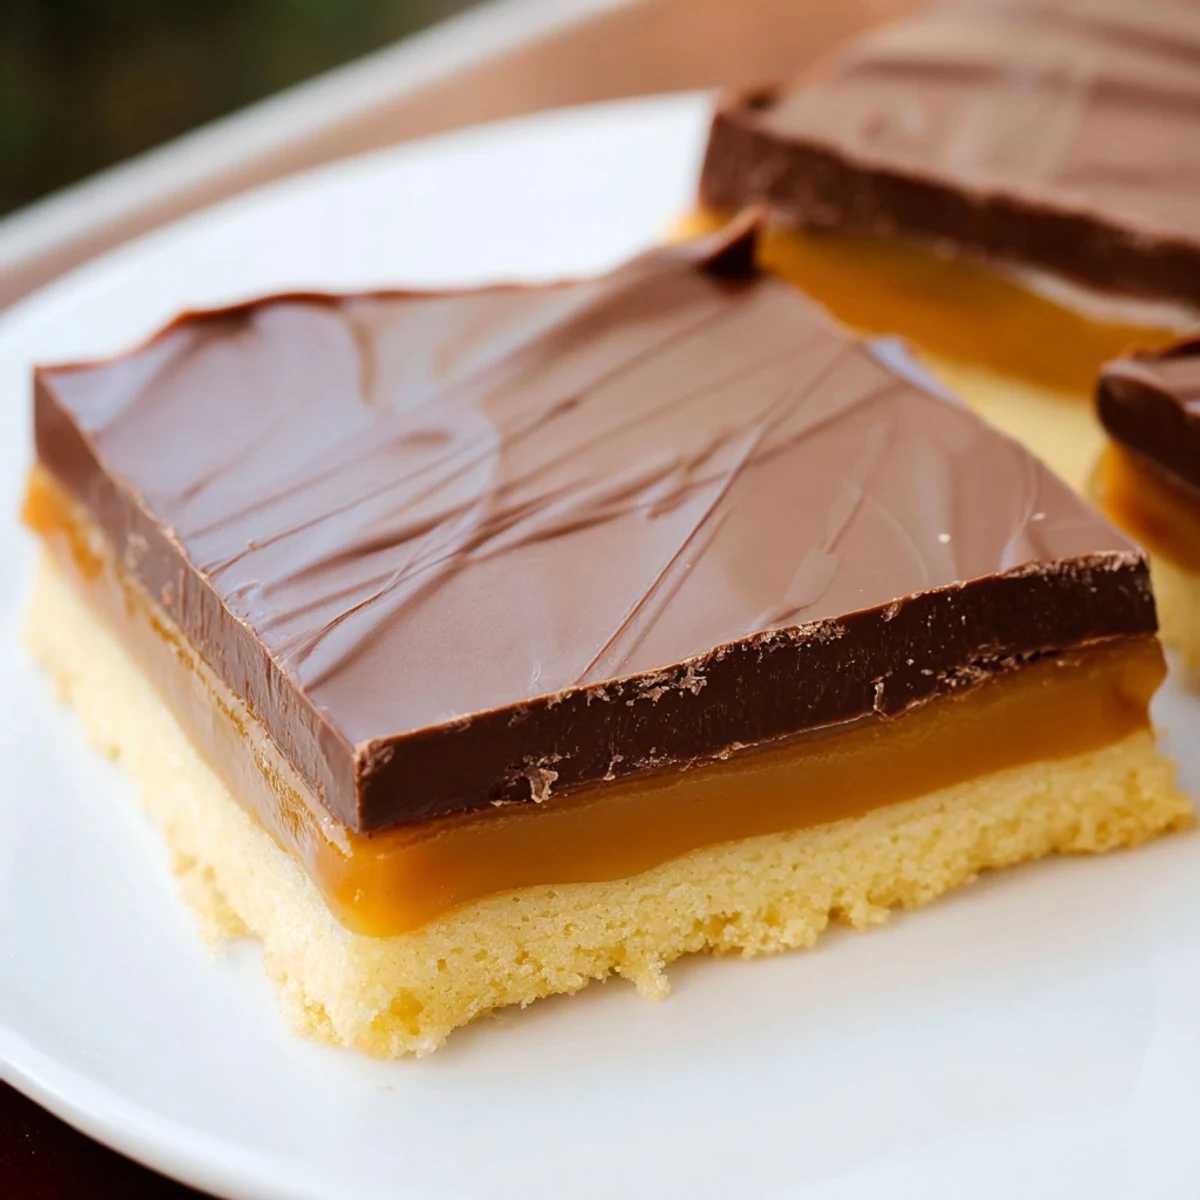
Save These indulgent bars capture everything you love about the classic candy bar. Start with a tender, buttery shortbread foundation baked until golden. Top with a luscious layer of homemade caramel cooked to perfection - the secret ingredient is sweetened condensed milk for that signature creamy texture. Finish with a generous coating of melted milk chocolate that sets into a silky smooth topping. The result is a three-layer masterpiece that balances crisp, chewy, and creamy textures in every bite.
My college roommate used to hide a stash of Twix bars in our freezer, claiming they tasted better frozen. One rainy Sunday, I decided to recreate that magic from scratch, armed with nothing but determination and a very basic understanding of caramel chemistry. Three hours and one slightly burnt saucepan later, these homemade bars emerged from my kitchen, and honestly, they ruined the candy version for me forever.
I brought these to a potluck last summer and watched my friend Sarah take a bite, her eyes going wide before she immediately asked for the recipe and the container to take home the leftovers. There is something deeply satisfying about serving a dessert that makes people forget their table manners entirely.
Ingredients
- 1 cup unsalted butter softened: Room temperature butter is non negotiable here, as it creates that melt in your mouth shortbread texture that contrasts perfectly with the chewy caramel layer
- 1/2 cup granulated sugar: Just enough sweetness to let the butter flavor shine through without making the base cloyingly sweet
- 2 cups all purpose flour: The foundation of your shortbread, providing structure while still remaining tender and crumbly when baked
- 1/4 tsp fine sea salt: This tiny amount enhances all the flavors and keeps the shortbread from tasting flat or one dimensional
- 1 cup unsalted butter for caramel: Butter creates that rich, velvety texture in homemade caramel that you simply cannot achieve with shortcuts or substitutes
- 1 cup packed light brown sugar: The molasses in brown sugar gives the caramel its deep color and complex, slightly smoky flavor profile
- 4 tbsp light corn syrup: This prevents crystallization and ensures your caramel stays smooth and glossy, never grainy or sad
- 2 cans sweetened condensed milk: The secret to achieving that perfectly thick, gooey caramel consistency without endless stirring or temperature anxiety
- 10 oz milk chocolate: The classic choice that balances sweetness with creaminess, though dark chocolate works beautifully if you prefer less sugar
- 1 tbsp unsalted butter: Adding butter to melted chocolate makes it spreadable and gives it that gorgeous, professional looking sheen
Instructions
- Prep your canvas:
- Preheat your oven to 350°F and line a 9x13 inch pan with parchment paper, letting the edges hang over like a little sling to lift the bars out later
- Build the foundation:
- Cream the softened butter and sugar until fluffy, then fold in the flour and salt until the dough comes together in soft, buttery clumps
- Press and bake:
- Press the dough firmly into your prepared pan, prick all over with a fork, and bake for 18 to 20 minutes until pale gold
- Work your caramel magic:
- Melt butter in a heavy saucepan, stir in brown sugar, corn syrup, condensed milk, and salt, then cook gently for 7 to 10 minutes, stirring constantly until thickened
- Layer it up:
- Pour that gorgeous amber caramel over your cooled shortbread, spread it evenly, and let it set until firm, about an hour at room temperature
- Crown with chocolate:
- Melt the chocolate and butter together until glossy and smooth, then pour over the caramel and spread into an even layer
- The patience test:
- Let the bars set at room temperature or chill for 30 minutes until the chocolate is firm but not rock hard, then use your parchment sling to lift them out
- The final cut:
- Slice into 16 perfect squares with a sharp knife, wiping the blade between cuts for those Instagram worthy clean edges
 Save
Save My daughter now requests these for every birthday, insisting that store bought treats do not even compare to the real deal. Watching people discover that these are homemade never gets old, and the silence that falls over the room when everyone takes their first bite is the best compliment imaginable.
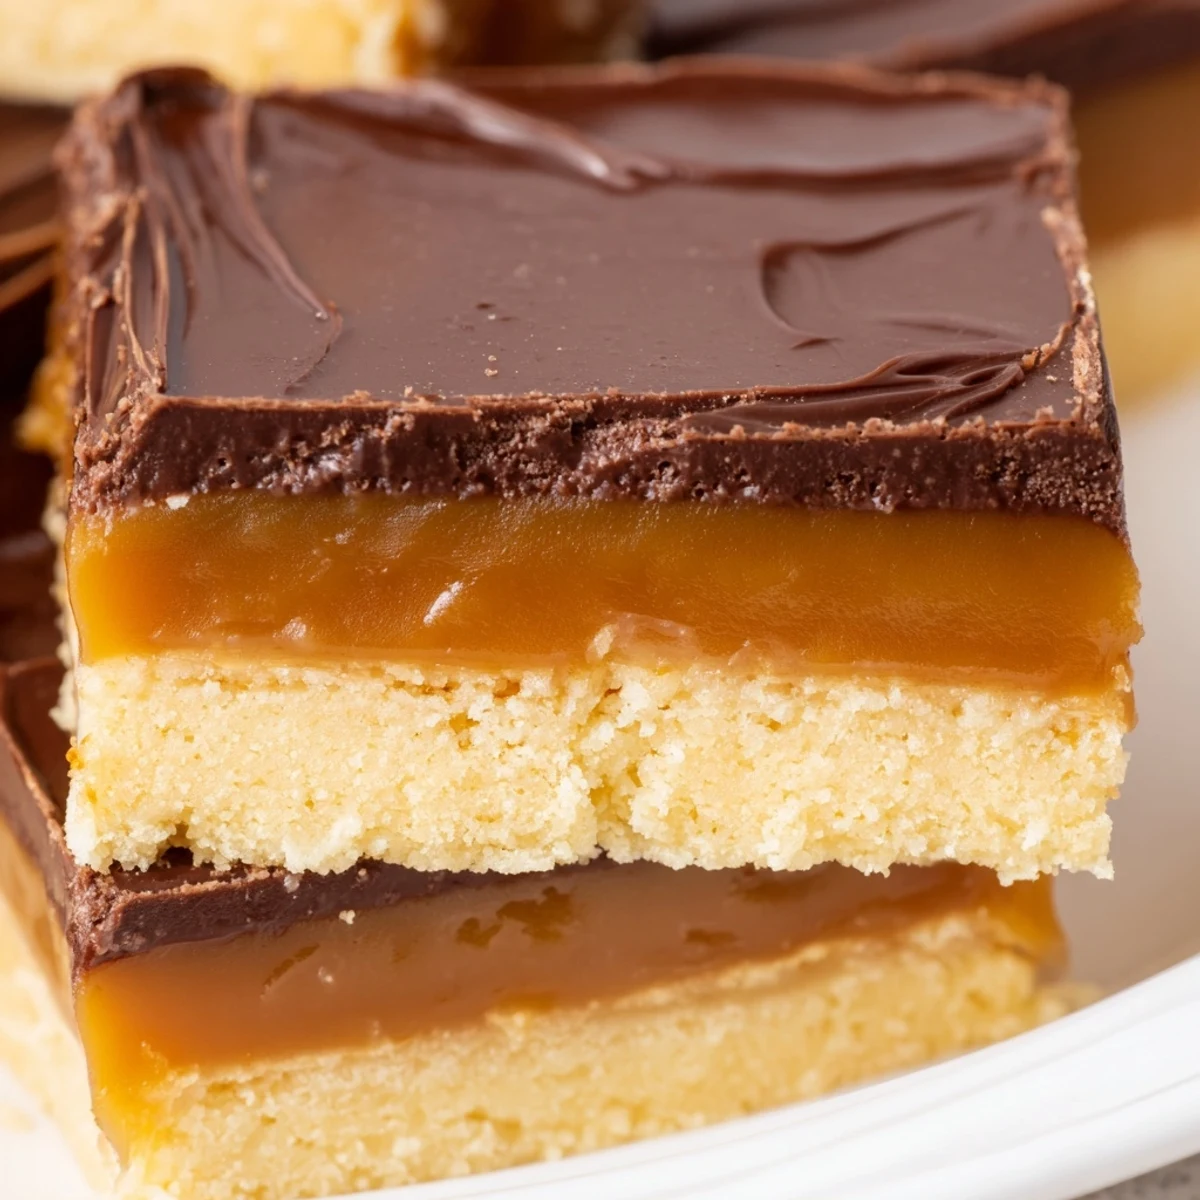
Getting The Layers Just Right
The secret to restaurant quality bars is letting each layer cool completely before adding the next. Rushing this process results in marbled layers and structural issues, so plan your day around those important cooling breaks.
Temperature Matters
Invest in a candy thermometer if you make these often, as it takes the guesswork out of determining when your caramel has reached the perfect consistency. Aim for 225°F for that ideal chewy yet set texture.
Storage And Serving
These bars keep remarkably well in an airtight container for up to 5 days, though they rarely last that long in my house. For cleanest cuts, chill the finished bars for 15 minutes before slicing, then bring to room temperature before serving.
- Room temperature bars have the best texture and flavor
- Refrigerate if your kitchen runs particularly warm
- Freeze extras for up to 3 months, separated by parchment paper
 Save
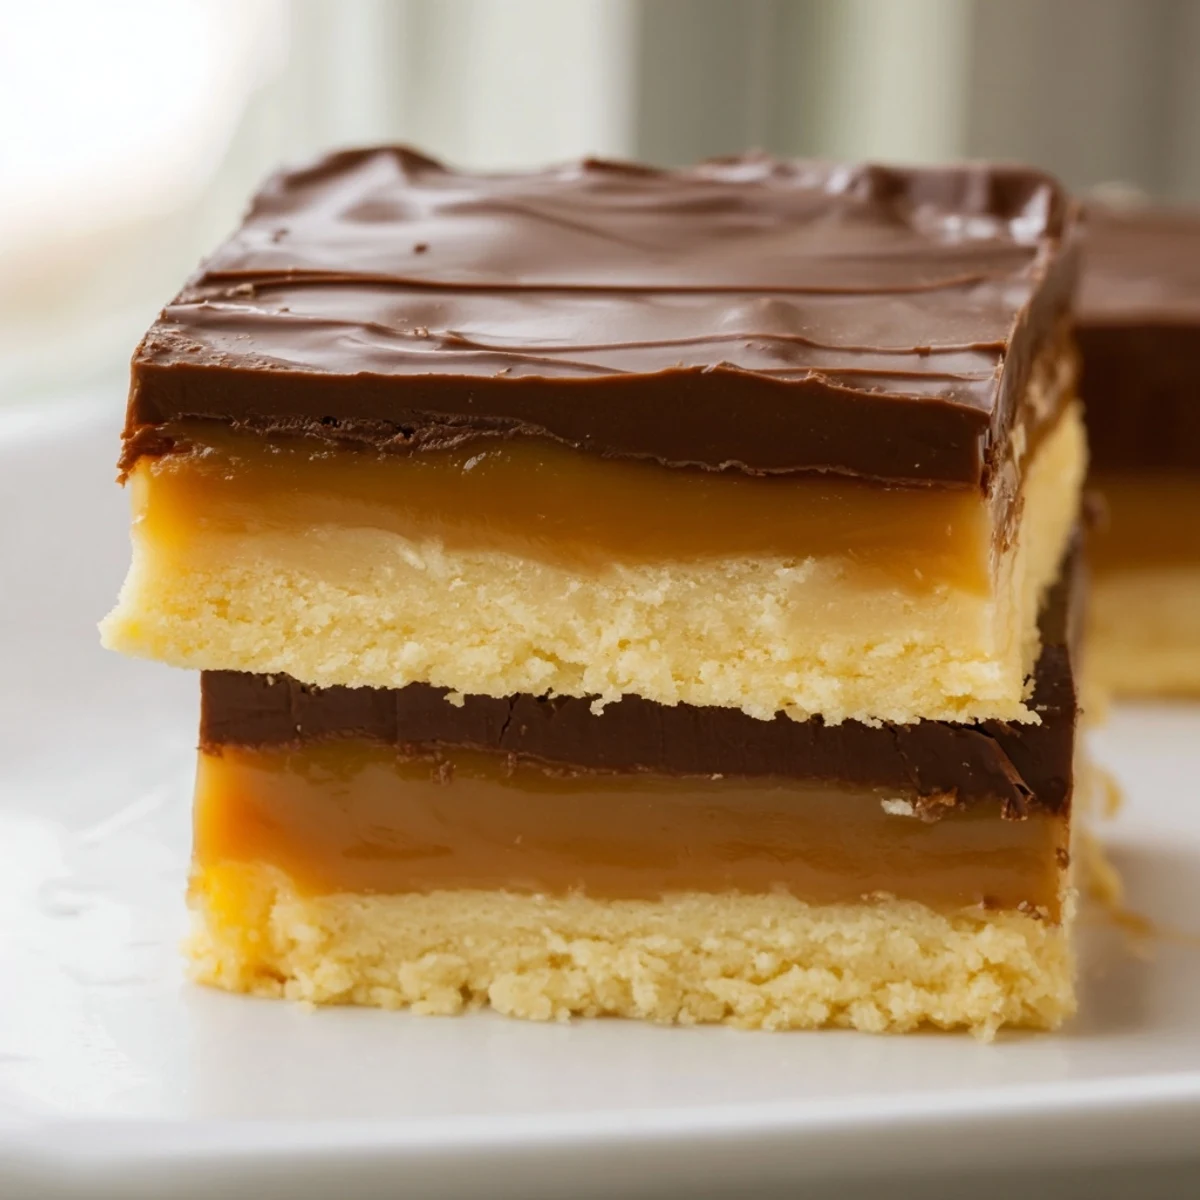
Save There is something deeply satisfying about making a candy classic from scratch, and the first time you peel back that parchment to reveal perfect layers, you will understand why these homemade bars beat store bought every single time.
Recipe FAQs
- → How long do these bars need to set before cutting?
-
The caramel layer needs about 1 hour to firm at room temperature, then the chocolate topping requires an additional 30 minutes in the refrigerator. For cleanest cuts, refrigerate the fully assembled bars for 2 hours total before slicing.
- → Can I make these ahead of time?
-
Yes, these bars actually improve with a day of rest as the flavors meld together. Store in an airtight container at room temperature for up to 5 days. Place wax paper between layers to prevent sticking.
- → What's the best way to achieve clean cuts?
-
Use a sharp knife warmed under hot water and wiped dry between each cut. Score the chocolate first with light pressure, then press firmly through all layers. Room temperature bars cut cleaner than chilled ones.
- → Can I substitute dark chocolate for the milk chocolate?
-
Absolutely. Dark chocolate creates a bittersweet contrast that balances the sweet caramel beautifully. Semi-sweet chocolate works well too. Just ensure whatever chocolate you choose melts smoothly.
- → Why do I need a candy thermometer for the caramel?
-
While not strictly required, a thermometer ensures the caramel reaches 225°F for proper setting. Without one, watch for the color to turn golden amber and the mixture to coat the back of a spoon - visual cues work too.
- → Can I freeze these bars?
-
Yes, freeze individually wrapped bars for up to 3 months. Thaw in the refrigerator overnight, then bring to room temperature before serving. The texture remains excellent after freezing.
