 Save
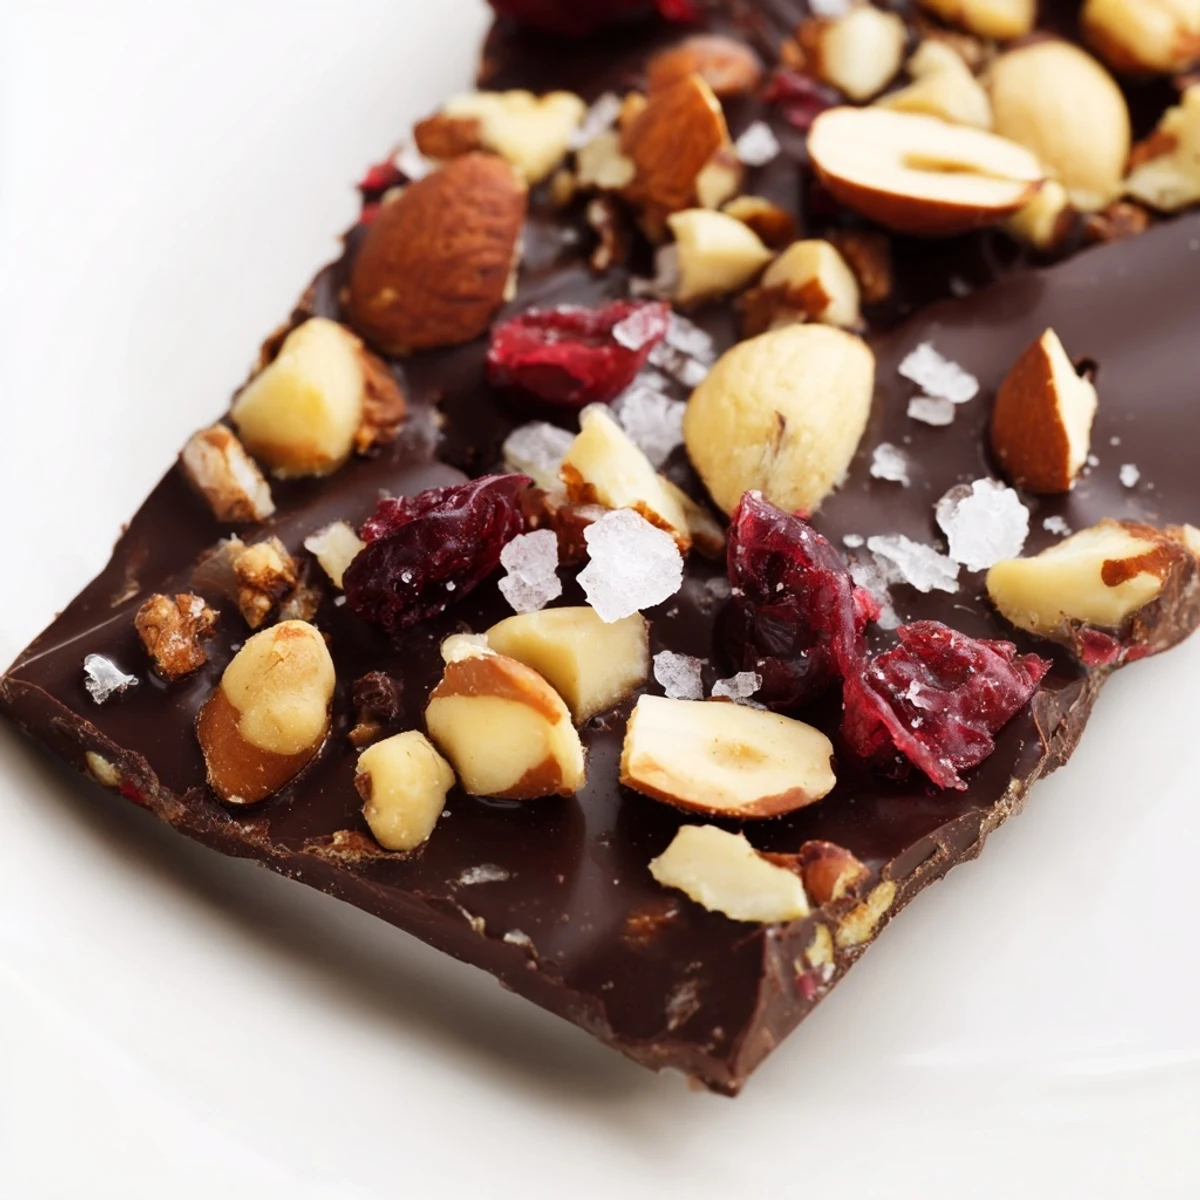
Save This chocolate bar brings together high-quality dark chocolate and crunchy roasted mixed nuts for a rich, satisfying snack. Melted gently over simmering water, the chocolate is blended with coconut oil, nuts, and optional dried fruit before chilling to set. A sprinkle of flaky sea salt adds a delicate finish, offering a balance of sweetness and texture. Perfect for gifting or enjoying anytime, this treat is vegetarian and gluten-free, with customizable options for vegan and flavor variations.
I discovered the magic of homemade chocolate bars on a rainy afternoon when a friend brought over a slightly melted slab from a local chocolatier. The moment I tasted it—dark, snappy, studded with roasted almonds—I thought, why haven't I made this myself? Turns out, it's impossibly simple: just melted chocolate, good nuts, and patience. Now I make batches that disappear faster than any store-bought version ever could.
I made these for my dad's birthday last spring, and he actually set them out at his office the next day instead of eating them himself. People kept asking where he'd bought them, which made the whole thing feel ridiculously satisfying—homemade chocolate bars that fooled everyone into thinking they came from somewhere fancy.
Ingredients
- Dark chocolate (300g, at least 60% cocoa): This is where quality matters; choose something you'd actually eat on its own since it's doing the heavy lifting here.
- Roasted mixed nuts (80g): Almonds, hazelnuts, walnuts, or pecans—rough chop them so you get satisfying chunks in every bite.
- Coconut oil (1 tbsp, optional): Use this only if your chocolate seems thick; it helps create that glossy snap without changing the flavor.
- Dried cranberries or raisins (1 tbsp, optional): A little tartness cuts through the richness beautifully.
- Flaky sea salt (1/2 tsp for topping): Don't skip this even if you're doubtful—it's the whisper that makes everything taste more sophisticated.
Instructions
- Set yourself up for success:
- Line a square baking pan with parchment paper, letting it hang over the edges so you can lift the finished bar out easily later.
- Melt the chocolate gently:
- Place your chopped chocolate and coconut oil in a heatproof bowl set over barely simmering water, stirring every so often until it's completely smooth. Don't let the bowl touch the water or you'll end up with grainy, broken chocolate.
- Fold in the good stuff:
- Pull the bowl off the heat and stir in your roasted nuts and any dried fruit, coating everything evenly in that glossy chocolate.
- Pour and settle:
- Spread the mixture into your prepared pan, using a spatula to smooth the top. Give the whole thing a gentle tap on the counter a few times to help air bubbles rise and pop.
- Add the finishing touch:
- Sprinkle flaky salt over the top if you're using it, pressing it down just slightly so it sticks.
- Let time do the work:
- Refrigerate for at least 40 minutes, though overnight is even better if you can wait that long.
- Break and enjoy:
- Once set, lift the whole thing out of the pan and cut into bars or break into irregular pieces—both ways look intentional and taste the same.
 Save
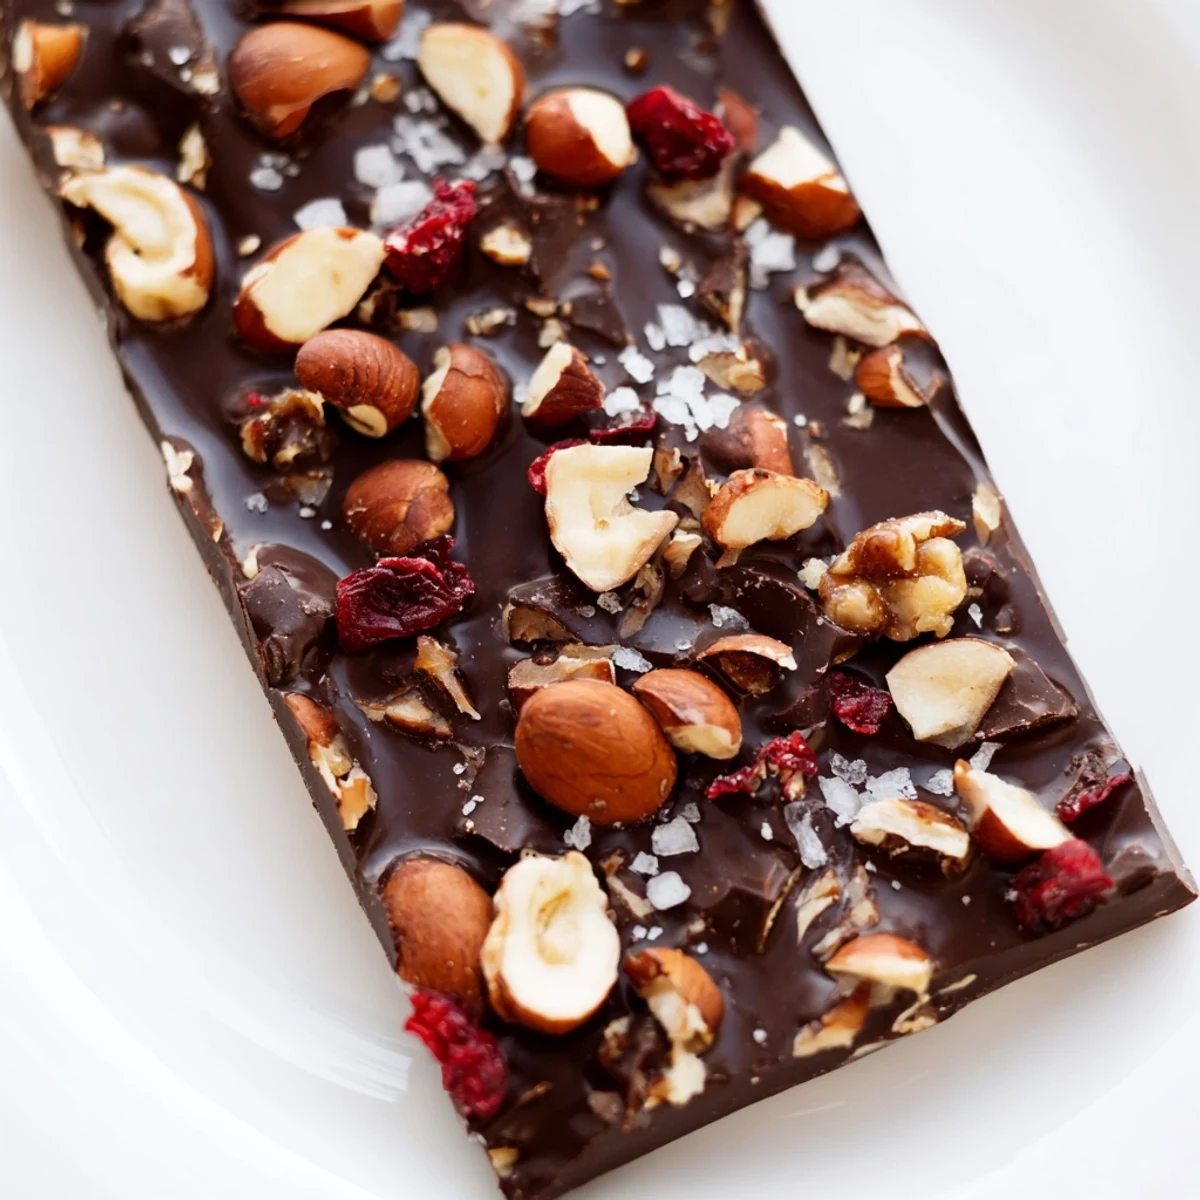
Save These bars have become my default gift for people I genuinely like but aren't quite close enough to cook for. There's something about handing someone something you made with your own hands that feels more honest than wrapping up something store-bought.
Flavor Combinations That Work
Once you nail the basic formula, you can play around endlessly. I've made versions with orange zest stirred into the melted chocolate, which gives this bright citrus undertone that feels sophisticated. A tiny pinch of chili flakes adds an unexpected warmth that makes people pause and ask what they're tasting. Toasted coconut flakes instead of some of the nuts makes it taste like a vacation. The only real rule is that everything should be roasted or toasted so it brings flavor and crunch to every bite.
Storing Your Bars So They Last
Keep them in an airtight container in a cool cupboard, and they'll hold up beautifully for two weeks—though honestly, they rarely last that long at my house. If your kitchen runs warm, the fridge is your friend; just let them come up to room temperature before eating so the chocolate snaps instead of bends. I learned this the hard way one summer when I found myself with chocolate soup that had to be re-melted and reset.
Why This Recipe Beats Buying Them
Store-bought chocolate bars are often waxy and overly sweet, and you're paying a premium for something that takes 20 minutes to make at home. When you make your own, you control the chocolate quality, nut-to-chocolate ratio, and whether there's salt involved—basically everything that actually matters. Plus there's something quietly satisfying about setting a homemade chocolate bar in front of someone and watching their face light up when they realize you made it.
- You know exactly what's in every bite, which is comforting in its own way.
- The smell of melting good chocolate in your kitchen is its own reward.
- Homemade always tastes a little bit better, even when the recipe is this simple.
 Save
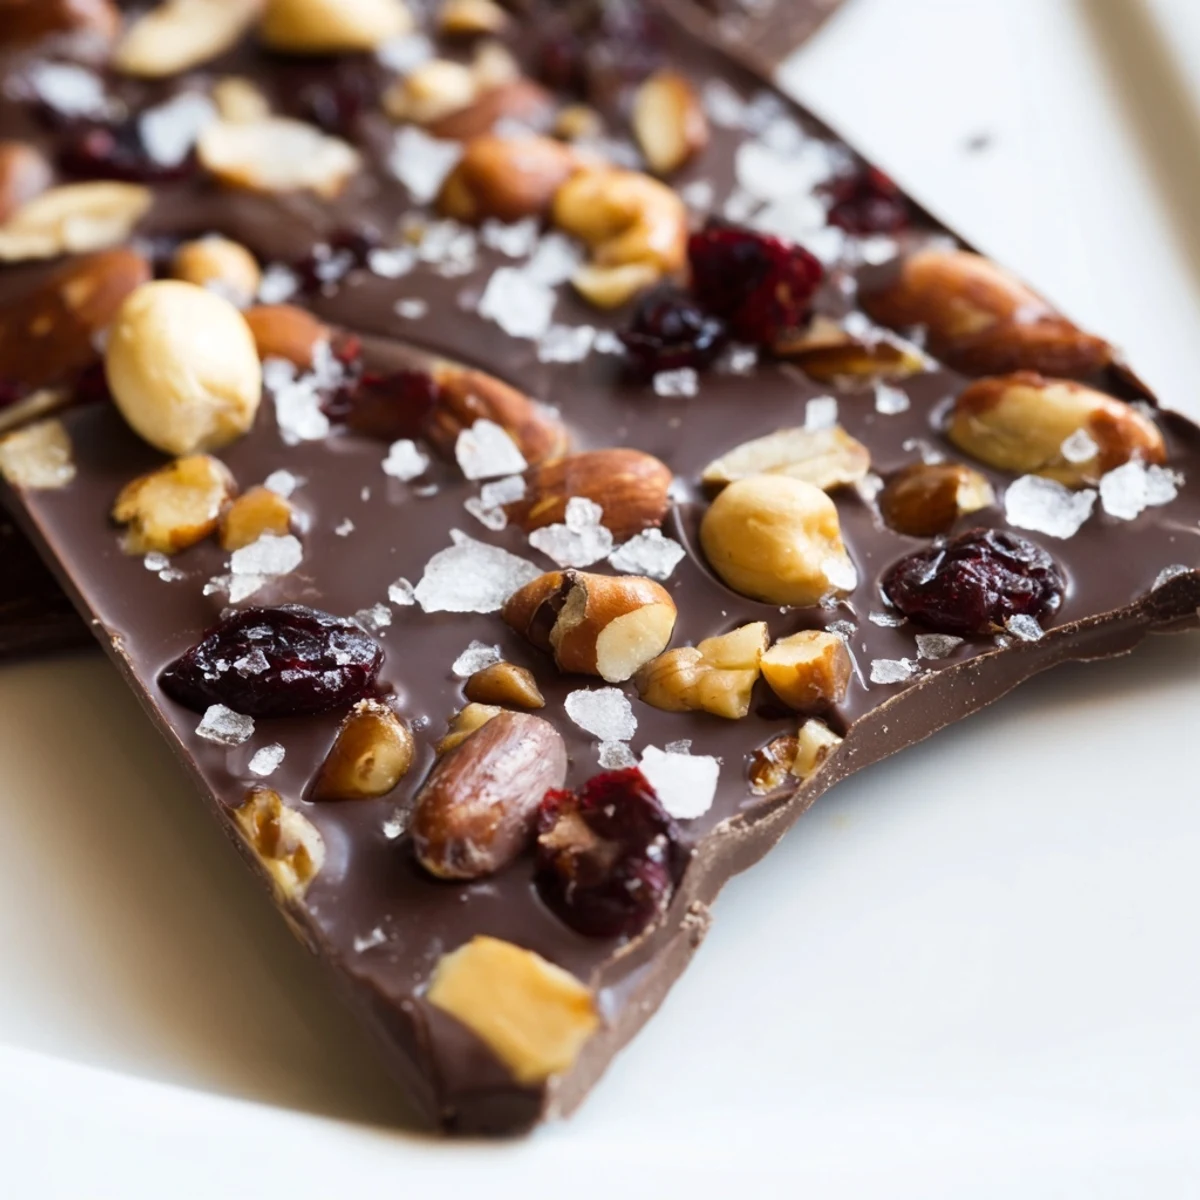
Save There's something almost meditative about making these bars—the quiet melting, the gentle folding, the anticipation of that first snap when they're finally set. They're proof that simple ingredients and a little patience can create something that feels genuinely special.
Recipe FAQs
- → What type of chocolate is best for this bar?
-
Use high-quality dark chocolate with at least 60% cocoa for a rich flavor. Milk or white chocolate can be substituted for a sweeter taste.
- → Can I use different nuts in this bar?
-
Yes, feel free to replace the mixed nuts with your favorites like almonds, hazelnuts, walnuts, or pecans to customize the texture and flavor.
- → How do I melt the chocolate properly?
-
Melt the chocolate gently using a double boiler method to avoid overheating, stirring until smooth for an even texture.
- → What is the purpose of coconut oil in this bar?
-
Coconut oil helps achieve a smoother texture and shine but is optional depending on your preference.
- → How long should the bar chill to set?
-
Chill the mixture in the refrigerator for at least 40 minutes until fully set and firm enough to cut or break.
- → Can I make this bar vegan?
-
Yes, ensure the chocolate used is dairy-free and skip any non-vegan add-ins for a fully vegan treat.
