 Save
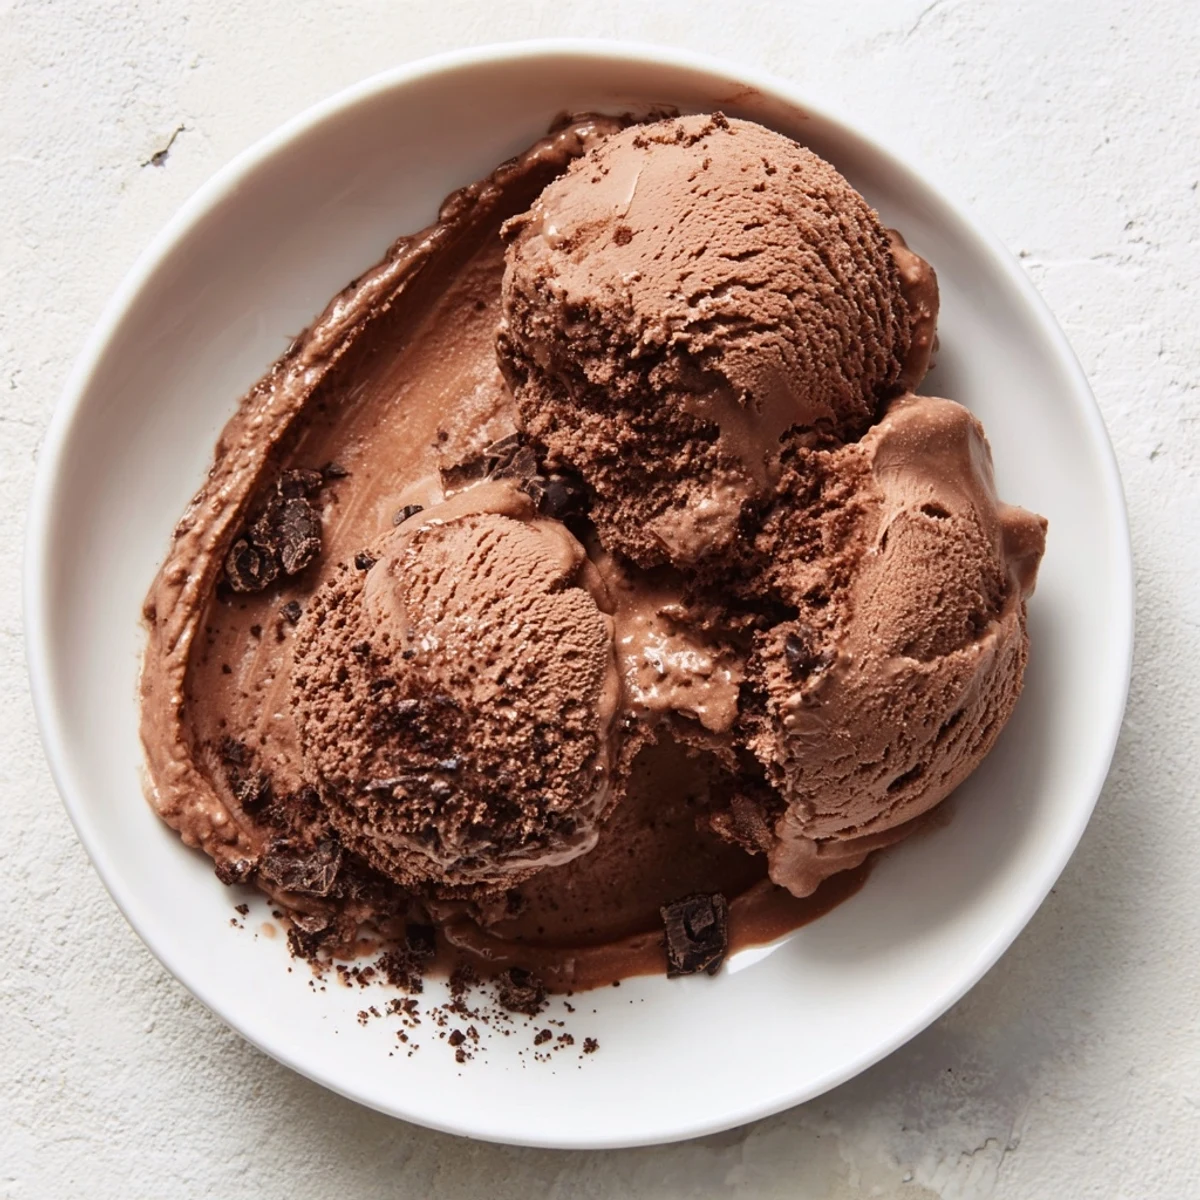
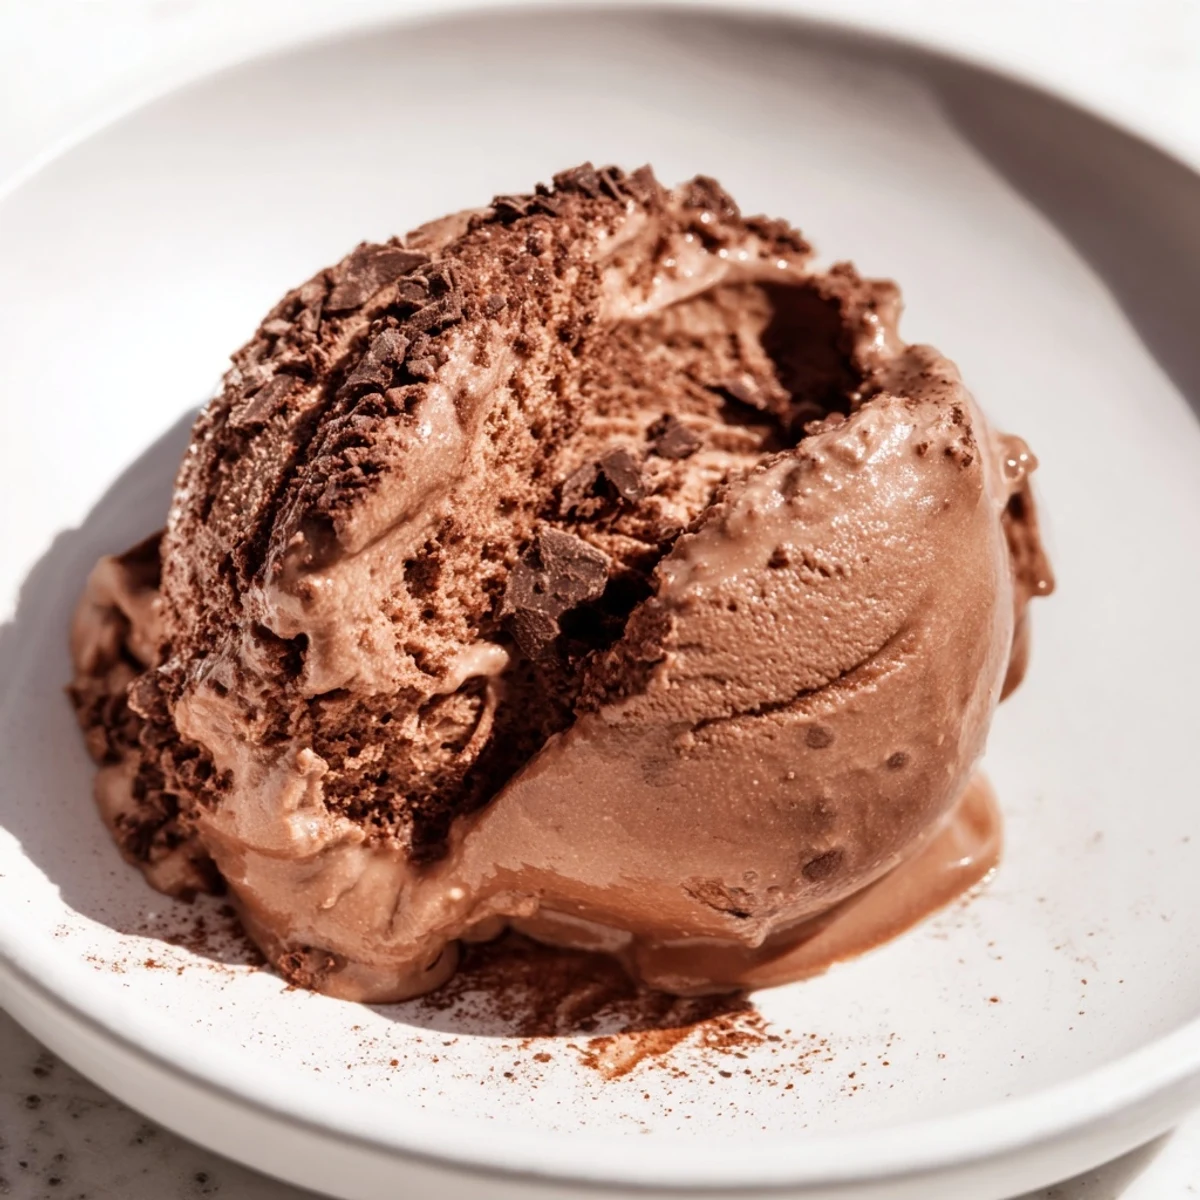
Save This luscious chocolate dessert combines rich heavy cream, milk, and unsweetened cocoa powder with finely chopped dark chocolate to create a smooth, creamy texture. The mixture is gently heated and tempered with egg yolks before chilling and freezing. The final product is silky and indulgent, ideal for serving in generous scoops. Perfect for warm days or as a satisfying sweet finish, it's enhanced with vanilla and a pinch of salt to balance flavors. Optional mix-ins add texture and flair.
I still remember the first time I made homemade chocolate ice cream from scratch. I was standing in my kitchen on a sweltering summer afternoon, watching the chocolate melt into silky perfection, and something just clicked. Store-bought ice cream suddenly felt like a compromise. This recipe became my refuge on hot days, and more importantly, it became the dessert that made people linger at my table just a little bit longer, asking for another scoop.
I made this for a dinner party where my friend Sarah brought her new partner, and I could see him light up after that first bite. He asked for the recipe that night, and three months later, he texted me a photo of his homemade batch. That's when I knew this recipe was special enough to share.
Ingredients
- Heavy cream, 2 cups (480 ml): This is where the luxury happens. The fat content creates that silky texture that makes ice cream feel indulgent. Don't skip it or use a substitute.
- Whole milk, 1 cup (240 ml): This balances the richness and helps the ice cream freeze at the right pace. It's the quiet partner that makes everything work.
- Unsweetened cocoa powder, 3/4 cup (75 g): Use the best quality you can find. This is your chocolate foundation, and it makes all the difference between good and extraordinary.
- Dark chocolate (at least 60% cocoa), 100 g, finely chopped: Chopping it small means it melts faster and incorporates smoothly. I learned this the hard way with chunky chocolate that refused to blend.
- Granulated sugar, 3/4 cup (150 g): This sweetens the base and helps create the right texture during freezing. It's a delicate balance.
- Large egg yolks, 4: These are your secret weapon for creaminess. They create a proper custard that's safer than raw eggs and tastes infinitely better.
- Pure vanilla extract, 1 teaspoon: This subtle note rounds out the chocolate flavor. Pure vanilla, not imitation, makes you taste the difference.
- Salt, pinch: A tiny whisper of salt deepens the chocolate flavor in ways that surprise people who don't see it listed.
Instructions
- Build your chocolate base:
- Whisk together the cocoa powder, sugar, and salt in a medium saucepan. This dry mixture prevents lumps later. Gradually pour in the milk while whisking, creating a smooth slurry. You're building the foundation here, so take your time and don't rush it.
- Gently heat the mixture:
- Place the saucepan over medium heat and bring it to a gentle simmer, stirring constantly so nothing sticks to the bottom. You want to see small bubbles breaking the surface, not a rolling boil. This takes about 5 minutes, and you'll know it's ready when it smells deeply of chocolate.
- Melt in the dark chocolate:
- Remove from heat and add the finely chopped dark chocolate. Let it sit for a moment, then whisk until it's completely melted and smooth. The residual heat does the work here. This is where you're deepening the chocolate complexity.
- Temper the egg yolks:
- In a separate bowl, whisk the egg yolks together. Slowly pour about 1/2 cup of the hot chocolate mixture into the yolks while whisking constantly. This is crucial. You're raising the temperature of the yolks gradually so they don't scramble. It's like introducing them gently to heat rather than shocking them.
- Create the custard:
- Pour the warmed egg yolk mixture back into the saucepan with the remaining chocolate mixture. Return to medium-low heat and stir continuously with a wooden spoon for 5 to 7 minutes. You're looking for the moment when the custard coats the back of the spoon and leaves a clear trail when you run your finger across it. Don't let it boil or the eggs will scramble.
- Finish the base:
- Remove from heat and stir in the heavy cream and vanilla extract. The cream cools everything down and adds that final richness. You'll notice the color transforms as you stir.
- Strain for smoothness:
- Pour the entire mixture through a fine mesh sieve into a clean bowl. This removes any tiny cooked egg bits that might have formed. It's an extra step, but it guarantees that silky texture you're after.
- Chill completely:
- Cover the bowl and refrigerate for at least 4 hours. I usually do this overnight. The custard needs to be completely cold before churning, or your ice cream won't freeze properly. Use this time to anticipate the first taste.
- Churn to perfection:
- Pour the chilled mixture into your ice cream maker and churn according to the manufacturer's instructions. This usually takes 20 to 30 minutes. You'll watch it transform from liquid to soft serve consistency. This is when the magic happens before your eyes.
- Freeze until scoopable:
- Transfer to a lidded container and freeze for at least 2 hours. Longer is fine. Let it sit at room temperature for 5 minutes before scooping if it's too hard. This makes the scooping easier and lets the flavors soften just slightly.
 Save
Save My daughter asked why homemade ice cream melts faster than store-bought. I realized in that moment that it was because of the love and real ingredients in it, and that sometimes the things that dissolve quickest are worth savoring most slowly.
When You Don't Have an Ice Cream Maker
I won't lie, an ice cream maker is the dream tool for this. But I've made incredible chocolate ice cream without one using the freeze-and-stir method. Pour the chilled mixture into a shallow dish or baking pan and place it in the freezer. Every 30 minutes, take it out and vigorously stir it with a fork, breaking up any ice crystals that form on the edges and pulling them toward the center. After about 3 to 4 hours of this, you'll have creamy, scoopable ice cream. It's more work, but the result is still magnificent. You're essentially churning by hand, creating small ice crystals instead of large ones.
Elevating Your Chocolate Ice Cream
Once you've mastered the base, the variations become endless and exciting. Use 70% dark chocolate instead of 60% for extra intensity. Add chocolate chips or chopped nuts during the last 5 minutes of churning for texture and surprise. Swirl in peanut butter, caramel, or espresso paste. I've even added a pinch of cayenne pepper for a subtle heat that makes people ask what that mysterious spice is. The custard base is your canvas.
Serving and Storage Wisdom
The best moment to serve this ice cream is when it's been in the freezer for about 2 to 3 hours. It's firm enough to scoop into a perfect ball but soft enough to taste creamy rather than frozen hard. Fresh berries provide a bright contrast to the richness, and a tiny sprinkle of sea salt on top awakens the chocolate flavors like a wake-up call for your taste buds. In the freezer, it keeps beautifully for up to two weeks, though it rarely lasts that long in my house.
- Let ice cream sit at room temperature for 5 minutes before scooping for easier serving
- A quality ice cream scoop dipped in warm water makes perfect scoops every time
- Serve in chilled bowls for the ultimate experience—warm bowls will melt your carefully made ice cream
 Save
Save Making chocolate ice cream from scratch is one of those small kitchen victories that changes how you feel about cooking. It's not complicated, but it's undeniably homemade, and that makes every spoonful taste like care.
Recipe FAQs
- → What type of chocolate works best for this dish?
-
Dark chocolate with at least 60% cocoa content creates a rich, intense flavor that balances the sweetness perfectly.
- → How do I achieve a smooth texture?
-
Tempering the egg yolks with the warm chocolate mixture and using a fine mesh sieve before chilling helps eliminate lumps for a silky finish.
- → Can I make this without an ice cream maker?
-
Yes, freeze the mixture in a shallow dish and stir vigorously every 30 minutes until creamy to mimic churning.
- → What is the role of egg yolks in this preparation?
-
Egg yolks thicken the custard base, giving the final product a creamy, smooth consistency while adding richness.
- → Are there ways to vary the flavor or texture?
-
Adding chocolate chips, nuts, or a sprinkle of sea salt during the last churning minutes enhances texture and depth of flavor.
