
 Save
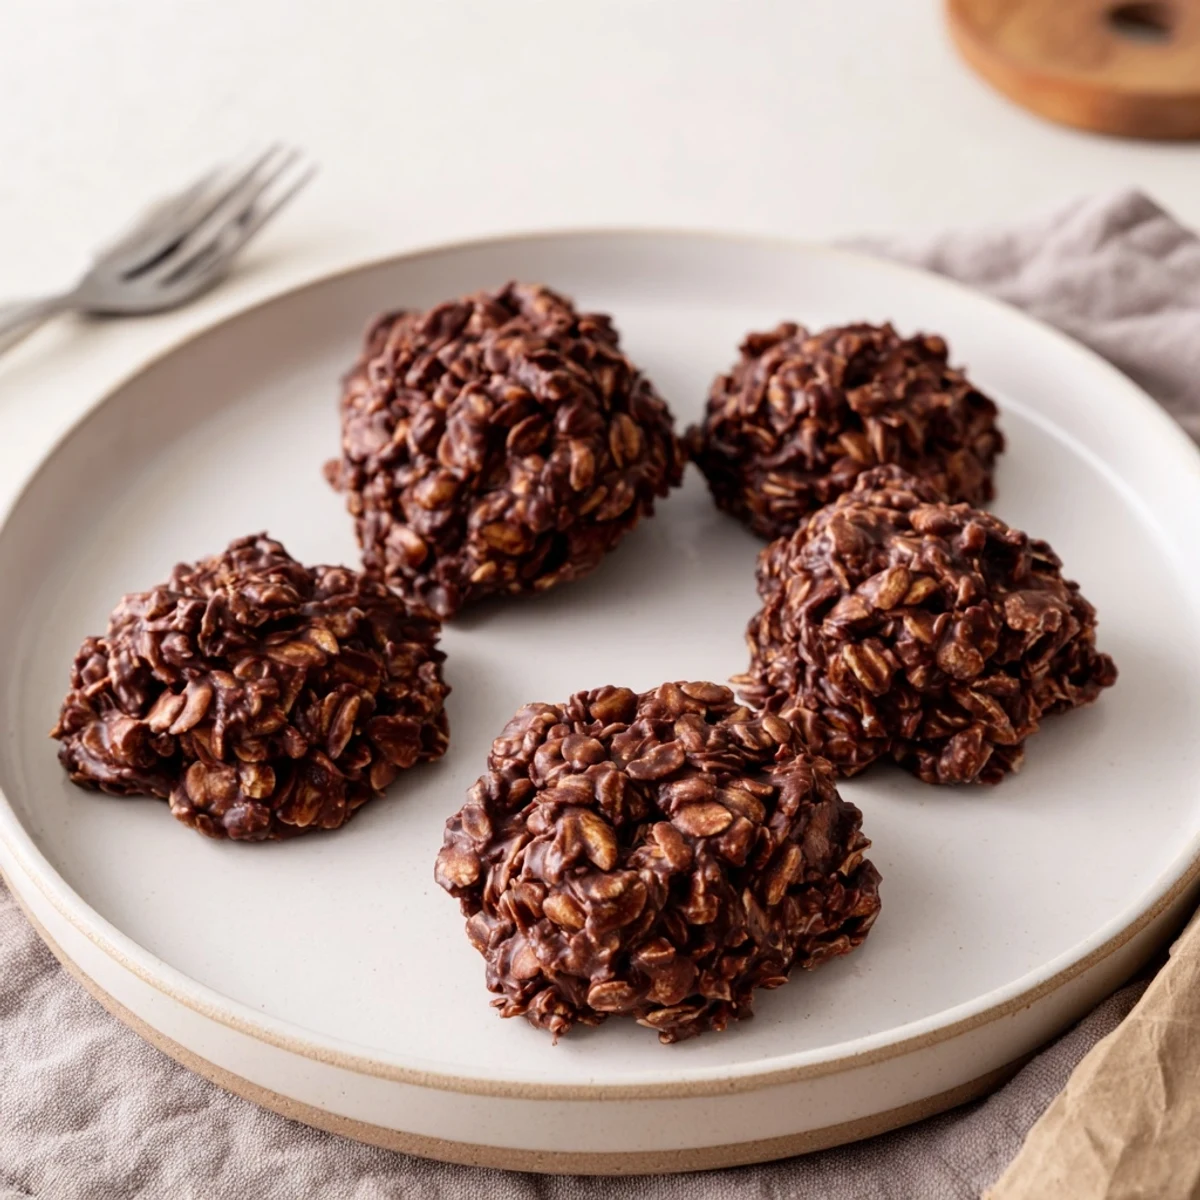
Save These chocolate oatmeal no bake cookies come together in just 30 minutes with no oven required. Simply boil butter, sugar, milk, and cocoa powder together, then stir in peanut butter, vanilla, and oats before dropping spoonfuls onto parchment paper.
They set at room temperature in about 15–20 minutes, yielding 24 chewy, chocolatey treats. Great for hot days when you want homemade sweets without heating up the kitchen.
My kitchen smelled like a chocolate factory the afternoon a thunderstorm knocked out the oven and I still needed to bring something sweet to a potluck that evening. That is the beauty of no bake cookies: they laugh at power outages and impatient hunger alike. These rich, chewy little mounds of cocoa and oat goodness come together in one saucepan and zero oven drama. They have been my emergency dessert hero ever since that stormy day.
I once set a plate of these on the counter during a holiday party and turned around to find them completely gone within ten minutes, leaving nothing but crumbs and a very satisfied looking group of cousins.
Ingredients
- Unsalted butter (1/2 cup, 115 g): Butter gives the cookies their tender chew and rich mouthfeel, so do not skimp or substitute here.
- Granulated sugar (2 cups, 400 g): This much sugar is not a typo; it creates the syrupy base that binds everything together and keeps the cookies soft.
- Whole milk (1/2 cup, 120 ml): Whole milk works best for creaminess, though any milk will do in a pinch.
- Unsweetened cocoa powder (1/4 cup, 25 g): Use a quality cocoa because this is the soul of the cookie flavor.
- Pure vanilla extract (1 tsp): A small amount rounds out the chocolate and adds warmth to the finish.
- Creamy peanut butter (1/2 cup, 130 g): This adds body, subtle nuttiness, and helps the cookies set beautifully.
- Quick cooking oats (3 cups, 270 g): Quick oats absorb the chocolate mixture perfectly without staying crunchy, and old fashioned oats will leave you with a drier, crumbly cookie.
- Salt (a pinch): Salt balances the sweetness and deepens every other flavor in the batch.
Instructions
- Prepare your workspace:
- Line two baking sheets with parchment paper so the cookies release easily once they have set.
- Build the chocolate base:
- In a medium saucepan over medium heat, combine the butter, sugar, milk, and cocoa powder, stirring often as the butter melts and everything blends into a glossy dark liquid.
- Boil with purpose:
- Bring the mixture to a full rolling boil and let it bubble for exactly one minute while stirring constantly, because this brief boil is what gives the cookies their chewy set.
- Add the good stuff:
- Remove the pan from heat and immediately stir in the peanut butter, vanilla extract, and a pinch of salt until the mixture turns silky smooth.
- Fold in the oats:
- Add all three cups of quick oats at once and stir thoroughly until every flake is completely coated in the chocolate mixture.
- Scoop and shape:
- Use a tablespoon or small cookie scoop to drop mounds onto the prepared sheets, gently pressing them into rounds if you like a neater look.
- Let them rest:
- Leave the cookies at room temperature for about fifteen to twenty minutes until firm, or pop the trays in the refrigerator if you are impatient like me.
 Save
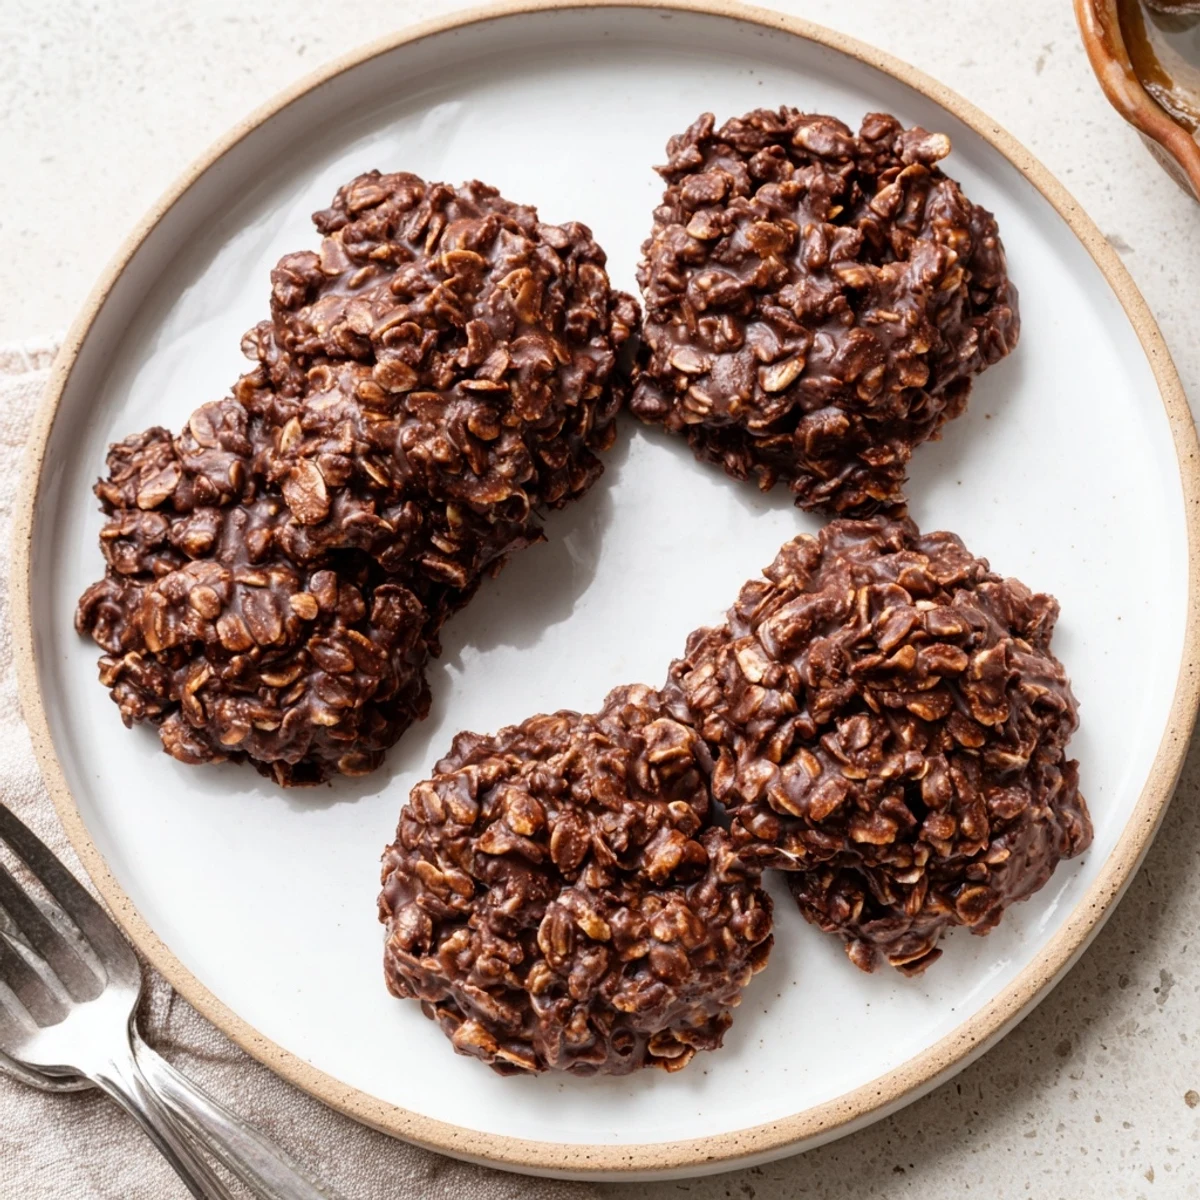
Save The real magic of these cookies hit me one rainy Saturday when my daughter helped scoop the batter and we ended up with more chocolate on our hands than on the tray, laughing the entire time.
Storing Your Batch
Keep these cookies in an airtight container at room temperature and they stay wonderfully chewy for up to a full week. If your kitchen runs warm, the refrigerator is your friend and actually makes them pleasantly firm.
Fun Variations to Try
Stir in half a cup of shredded coconut or chopped nuts right alongside the oats for extra texture and flavor. You can also swap the peanut butter for sunflower seed butter to make them nut free and school lunch friendly.
Tools You Will Need
Gather a medium saucepan, a sturdy wooden spoon or silicone spatula, measuring cups and spoons, two baking sheets, and parchment paper before you start. Having everything laid out makes the whole process feel effortless and calm.
- A cookie scoop gives you uniform portions without any guesswork.
- A silicone spatula scrapes every last bit of chocolate mixture from the pan.
- Set a timer for that one minute boil so you never second guess yourself.
 Save
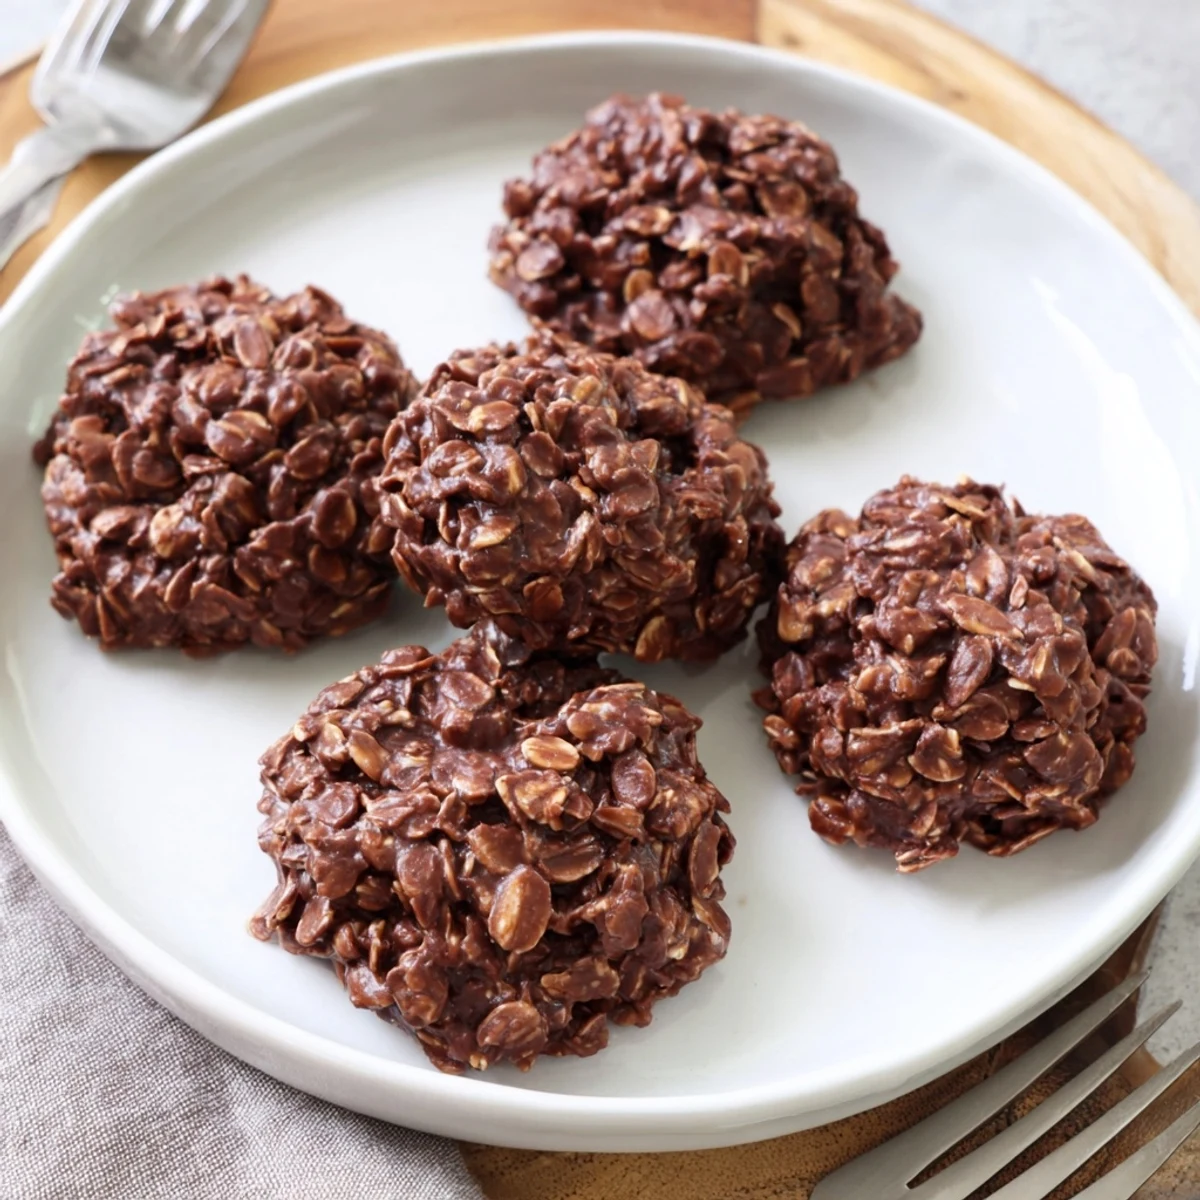
Save These little chocolate oat gems are proof that the best recipes do not need an oven or fancy techniques, just a saucepan and about ten minutes of your afternoon.
Recipe FAQs
- → Can I use old-fashioned oats instead of quick-cooking oats?
-
Yes, but the texture will be chewier and slightly different. Quick-cooking oats absorb moisture faster and create a softer, more cohesive cookie. If using old-fashioned oats, consider pulsing them briefly in a food processor for a similar result.
- → Why do my no bake cookies turn out too gooey or not setting properly?
-
The most common reason is not boiling the wet mixture long enough. You need a full rolling boil for exactly 1 minute while stirring constantly. If the mixture doesn't boil long enough, the sugar won't dissolve properly and the cookies won't set. Humidity can also affect setting, so refrigerating helps firm them up.
- → How should I store these cookies?
-
Store them in an airtight container at room temperature for up to 1 week. You can also refrigerate them to extend freshness and maintain a firmer texture. Layer parchment paper between cookies to prevent sticking.
- → Can I make these nut-free for school lunches?
-
Absolutely. Swap the peanut butter for sunflower seed butter for a completely nut-free version. The flavor and texture will be very similar, making them safe for school environments and those with nut allergies.
- → What can I add to customize the flavor?
-
You can stir in up to 1/2 cup of shredded coconut, chopped nuts, mini marshmallows, or chocolate chips after mixing in the oats. A dash of cinnamon or espresso powder in the cocoa mixture also adds depth to the chocolate flavor.
- → Can I freeze these cookies for later?
-
Yes, they freeze well for up to 3 months. Place them in a single layer on a baking sheet to freeze initially, then transfer to a freezer-safe container with parchment paper between layers. Thaw at room temperature for about 15 minutes before enjoying.