 Save
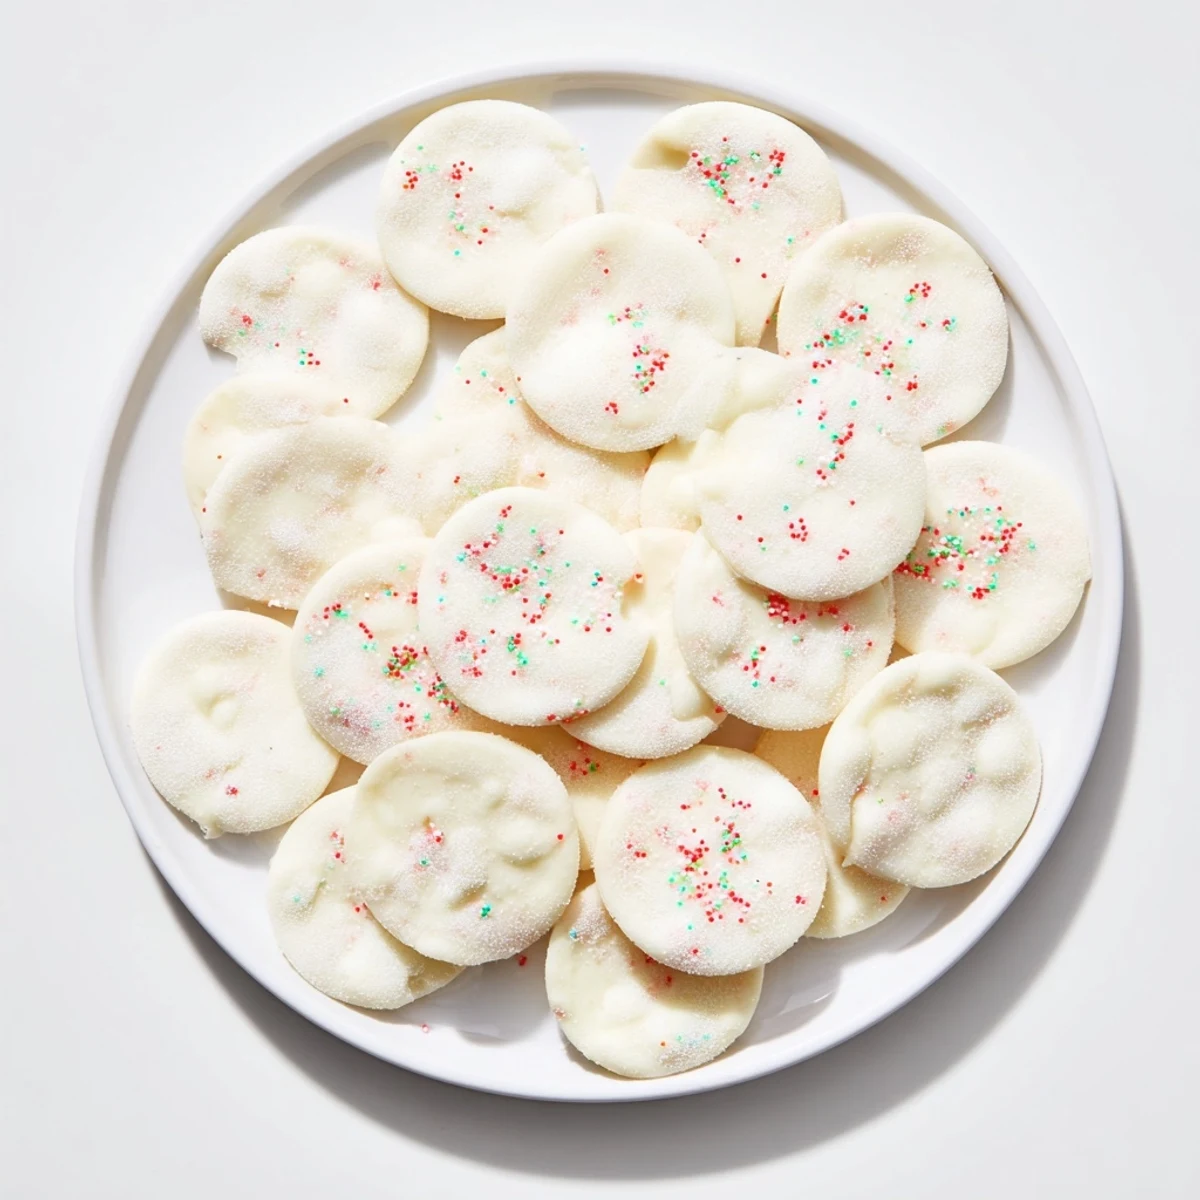
Save This cooling mint confection combines powdered sugar, butter, cream cheese, and peppermint extract to create a smooth, melt-in-your-mouth delight. The dough is softened with milk and optionally colored and decorated with sprinkles for added charm. Once shaped and dried, these candies offer a refreshing sweet experience, suitable for gifts, parties, or a simple palate cleanser. Vegan alternatives and flavor twists make this a versatile treat for various preferences.
My grandmother kept a tin of homemade mint candies on her kitchen counter, and I'd sneak one whenever we visited. Years later, I finally asked for the recipe, expecting something complicated, but she just laughed and showed me it was five ingredients and a fork. Now I make these when I want that same quiet comfort—the kind that melts on your tongue before you've even finished thinking about how simple it is.
I once made these for a dinner party where someone mentioned hating store-bought candy because of all the weird additives. By the end of the night, they'd eaten half the batch and asked if I could make them monthly. That's when I realized these aren't just candy—they're proof that homemade doesn't have to mean complicated.
Ingredients
- Powdered sugar: This is your base, and quality matters more than you'd think; cheaper brands can be gritty, so splurge a little here and get a smooth texture that actually melts.
- Unsalted butter and cream cheese: The combination gives these their distinctive silky feel; room temperature is non-negotiable because cold fat won't blend smoothly and you'll end up with tiny lumps.
- Peppermint extract: A tiny amount goes a long way, so resist the urge to add more unless you want something that tastes like toothpaste.
- Milk: Kept on standby for adjusting texture; add it drop by drop because you can always add more but you can't take it out.
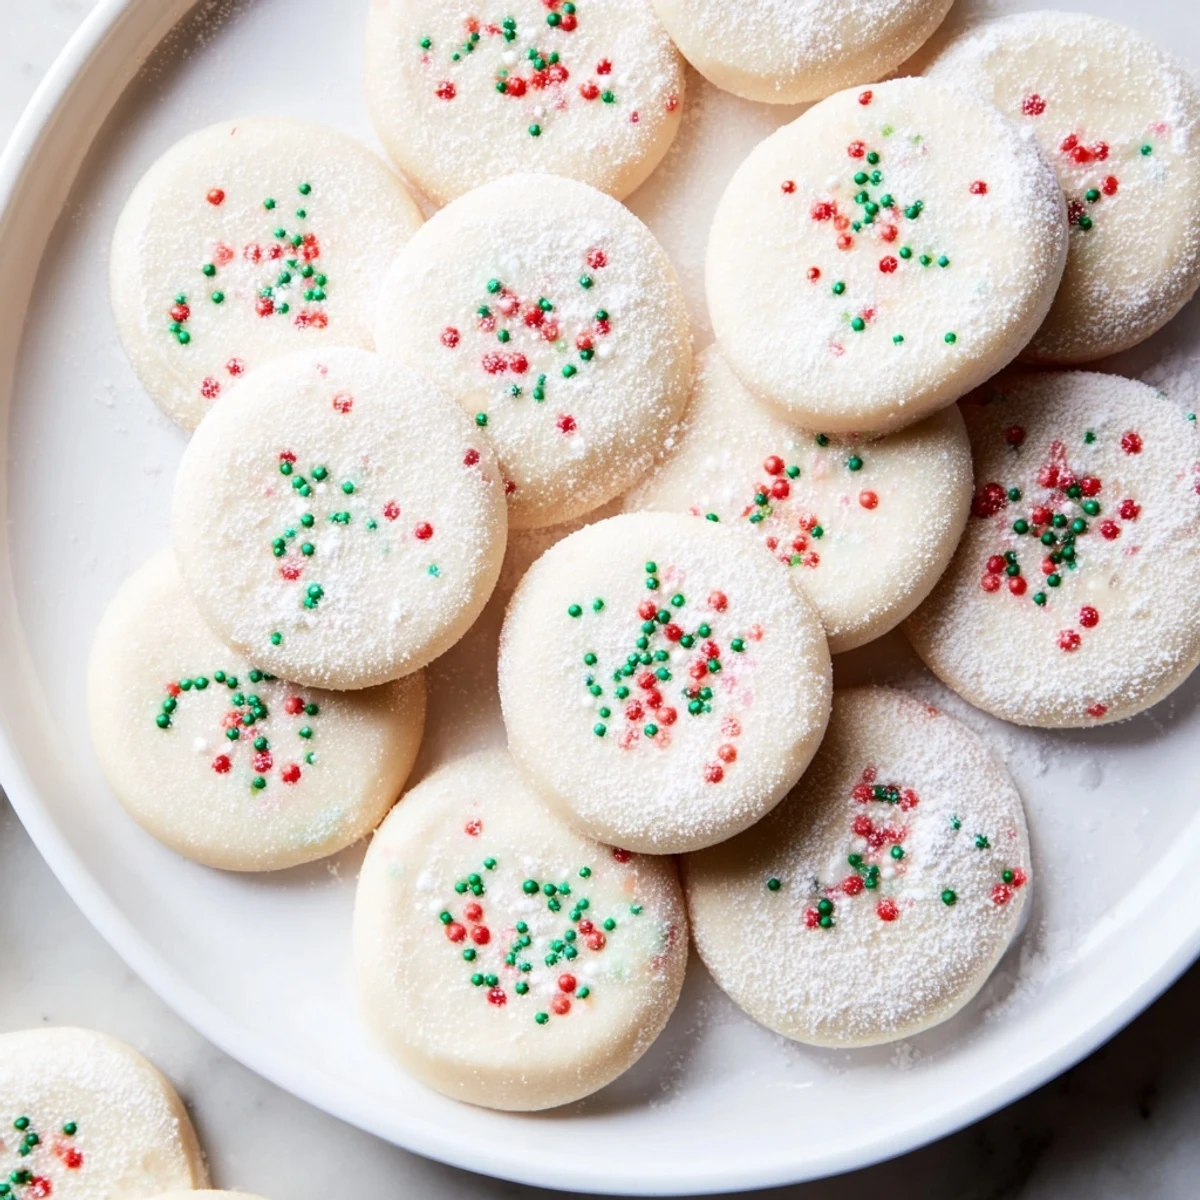
- Food coloring and sprinkles: Entirely optional, but they transform plain white candies into something festive and gift-worthy.
Instructions
- Cream the butter and cheese:
- Beat them together in a bowl until they're pale and fluffy, which usually takes about two minutes with a mixer or five with determination and a wooden spoon. You'll know it's ready when it looks almost like frosting.
- Add the peppermint:
- Stir in the extract and mix until the whole bowl smells like a winter morning. Don't skip this step of actually letting it blend fully or you'll get peppermint flavor concentrated in just some of the candies.
- Work in the powdered sugar:
- Add it gradually while stirring, watching the mixture transform from wet and sticky to thick and dough-like. If it gets too stiff before you've added all the sugar, that's your cue to splash in a tiny bit of milk.
- Optional coloring:
- If you want different colors, divide the dough now and knead in food coloring until it's evenly distributed. A toothpick's worth of color goes further than you think.
- Roll and shape:
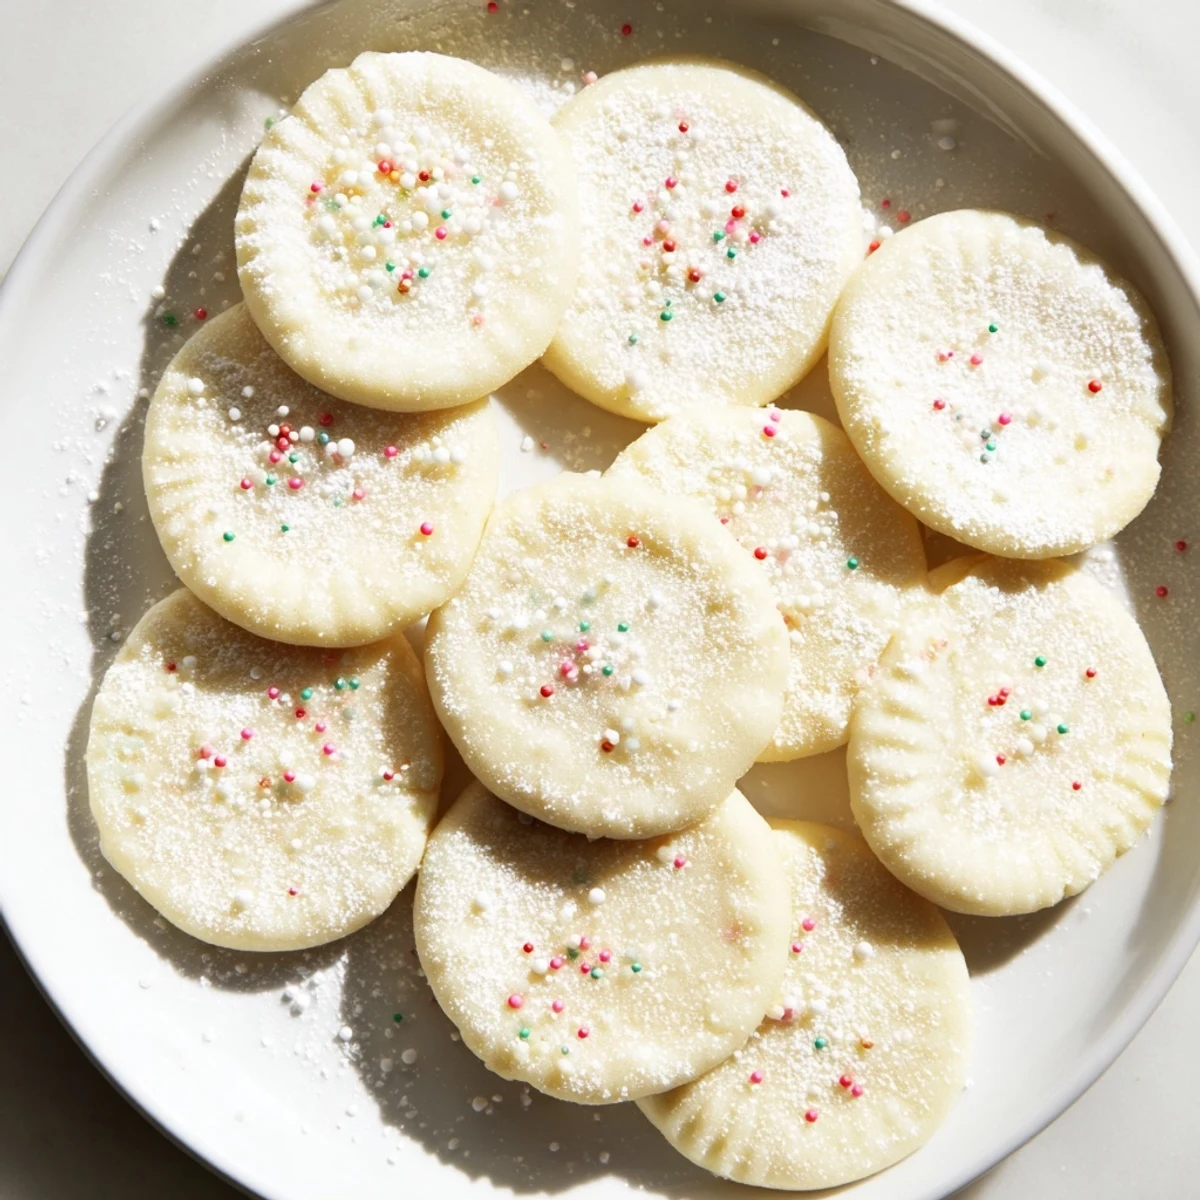
- Dust your hands with powdered sugar to keep them from getting sticky, pinch off pieces about the size of a marble, and roll them between your palms into balls. Press each one gently with a fork to create texture and make them look intentional.
- Arrange and set:
- Place them on parchment paper and add sprinkles or colored sugar right away if you want them to stick. Leave them uncovered at room temperature for a few hours until they're firm enough to eat but still soft inside.
 Save
Save There was a moment last winter when my daughter bit into one of these and her eyes went wide, and she asked if they were really something I made and not from a fancy candy shop. That's when these stopped being just a treat and became something I make whenever I want to remember that small moments of pride in the kitchen matter.
Flavor Variations Worth Trying
Once you've mastered the basic recipe, the fun begins. I've experimented with spearmint for a lighter flavor, a tiny pinch of lemon extract for something brighter, and even a whisper of lavender for something more sophisticated. The beauty is that the base recipe is forgiving enough to handle a little creativity, and each variation takes the same twenty minutes.
Making Them Special
These candies shine when you take two extra minutes to make them look like you care. A sprinkle of crushed candy canes in winter, a dusting of edible glitter for a party, or even a tiny drizzle of white chocolate transforms them from simple to gifted. The taste doesn't change, but the presentation suddenly says you put thought into this.
Storing and Gifting
I keep mine in a glass jar with a tight lid, stacked between parchment squares so they don't stick to each other. They last about two weeks, though they rarely make it that long in my house. For gifting, pack them in a pretty box with tissue paper, and people will think you spent hours making them.
- An airtight container is essential because these are moisture-sensitive and will start to get tacky in humidity.
- If you're shipping them, wrap each one individually in wax paper to prevent sticking and protect them from crumbling.
- Make these a few days before you need them and they'll actually improve as the flavors settle and meld.
 Save
Save These candies remind me that the best things in a kitchen are often the simplest ones, made with ingredients you already have and shared with people you love. That's the real recipe.
Recipe FAQs
- → What gives the mint candy its creamy texture?
-
The combination of softened unsalted butter and cream cheese creates a smooth, creamy dough that melts effortlessly.
- → Can I use different flavorings besides peppermint?
-
Yes, extracts like spearmint or lemon can be substituted to vary the flavor profile while maintaining the candy's refreshing quality.
- → How long does it take for the mint candies to set properly?
-
Allow the candies to dry at room temperature for 2 to 3 hours until firm to the touch before storing or serving.
- → Are there alternatives for dairy ingredients for vegans?
-
Plant-based butter and dairy-free cream cheese can be used to create a vegan-friendly version without compromising texture.
- → What’s the best way to decorate these candies?
-
After shaping, you can add sprinkles or colored sugar for a festive touch, or knead in food coloring to tint the candies before setting.
