 Save
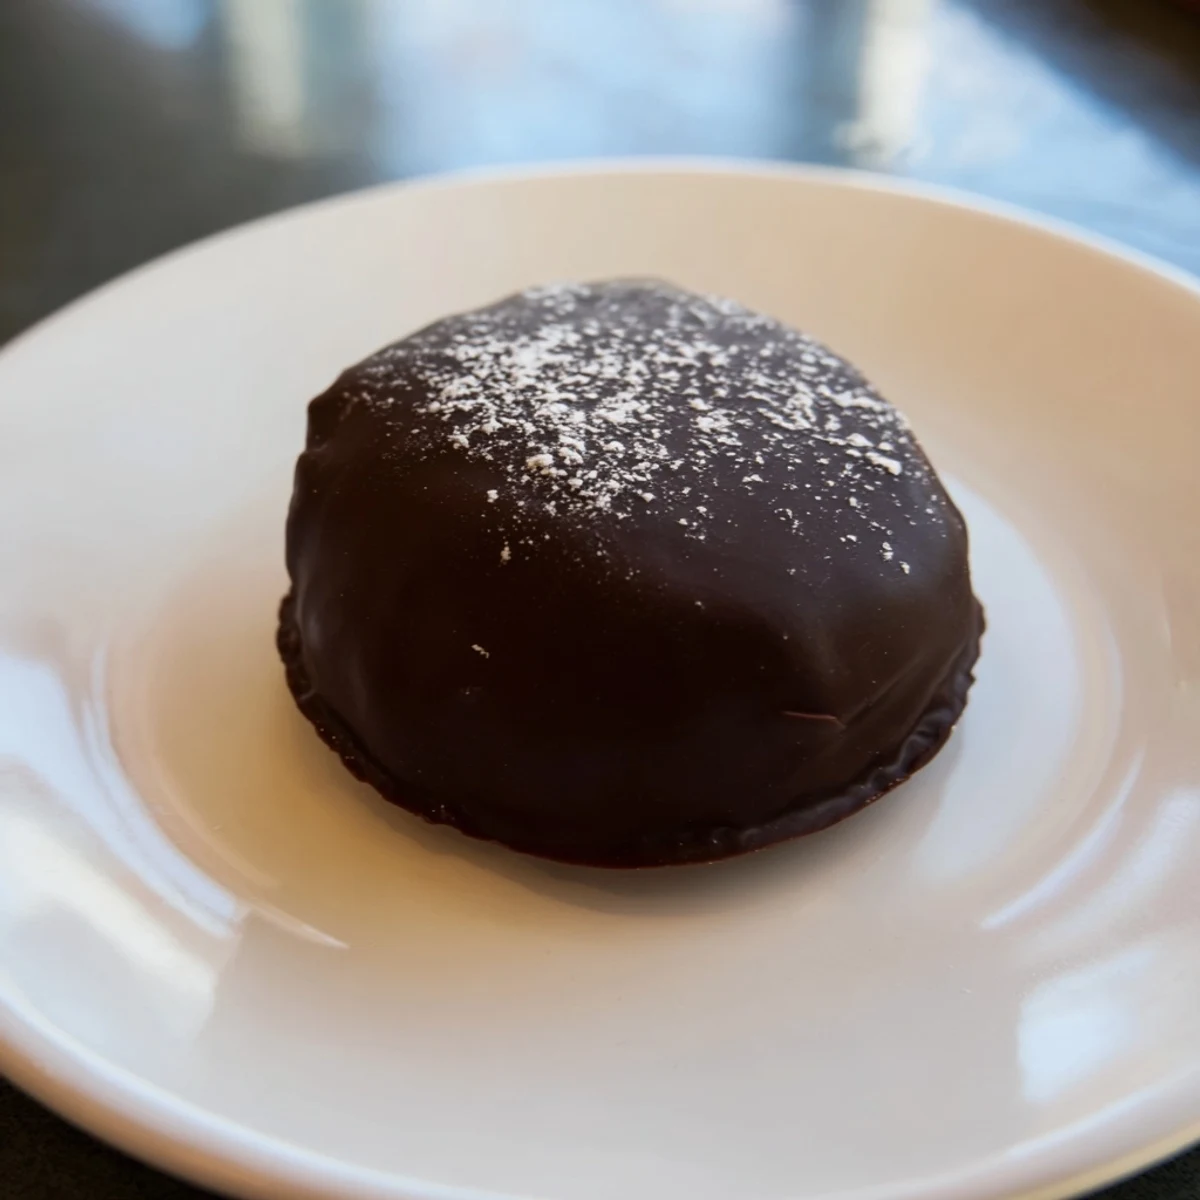
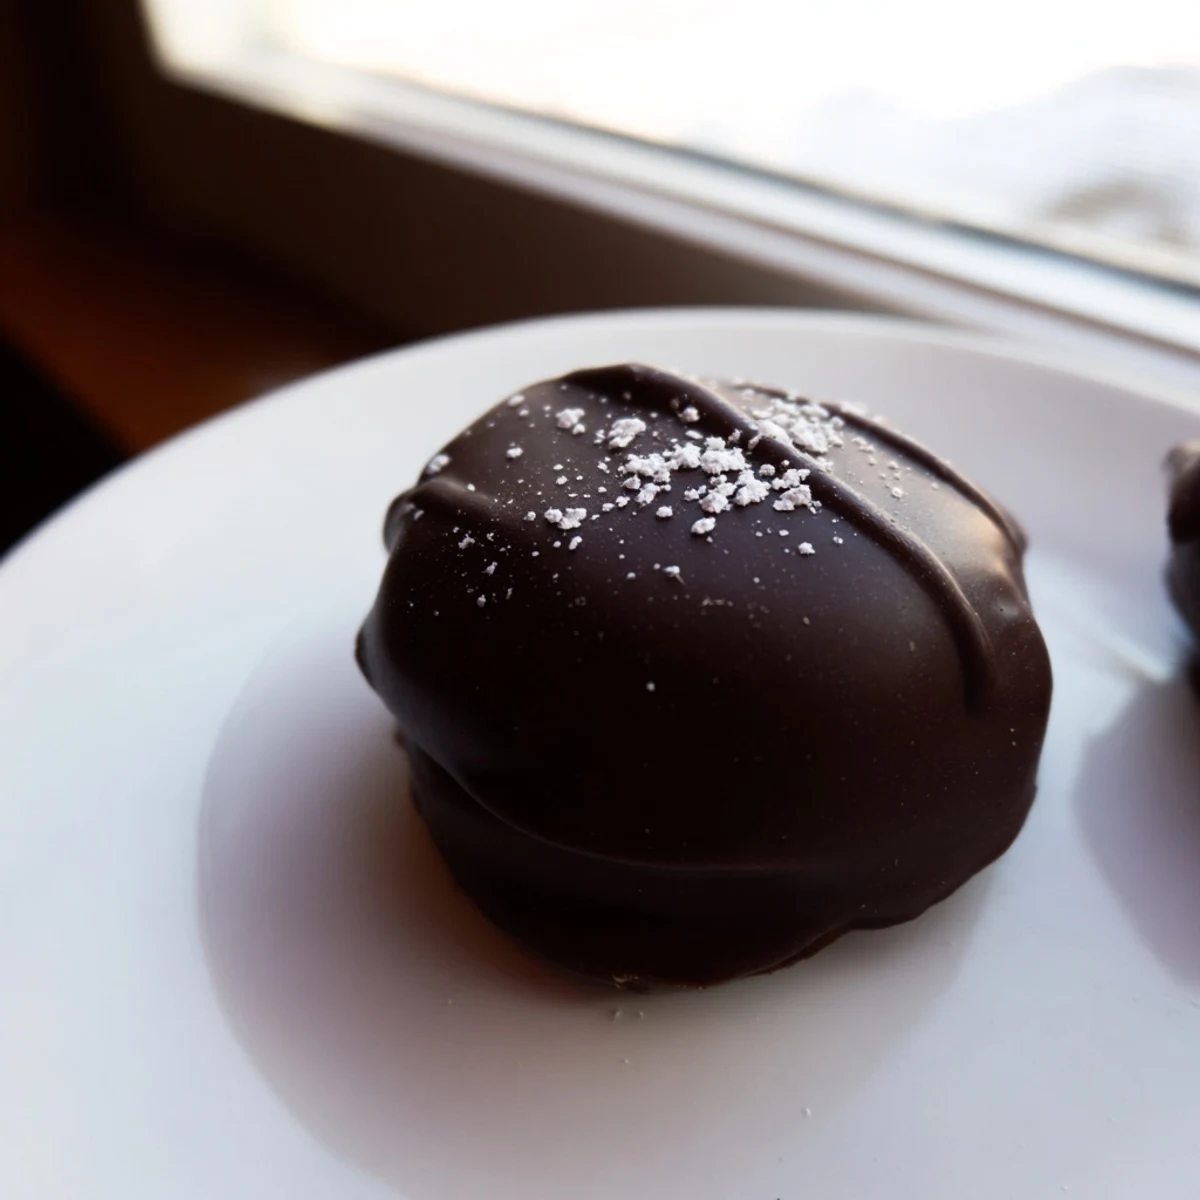
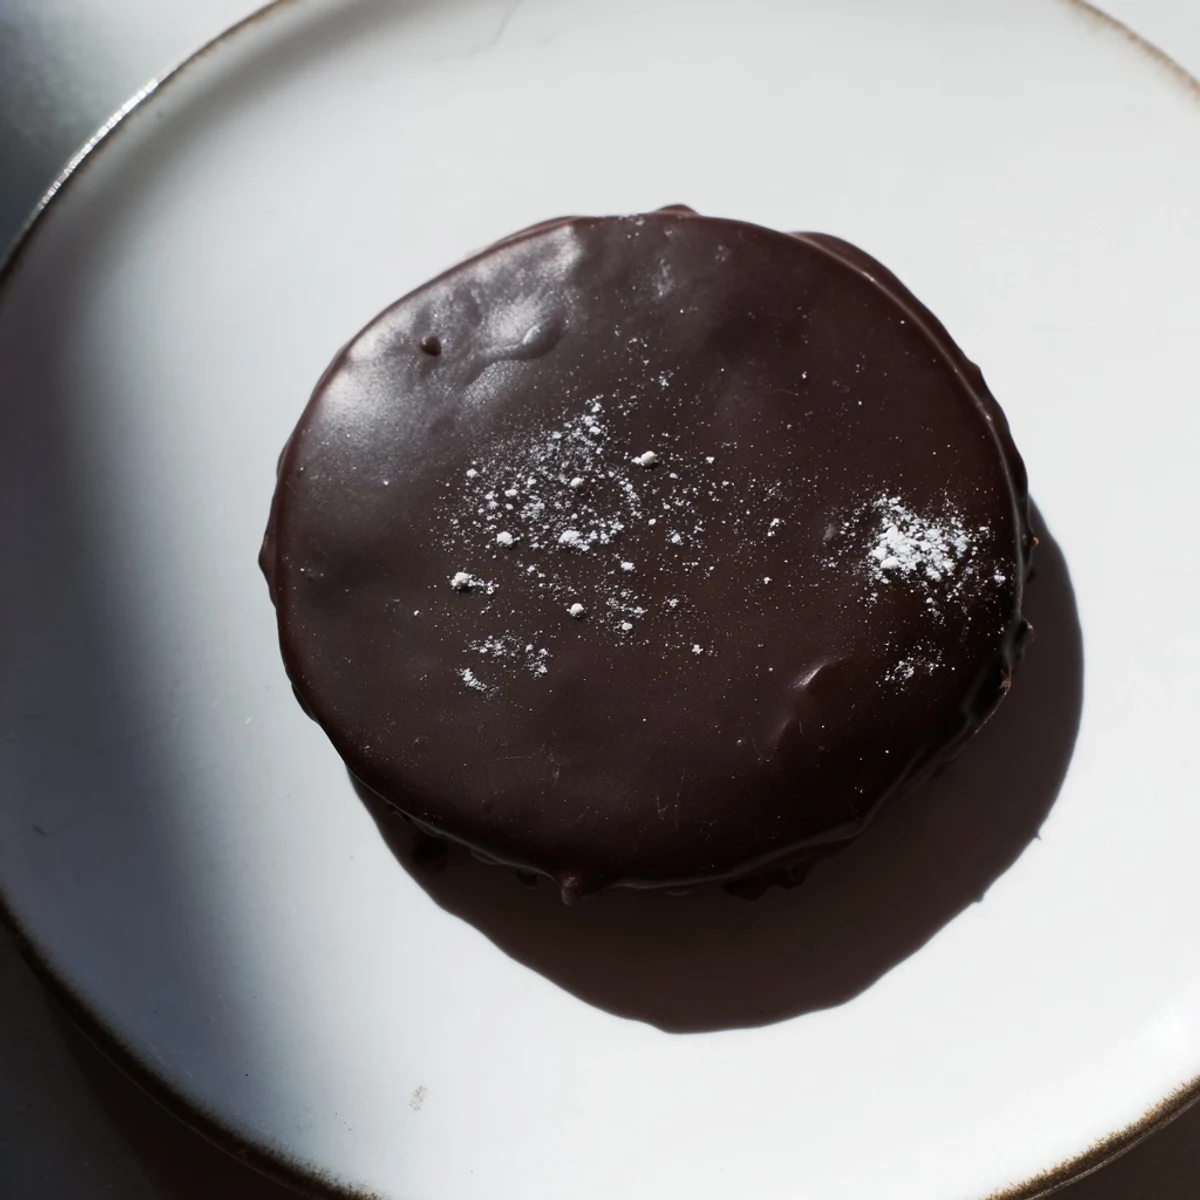
Save These cool, creamy peppermint patties blend powdered sugar, butter, cream, and peppermint extract into smooth centers. Rolled into discs and chilled, they're dipped in melted dark chocolate for a glossy coating. Chilling sets the shell, creating a crisp exterior around a refreshing, soft inside. Perfect for gifting or enjoying as a sweet treat anytime, these candies offer a balance of minty freshness and rich chocolate satisfaction. Variations include white chocolate dips or dairy-free options using vegan butter.
I still remember the first time I bit into a homemade peppermint patty—it was at my grandmother's kitchen table on a snowy December afternoon. She'd been making them for years, and watching that cool, creamy center give way to smooth dark chocolate felt like tasting pure holiday magic. I was determined to recreate that moment, and after some patient experimentation, I realized these little treats are far simpler to make than they taste. Now, every winter, I find myself making batch after batch, and they've become my favorite homemade gift to give.
I'll never forget the look on my friend Sarah's face when she bit into one at a holiday party. She closed her eyes, smiled, and asked for the recipe before she'd even swallowed. That's when I knew these patties had earned their permanent place in my winter tradition.
Ingredients
- Powdered sugar (2 cups, plus extra for dusting): This is the base of your filling, and using truly fine powdered sugar makes a difference—it creates that smooth, melt-in-your-mouth texture. I learned to sift mine if it's lumpy, and always have extra on hand for adjusting consistency.
- Unsalted butter (2 tbsp, softened): Room temperature butter blends seamlessly into the filling, creating richness without greasiness. Cold butter will make the mixture impossible to work with, so let it sit on the counter first.
- Heavy cream (2 tbsp): This brings the filling to life with a luxurious creaminess. It's the secret to that patty feeling like it melts on your tongue rather than sitting there chalky.
- Pure peppermint extract (1½ tsp): Quality matters here—cheap extract tastes medicinal and overpowering. Pure peppermint extract gives you that authentic, bright peppermint flavor that makes people wonder what your secret is.
- Salt (1 pinch): A tiny pinch balances the sweetness and makes the peppermint sing. It's barely detectable but completely necessary.
- Dark or semisweet chocolate (8 oz, chopped): This is your coating's star, so choose chocolate you actually enjoy eating. I prefer dark chocolate for its sophistication, but semisweet is equally delicious and more approachable for peppermint lovers.
- Coconut oil or vegetable shortening (1 tsp, optional): This tiny addition makes the chocolate coating silky and easier to work with. It's not essential, but it's worth keeping on hand—it prevents that slightly thick, dull coating and gives you that professional shine.
Instructions
- Bring your butter to room temperature:
- This step sets the tone for everything. Take your butter out of the fridge and let it sit for 15 minutes. You'll know it's ready when you can gently press a finger through it without resistance.
- Beat together your peppermint filling:
- In a medium bowl, combine the softened butter and powdered sugar, then add the heavy cream, peppermint extract, and salt. Use an electric mixer on medium speed, or work it by hand with a spoon if you prefer. Mix until you have a stiff, smooth dough that holds together. This should take about 2–3 minutes with a mixer. If it feels too dry and crumbly, add cream one drop at a time. If it's sticky, dust in a bit more powdered sugar. You want it to feel like smooth clay.
- Shape your patties:
- Lightly dust your hands with powdered sugar—this prevents sticking and gives your patties a subtle finish. Roll pieces of dough into 1-inch balls, then gently flatten each one with the heel of your hand or a spoon into a patty about ½ inch thick. Take your time here; uneven patties will have thick chocolate on one end and thin on the other. Work quickly so the dough doesn't warm up too much.
- Freeze until firm:
- Arrange your patties on a parchment-lined baking sheet without touching. Slide them into the freezer for 20–30 minutes. They need to be completely firm before chocolate dipping or they'll fall apart on the fork. You can tell they're ready when they feel solid and cold to the touch.
- Melt your chocolate with intention:
- While the patties freeze, melt your chopped chocolate. If you're using a microwave, melt in 30-second bursts, stirring between each one. If using a double boiler, set the bowl over gently simmering water and stir frequently. Add your coconut oil or shortening if using—it helps the chocolate flow smoothly without changing its flavor. You'll know it's ready when there are no lumps and it flows like silk.
- Dip with the fork technique:
- Remove a few patties from the freezer at a time—they need to stay cold or they'll lose their shape. Using a fork, gently lower a patty into the melted chocolate, letting it submerge for just a moment. Tap the fork gently against the rim of the bowl to let excess chocolate drip off, then carefully return the patty to your parchment-lined sheet. Work steadily but without rushing; if your chocolate starts to thicken, gently reheat it over low heat.
- Set the chocolate coat:
- Once all patties are dipped, slide the baking sheet back into the refrigerator for 20 minutes. This is when the magic happens—the chocolate sets into a snappy, professional-looking shell. You'll see it transform from glossy to matte as it firms up.
- Store and savor:
- Transfer your finished patties to an airtight container and keep them in the refrigerator. They'll stay fresh for up to 2 weeks, though they rarely last that long in my house. Let them sit at room temperature for just a minute before eating—that's when the texture is absolutely perfect.
 Save
Save The moment I realized these patties had truly become part of my tradition was when my sister asked me to teach her how to make them. We stood side by side in my kitchen, hands dusted with powdered sugar, laughing at our misshapen attempts at the beginning before they became perfectly smooth and round. It wasn't just about making candy—it was about creating a memory we could share.
Variations to Try
Once you master the classic peppermint patty, the possibilities expand beautifully. I've experimented with white chocolate coating, which brings a sweeter, creamier finish that lets the peppermint shine differently. Some years I double the peppermint extract for a more intense flavor—it's perfect if you love that cooling sensation. You can also play with the chocolate itself: try milk chocolate for a gentler flavor, or add a pinch of espresso powder to the chocolate coating for an elegant peppermint-mocha twist. Even the filling can be adapted—for a dairy-free version, swap the butter for vegan butter and use coconut cream instead of heavy cream. The base recipe is flexible enough to make your own signature version.
Gifting and Presentation
Homemade peppermint patties make genuinely impressive gifts because they look like they came from a fancy chocolatier, yet people know you made them by hand. I wrap mine individually in small squares of wax paper, which both protects them and makes them feel special. Then I pile them into decorative boxes or mason jars with tissue paper tucked between the layers. A handwritten label noting the flavors and any special touches always gets a smile. These are the gifts people remember—not because they're expensive, but because someone took time to make something beautiful just for them.
- Wrap each patty in wax paper or parchment to prevent them from sticking to each other
- Layer them in a box with crinkle paper or tissue for a gift-worthy presentation
- Include a note about storage—people should keep them refrigerated and enjoy them within two weeks for best flavor
Why Homemade Trumps Store-Bought
There's something about biting into a homemade peppermint patty that a store-bought version can never quite match. The filling is fresher, creamier, and has that real peppermint flavor rather than artificial notes. The chocolate coating is smoother because you controlled the tempering, and the whole thing has a melt-in-your-mouth quality that mass-produced candies simply can't achieve. Plus, there's the intangible magic of knowing exactly what went into it—no mystery ingredients, no preservatives, just good butter, quality chocolate, and real peppermint extract.
 Save
Save These peppermint patties have taught me that some of the best homemade treats are the simplest ones. There's genuine joy in sharing something you made with your own hands.
Recipe FAQs
- → How do I achieve a smooth peppermint filling consistency?
-
Beat powdered sugar, butter, cream, peppermint extract, and salt until a stiff, smooth dough forms. Adjust cream or sugar as needed for pliability.
- → What is the best way to prevent patties from sticking?
-
Lightly dust your hands with powdered sugar before shaping the dough into patties to avoid sticking.
- → How should the chocolate coating be melted?
-
Melt chocolate gently over simmering water or in short microwave bursts, stirring until completely smooth to ensure even coating.
- → Can I make these candies dairy-free?
-
Yes, by substituting vegan butter and coconut cream, you can create a dairy-free version while maintaining texture and flavor.
- → How long does it take for the chocolate to set properly?
-
Chilling the coated patties for about 20 minutes in the refrigerator ensures a firm, glossy chocolate shell.
