 Save
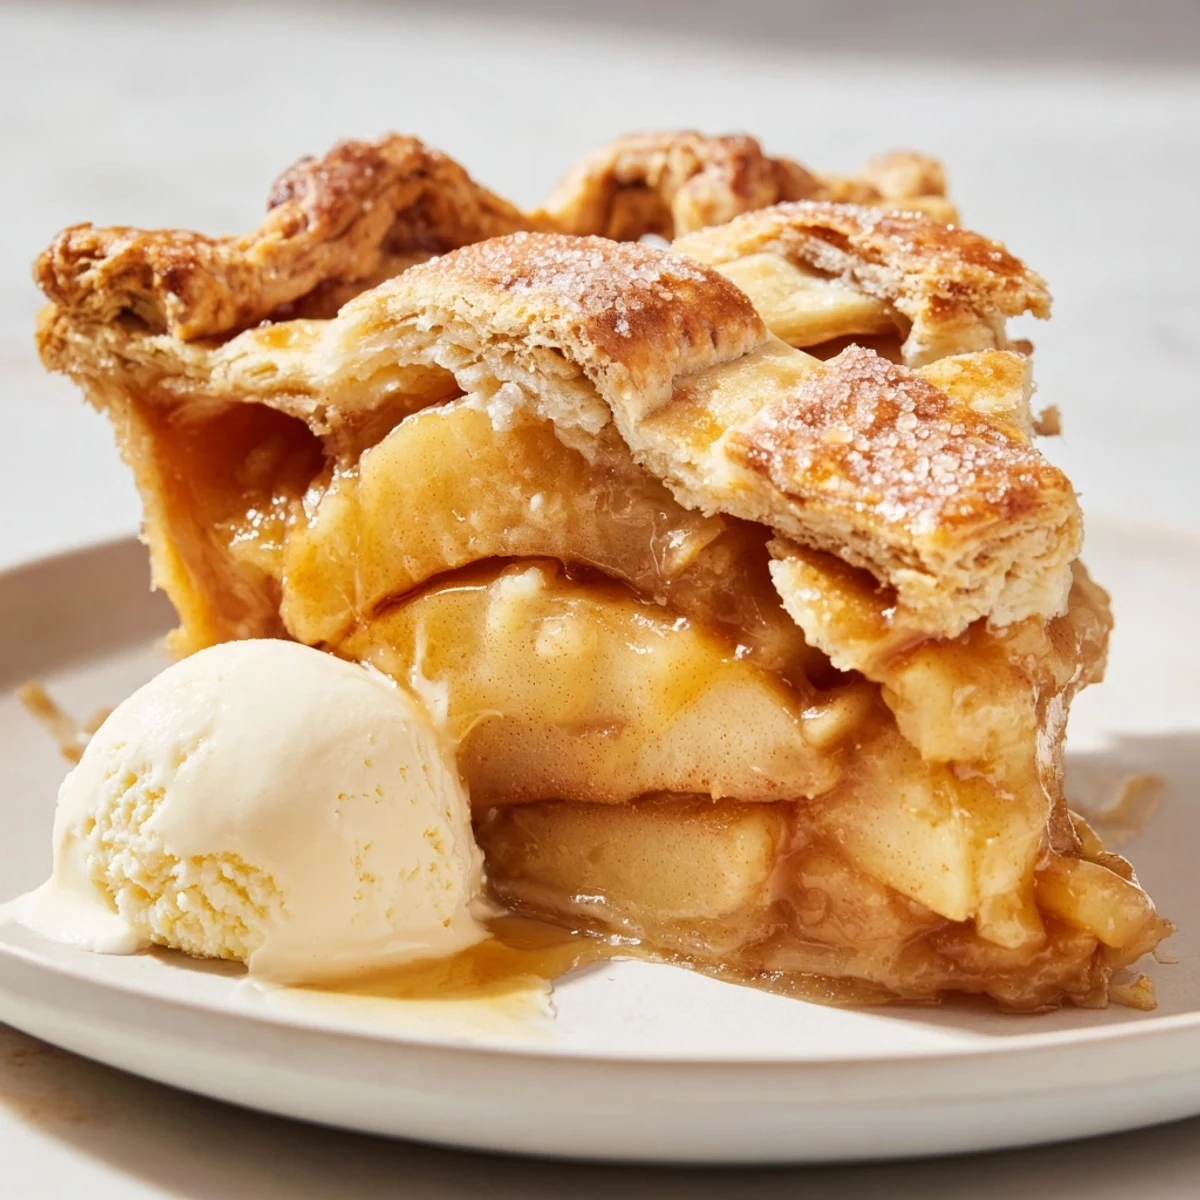
Save This beloved American dessert combines tart, thinly sliced apples with warming spices like cinnamon, nutmeg, and cloves, all nestled inside a homemade buttery pastry crust. The dough, made from scratch with cold butter and ice water, creates that signature flaky texture that makes every bite irresistible.
The process begins with preparing and chilling the pastry dough, then tossing fresh apples with the perfect balance of granulated and brown sugars. After assembling the pie and sealing the edges with a classic crimp, an egg wash gives the crust that beautiful golden finish.
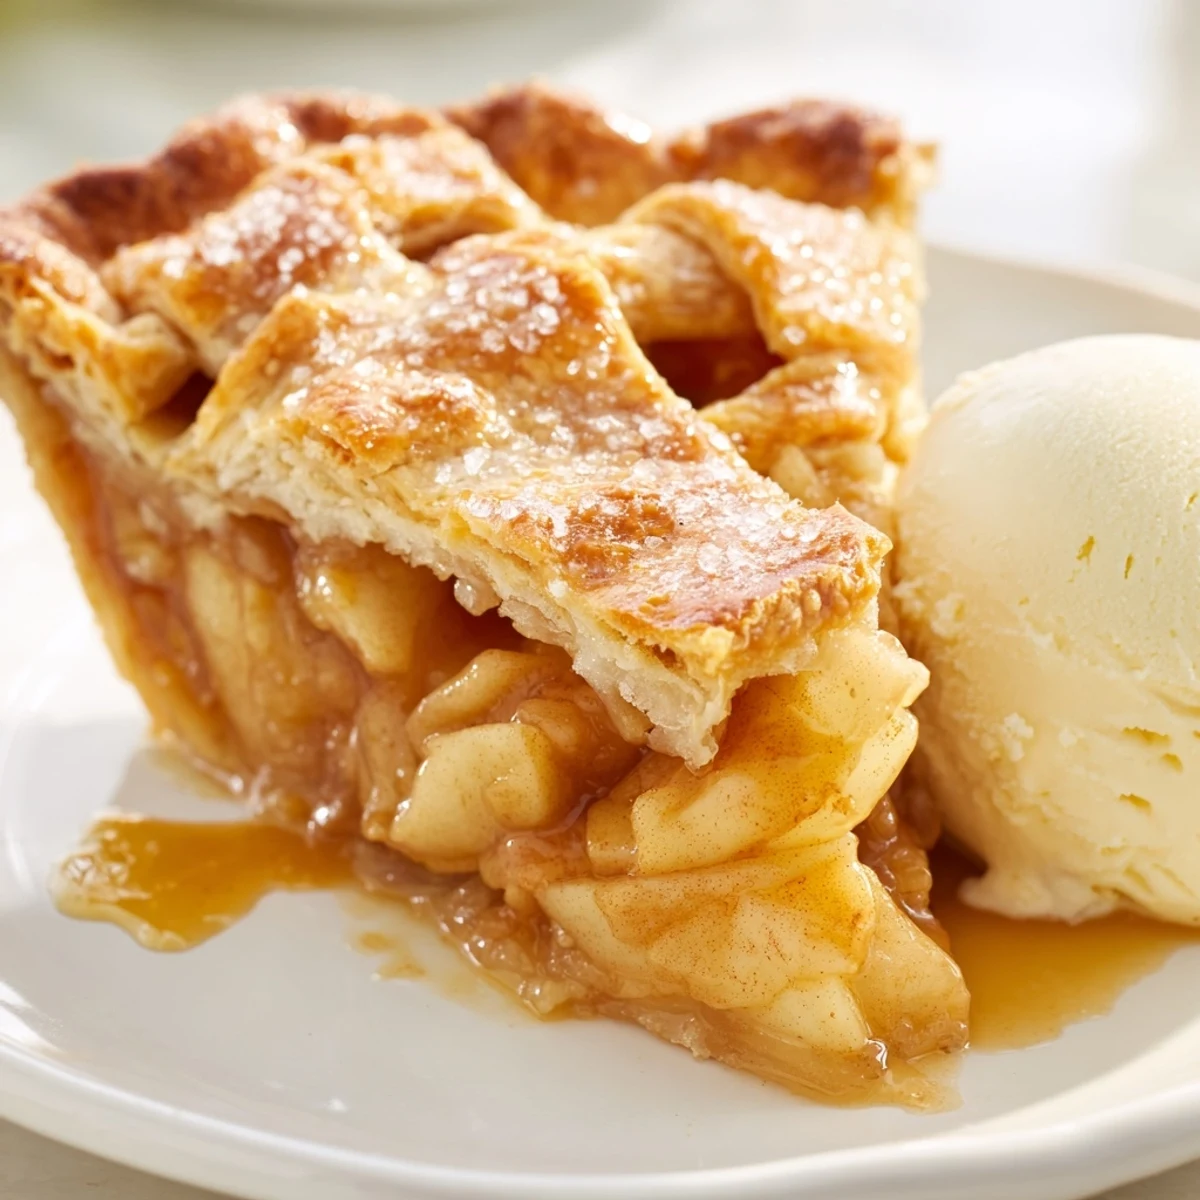
Baking starts at a high temperature to set the crust, then continues at a moderate heat until the filling bubbles thickly through the steam vents. The cooling period is essential—it allows the filling to set properly so each slice holds its shape.
The kitchen counter was dusted with flour, butter fingerprints everywhere, and that unmistakable cinnamon-spice scent filling every corner of the house. My grandmother stood by the oven, watching through the glass door as the crust turned golden brown. She turned to me with that knowing smile and said, The secret isn't in following the recipe perfectly—it's in knowing when the apples tell you they're ready.
Last Thanksgiving, I made three pies because my brother announced he was bringing eight friends home unexpectedly. We stood around the counter, everyone taking turns crimping edges badly, laughing at the misshapen crusts. By midnight, every single crumb was gone, and those friends still text me asking when I'm making another one.
Ingredients
- All-purpose flour: The foundation of both crust and filling—use unbleached for the best flavor and structure
- Cold unsalted butter: Keep it ice-cold and cut into small cubes before starting—warm butter makes tough crust
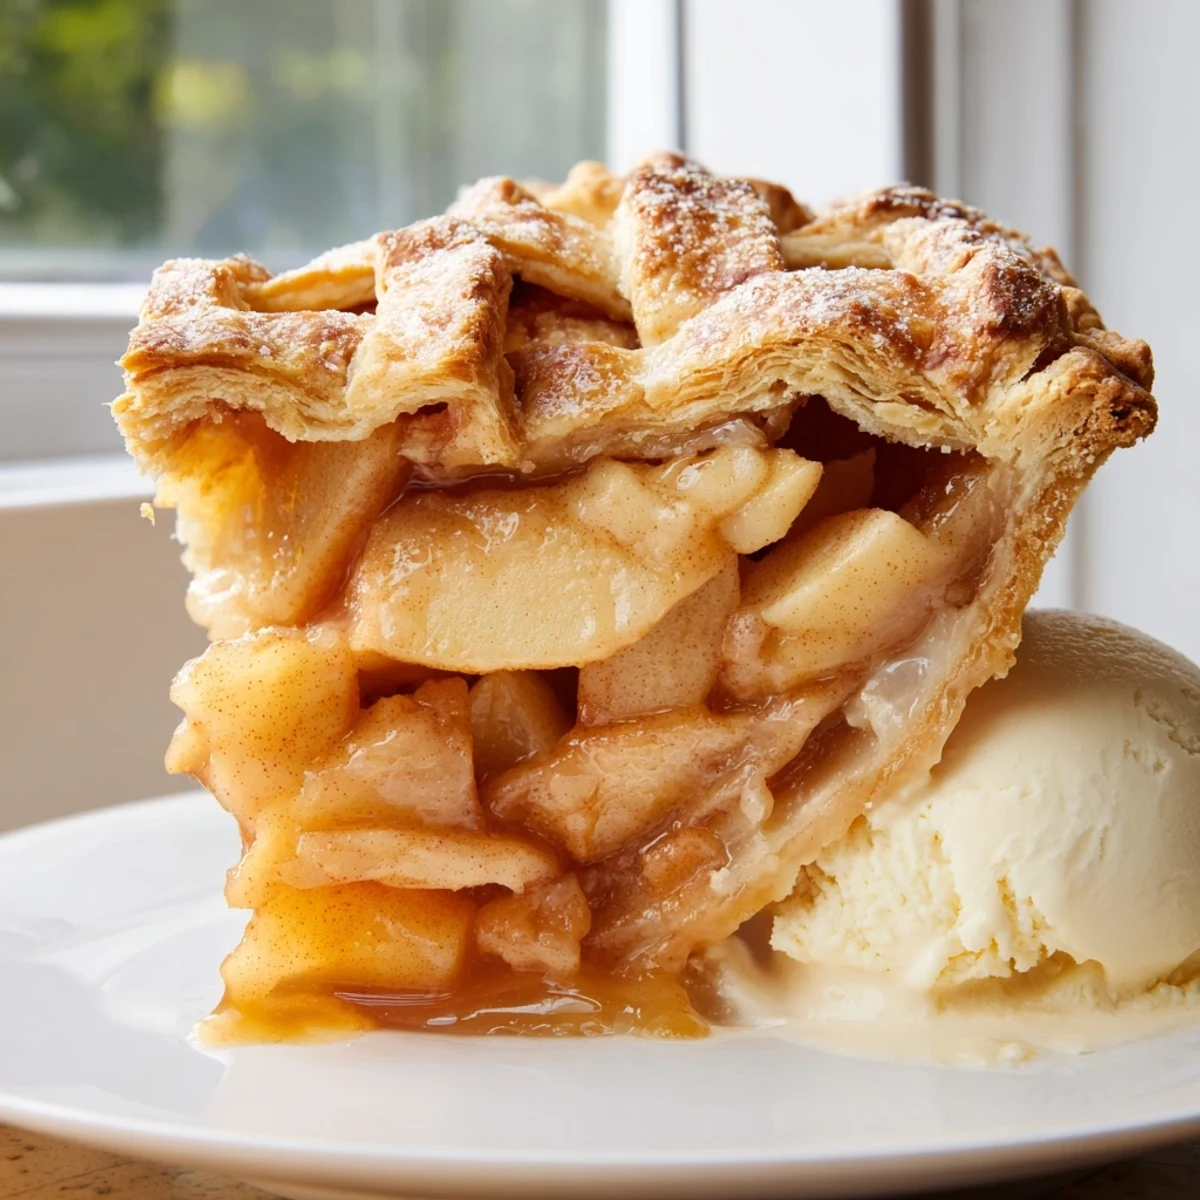
- Tart apples: Granny Smiths hold their shape beautifully during baking while Honeycrisp adds natural sweetness
- Granulated and brown sugar: The combination creates depth—brown sugar adds caramel notes while white sugar provides crisp sweetness
- Ground cinnamon, nutmeg, and cloves: This warm spice trio is classic for a reason—dont be tempted to add more, the apples should shine
- Lemon juice: Prevents apples from browning and adds brightness that balances the sweetness
- Egg and milk: Whisked together, they create that beautiful golden sheen on the finished crust
Instructions
- Make the pie crust:
- Whisk flour, salt, and sugar in a large bowl, then cut in cold butter until the mixture resembles coarse crumbs with some pea-sized pieces remaining. Gradually drizzle in ice water, mixing gently with your hands just until the dough holds together when squeezed—overworking makes it tough. Divide in half, form into discs, wrap tightly, and refrigerate for at least one hour.
- Prepare the apple filling:
- Toss the sliced apples with both sugars, flour, lemon juice, cinnamon, nutmeg, cloves, and salt until every piece is coated. Let them sit for about ten minutes—youll notice the apples releasing some juice, which helps create that luscious filling.
- Roll out the bottom crust:
- On a well-floured surface, roll one dough disc into a twelve-inch circle, rotating frequently to prevent sticking. Carefully transfer it to your pie dish, letting the edges drape over the sides, then trim excess to about one inch overhang.
- Fill and butter the pie:
- Pile the apple mixture into the crust, mounding it slightly higher in the center since it will settle during baking. Scatter those small butter pieces over the top—this little detail adds richness and helps create those golden bubbling spots.
- Top and seal the pie:
- Roll the second dough disc into another twelve-inch circle and place it over the apples. Trim the edges to match the bottom crust, then fold both layers under and crimp them together with your fingers or a fork to seal.
- Create steam vents and add the wash:
- Cut several small slits in the top crust to let steam escape, then brush the entire surface with beaten egg mixed with milk. Sprinkle with coarse sugar for that bakery-style sparkle and extra crunch.
- Bake to perfection:
- Bake at 425°F for twenty minutes to set the crust, then reduce to 375°F and continue baking for thirty-five to forty minutes until the filling bubbles visibly through the vents and the crust is deeply golden. If the edges brown too quickly, cover them with foil.
- Let it rest:
- This is the hardest part—let the pie cool completely for at least two hours before slicing. The filling needs time to set, otherwise you'll end up with a delicious mess on your plate instead of neat, beautiful slices.
 Save
Save There's something almost meditative about the rhythm of slicing apples, the sound of the knife against the cutting board, the way the kitchen gradually transforms into this warm, cinnamon-scented sanctuary. My neighbor once knocked on my door just to ask what I was baking because the aroma had drifted down the hallway. I gave her a slice still warm from the oven, and now we exchange pies every holiday.
The Perfect Apple Combination
After years of experimenting, I've learned that using two different apple varieties creates the most interesting filling. Half tart apples like Granny Smith hold their shape and provide structure, while half sweeter varieties like Honeycrisp or Braeburn add natural sweetness and complexity. The contrast keeps every bite interesting.
Making This Ahead
You can prepare the dough up to two days in advance and refrigerate it, or freeze it for up to three months. The apple filling can also be mixed and stored in the refrigerator for several hours before baking. Just assemble everything right before you're ready to bake for the freshest results.
Serving Suggestions
Warm apple pie deserves the perfect accompaniment. While vanilla ice cream is classic, try a dollop of crème fraîche for sophistication or a sharp cheddar cheese for a traditional New England twist.
- Let slices warm slightly at room temperature before serving if refrigerated
- Warm your ice cream just slightly so it melts beautifully over the pie
- A cup of strong coffee or spiced cider makes the perfect pairing
 Save
Save There's nothing quite like that first slice, still slightly warm, with steam rising and that perfect crunch of sugary crust. Hope this recipe finds its way into your family's traditions.
Recipe FAQs
- → What type of apples work best?
-
Tart, firm varieties like Granny Smith hold their shape beautifully during baking and balance the sweetness. You can also mix tart apples with sweeter varieties like Honeycrisp or Braeburn for a more complex flavor profile.
- → Why must the butter be cold?
-
Cold butter creates small pockets of fat in the flour that melt during baking, producing flaky layers. If the butter warms up before baking, it blends into the flour, resulting in a tougher, less tender crust.
- → Can I make this ahead of time?
-
Absolutely. The dough can be prepared and refrigerated up to 2 days in advance, or frozen for up to 3 months. You can also fully assemble the pie and refrigerate it overnight before baking—just add a few extra minutes to the baking time.
- → How do I know when it's done?
-
The crust should be deep golden brown, and you should see the filling bubbling actively through the steam vents. If the crust browns too quickly, tent the pie loosely with foil for the remaining baking time.
- → Why is cooling time important?
-
Allowing the pie to cool for at least 2 hours lets the filling thicken and set properly. Cutting into a hot pie will cause the filling to run, making it difficult to serve neat slices. The flavors also develop and meld during this resting period.
