 Save
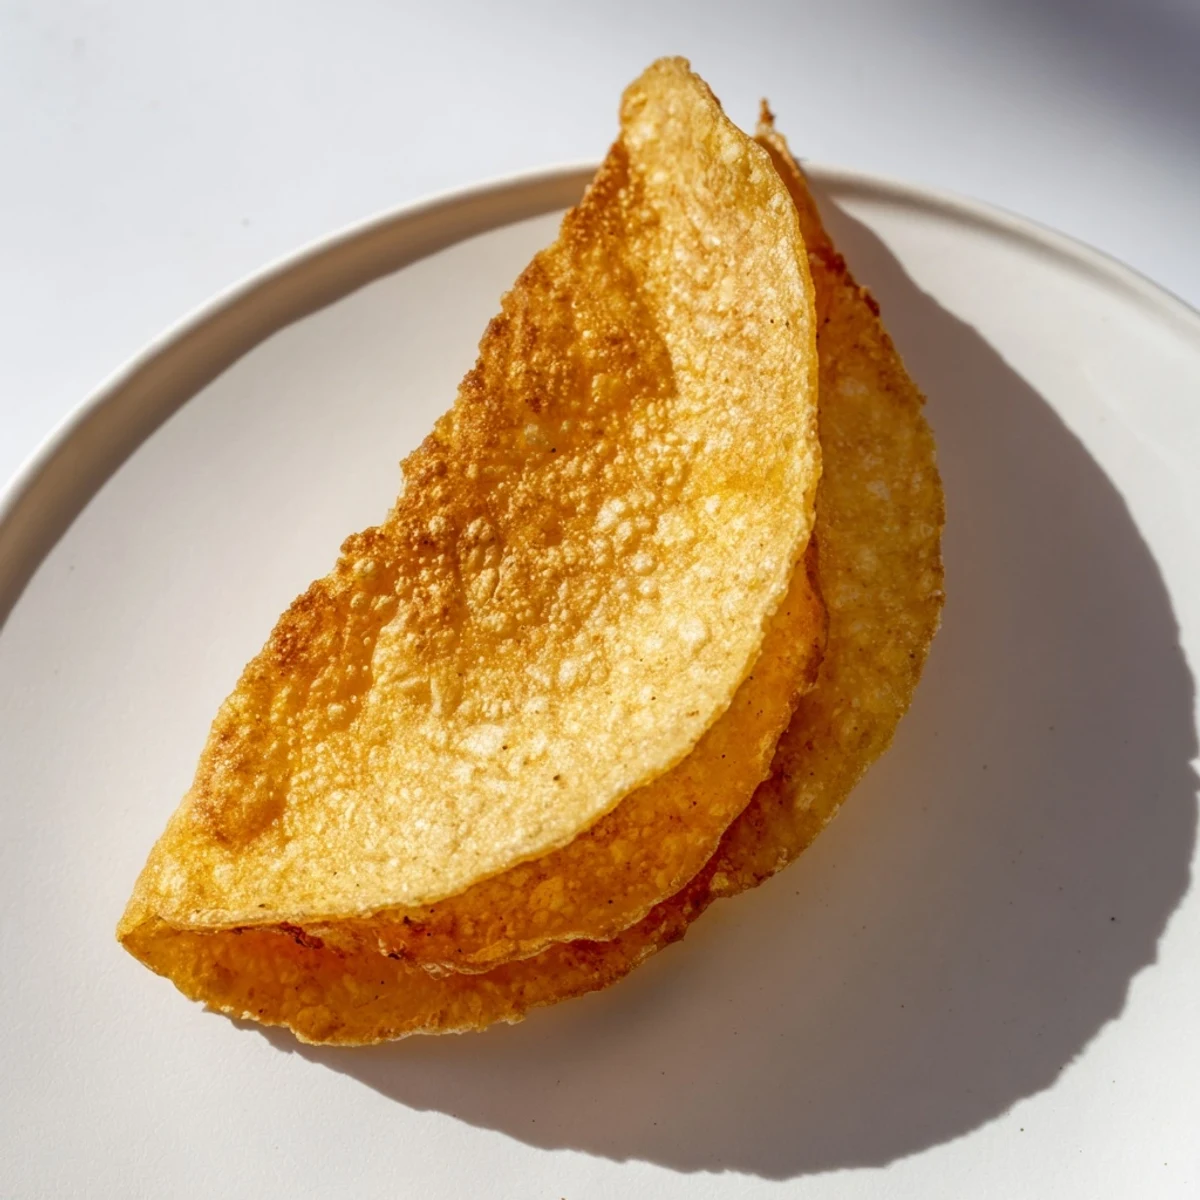
Save This dish yields delicate, golden shells with a light crunch, perfect for holding sweet or savory fillings. The dough combines simple ingredients like flour, butter, egg, and water, then rested briefly to develop texture. Rolled thin and fried quickly until crisp, these shells can be shaped into tacos, cups, or cones. Versatile and quick to prepare, they bring a satisfying crispness to any snack or dessert idea.
Discovering the perfect crispy shell was a game changer for my snack nights. I remember the first time I made these delicate, thin shells, the crunch and lightness felt like uncovering a secret ingredient for endless fillings.
I still smile thinking back to that busy evening when unexpected guests popped in and these shells were ready to go with a quick filling. It felt like having a magic trick up my sleeve, impressing everyone with minimal fuss.
Ingredients
- all-purpose flour: I always reach for this because it gives the perfect balance of structure and tenderness to the shell
- salt: just a pinch to enhance flavor without overpowering
- sugar: optional, but it adds a subtle sweetness that works beautifully for dessert shells
- unsalted butter: melted for richness and a tender crumb, be sure not to overheat it
- water: keeps the dough pliable and easy to roll thin
- egg: provides binding and helps with crispiness
- vegetable oil: for deep frying, choose one with a high smoke point like canola or sunflower
Instructions
- Mix Your Dry Ingredients:
- Whisk together the flour, salt, and sugar if using, feeling the soft powder run through your fingers, the first step to that perfect texture.
- Combine with Wet Ingredients:
- Beat the egg first, then mix in melted butter and water - the mixture should feel smooth and inviting.
- Form Your Dough:
- Blend wet and dry together, kneading gently until smooth and supple. If it feels sticky, dust with a little more flour but be careful not to add too much.
- Rest the Dough:
- Cover and let it rest for 10 minutes, this helps relax the gluten for easy rolling.
- Shape With Care:
- Divide into 8 pieces and roll each into a paper-thin circle on a floured surface, aiming for about 2 mm thickness; thinness is key to crispy perfection.
- Heat Your Oil:
- Warm the oil to about 350°F (175°C), the moment the first shell dances on the surface you'll hear a satisfying sizzle.
- Fry to Golden Perfection:
- Use tongs or a metal mold to hold your shells in shape as you fry them quickly for about 1 minute each until golden and crispy.
- Drain and Cool:
- Remove shells carefully and drain on paper towels. Let them cool completely to preserve crispness before filling.
 Save
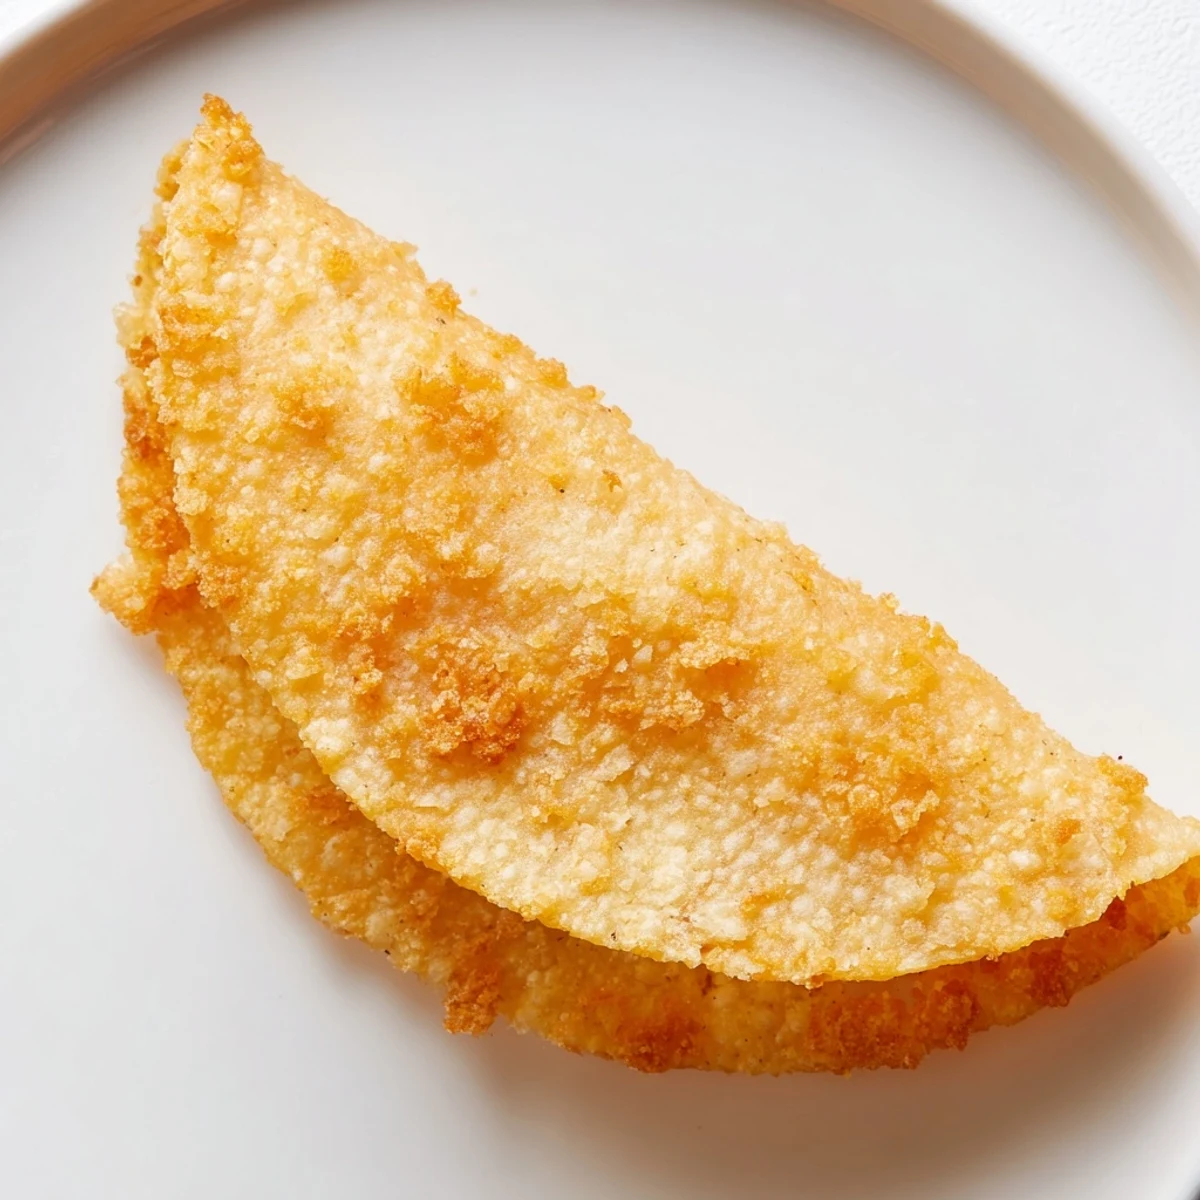
Save This recipe became more than just food one lazy Sunday when the whole family gathered around to fill shells with our favorite toppings; it was a celebration of simple, shared joy and creativity in the kitchen.
Keeping It Fresh
These shells taste best fresh, so try to fry them close to serving time. However, if you need to store them, keep them in an airtight container for up to 2 days away from moisture to maintain crispiness.
Serving Ideas That Clicked
I love experimenting with fillings — from seasoned beef or spicy beans to sweet fruits and custard. Let your fillings inspire your shell shapes whether tacos, cups, or cones for versatile presentations that impress.
A Time This Recipe Saved the Day
Once I had these shells on hand during a surprise dinner; they became instant crowd-pleasers. You can even freeze unfried dough balls to save time later.
- Remember to thaw and rest dough if freezing before rolling
- Don’t overcrowd the oil while frying to keep temperature steady
- Use paper towels immediately after frying to keep shells crisp
 Save
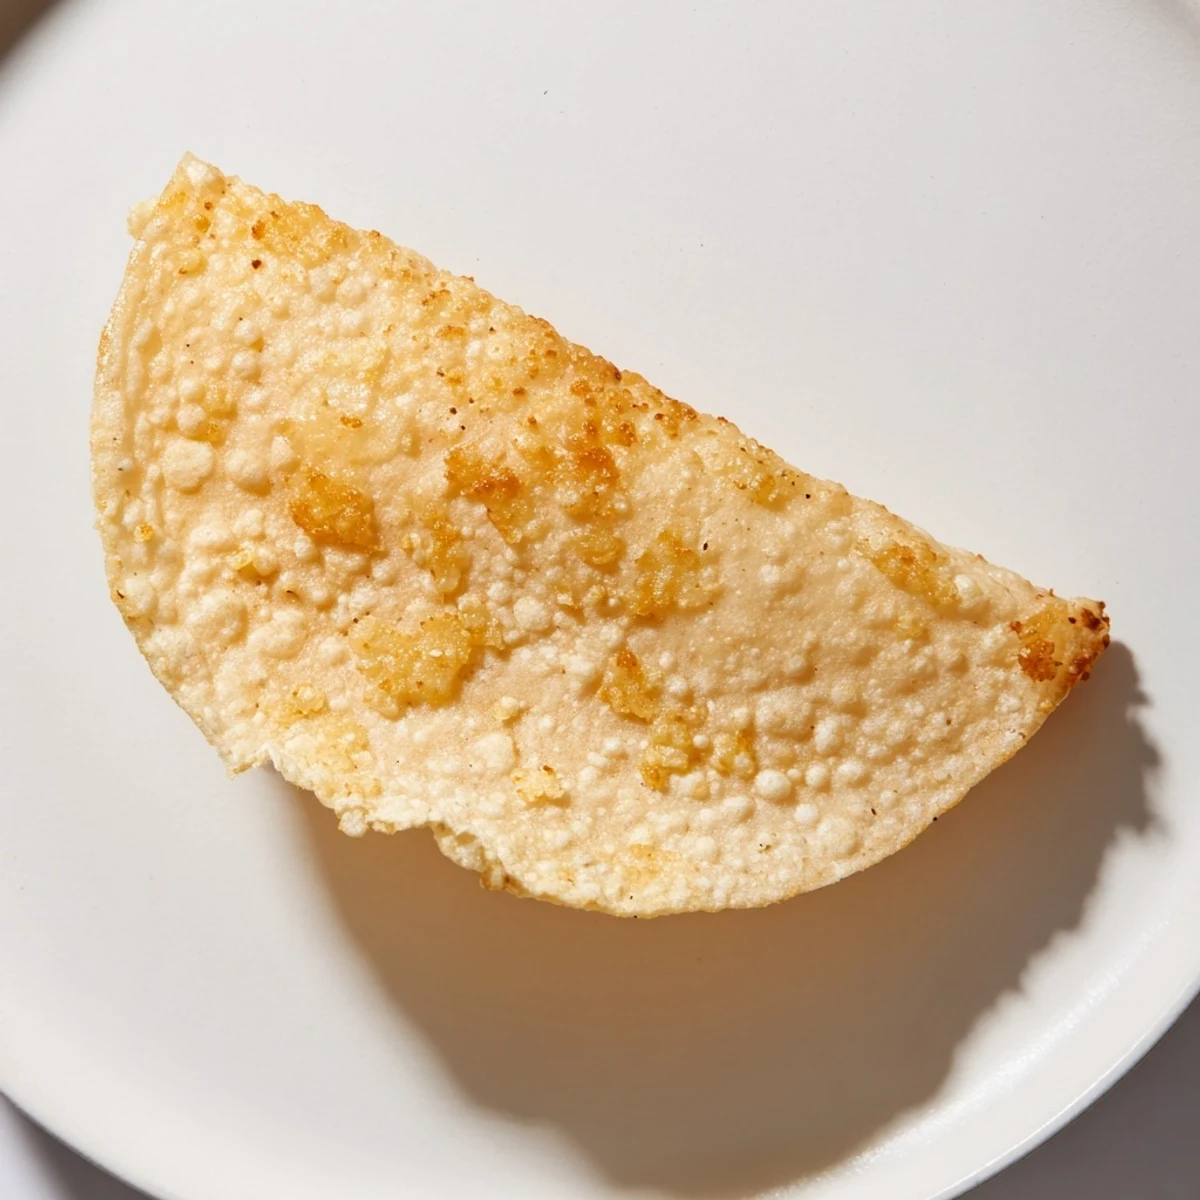
Save Thanks for spending time in the kitchen with me. I hope these crispy shells bring the same joy and creativity to your table as they did to mine.
Recipe FAQs
- → What ingredients create the crispy shell texture?
-
A mix of all-purpose flour, melted butter, egg, and water forms a smooth dough that crisps up when fried.
- → How is the shell shaped before cooking?
-
The dough is divided into pieces, rolled thin into circles, and can be molded over shapes to form tacos, cups, or cones.
- → Can I make sweet versions of these shells?
-
Yes, increasing sugar and adding cinnamon will yield a subtly sweet shell perfect for desserts.
- → What oil temperature is best for frying?
-
Vegetable oil heated to 350°F (175°C) ensures a golden, crispy finish without absorbing excess oil.
- → How should the shells be stored after cooking?
-
Once cooled and drained, store shells in an airtight container to maintain crispness for up to two days.
