 Save
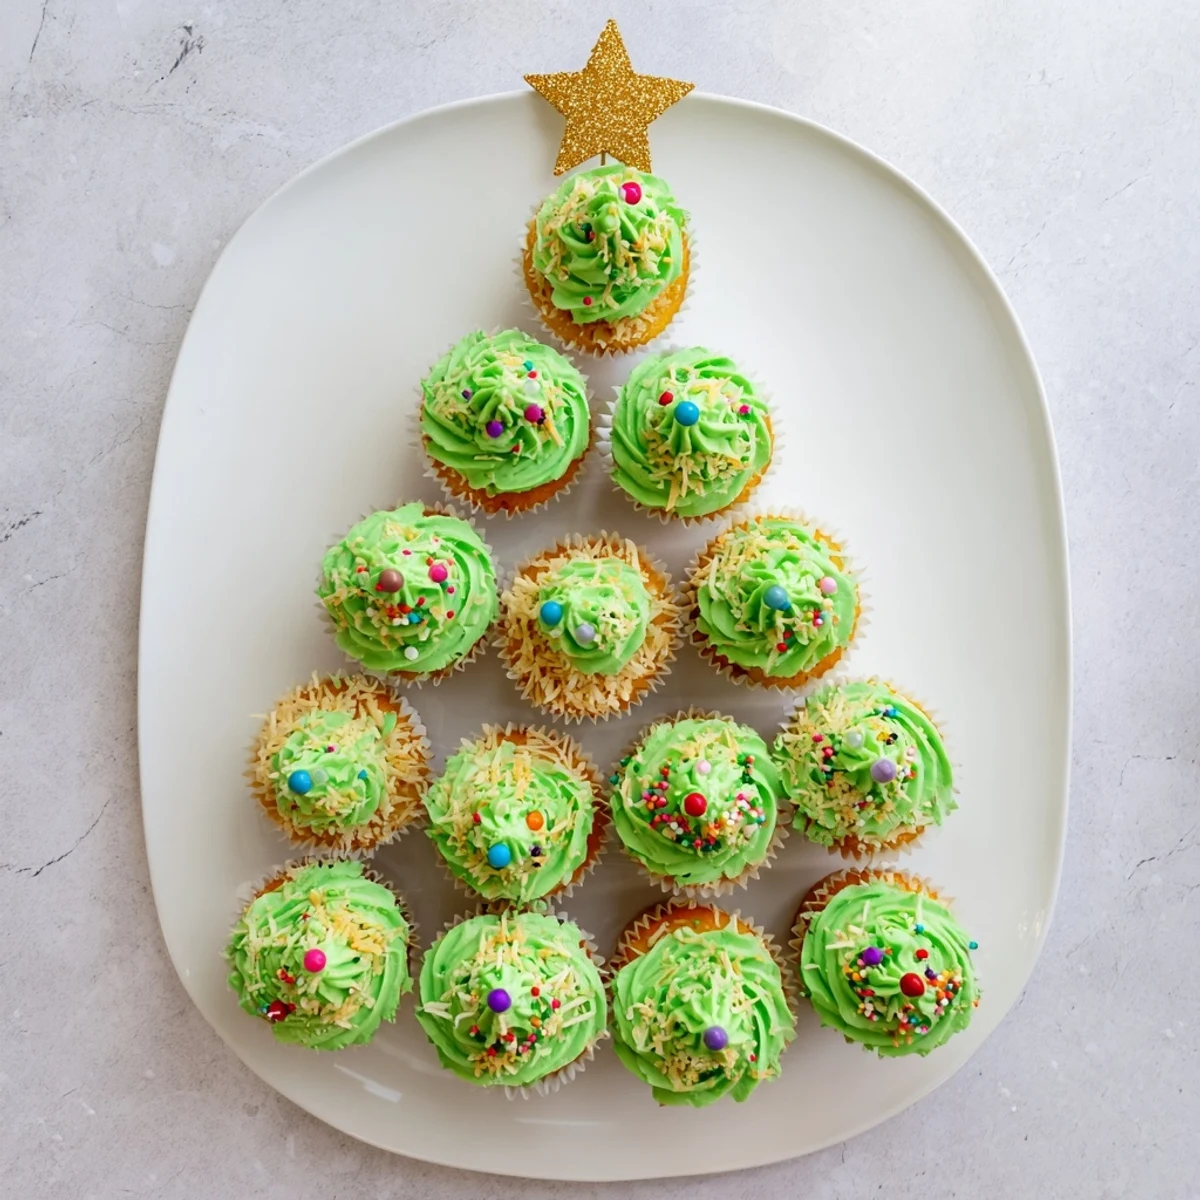
Save Transform classic vanilla cupcakes into an impressive holiday display by piping vibrant green buttercream in tall swirls and arranging them in a triangular tree formation. This edible centerpiece features 24 moist cupcakes stacked from a seven-cupcake base to a single peak, each decorated like ornaments with multicolored sprinkles. The creamy vanilla frosting provides the perfect canvas for your festive creativity, while optional coconut snow adds a wintry touch.
My kitchen smelled like pure December magic that first year I attempted this showstopper. Snow was falling outside my window, Christmas music was playing way too loud, and I had green frosting absolutely everywhere. The cupcakes came out of the oven perfect, but figuring out how to stack them into something resembling a tree turned into the most delightful puzzle.
Last year my niece walked in while I was arranging the final row and her jaw literally dropped. She immediately started calling it the Christmas cupcake castle and proceeded to tell every single guest at our holiday gathering that her aunt was a baking wizard. The best part was watching everyone sneak extras throughout the night, trying to be subtle about grabbing from different tiers.
Ingredients
- 2 cups all-purpose flour: The foundation for tender cupcakes that will support all that gorgeous frosting without getting soggy
- 1 ½ teaspoons baking powder: Gives your cupcakes the perfect lift so they are light and fluffy rather than dense
- ½ teaspoon baking soda: Works with the baking powder for that lovely dome top that is perfect for piling on frosting
- ¼ teaspoon salt: Enhances all the flavors and balances the sweetness
- 1 cup granulated sugar: Sweetens the cupcakes while keeping the crumb tender
- ½ cup unsalted butter: Room temperature butter creates the perfect texture for a rich crumb
- 2 large eggs: Must be room temperature or they will not incorporate properly into your batter
- 1 teaspoon vanilla extract: Pure vanilla makes all the difference in homemade baked goods
- ¾ cup whole milk: Whole milk creates the most tender cupcakes but you can use whatever milk you have on hand
- 1 cup unsalted butter: For the buttercream this creates the most stable and luxurious frosting
- 4 cups powdered sugar: Sifted to prevent lumps in your silky smooth buttercream
- 2–3 tablespoons whole milk: Adjust this to get your frosting to the perfect piping consistency
- Green gel food coloring: Gel coloring is much more concentrated than liquid so you get vibrant green without thinning your frosting
- Multicolored round sprinkles: These become your ornaments so choose colors that pop against the green
- Edible gold star topper: The crowning glory that makes your tree complete
Instructions
- Preheat your oven to 350°F and prepare your pans:
- Line two 12-cup muffin pans with cupcake liners and set them near your work station
- Whisk together the dry ingredients:
- In a medium bowl combine flour baking powder baking soda and salt until well blended
- Cream the butter and sugar:
- Beat softened butter and sugar in a large bowl until light and fluffy which takes about 3 minutes
- Add eggs and vanilla:
- Beat in eggs one at a time making sure each is fully incorporated before adding the next then stir in the vanilla
- Combine wet and dry ingredients:
- Add flour mixture in three parts alternating with milk beginning and ending with flour and mixing until just combined
- Bake the cupcakes:
- Fill each liner about two thirds full and bake for 18 to 20 minutes until a toothpick comes out clean then cool completely
- Prepare the buttercream:
- Beat butter until creamy then gradually add powdered sugar followed by vanilla and enough milk to reach piping consistency
- Color the frosting:
- Add green gel food coloring a little at a time until you reach your perfect Christmas tree shade
- Pipe the frosting:
- Using a large star tip pipe tall swirls on each completely cooled cupcake making them as tall as possible
- Build your tree:
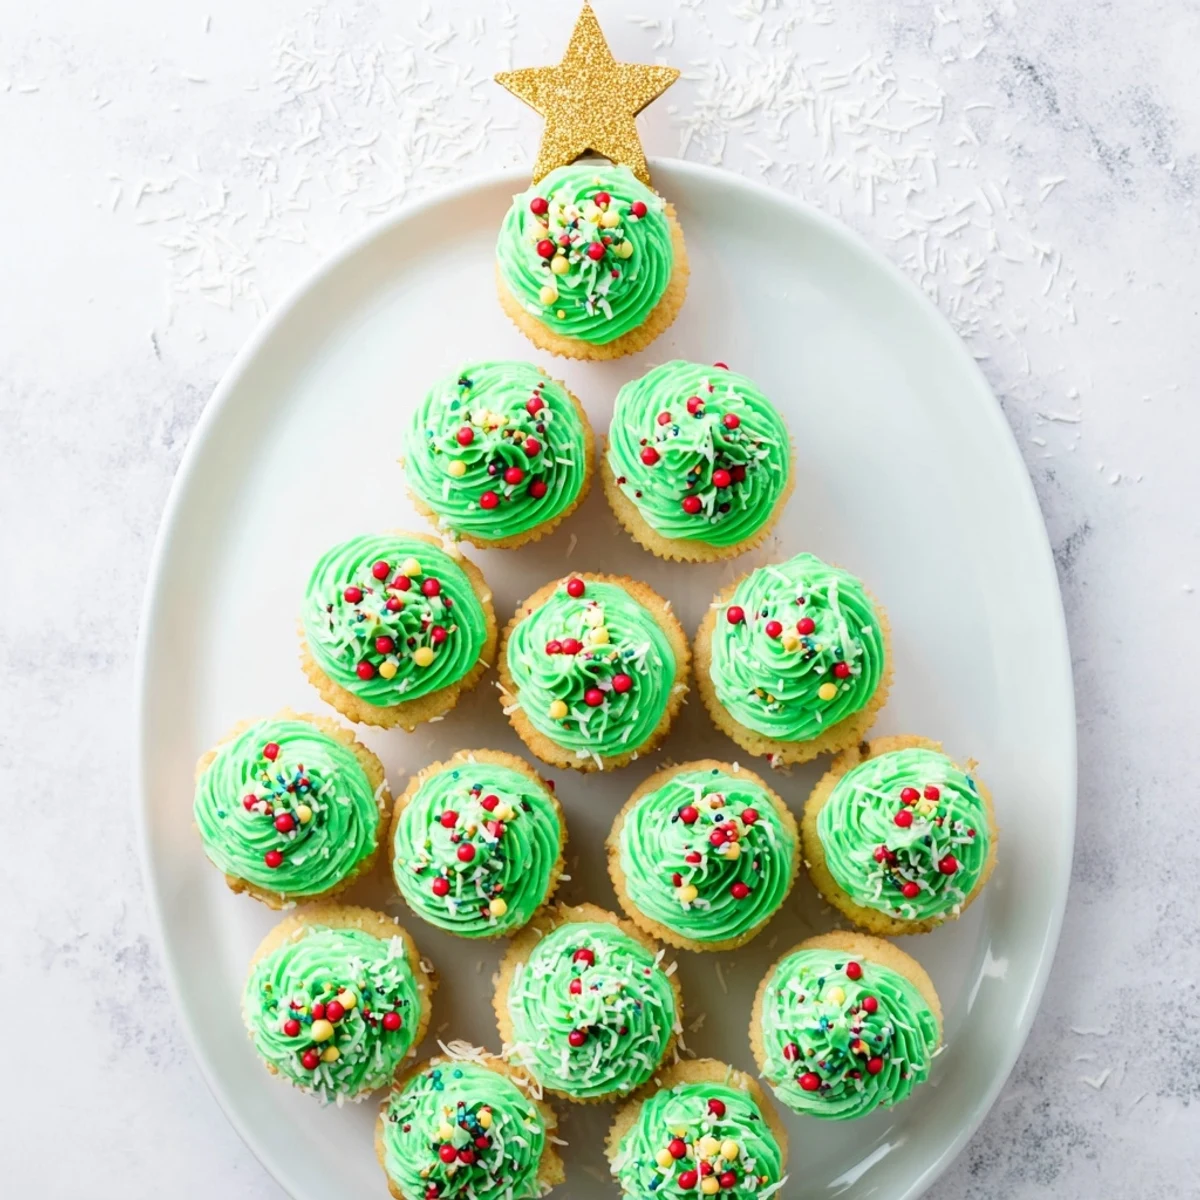
- Arrange cupcakes on a large board starting with 7 at the base then 6 5 4 and finishing with 2 and 1 at the top
- Add the decorations:
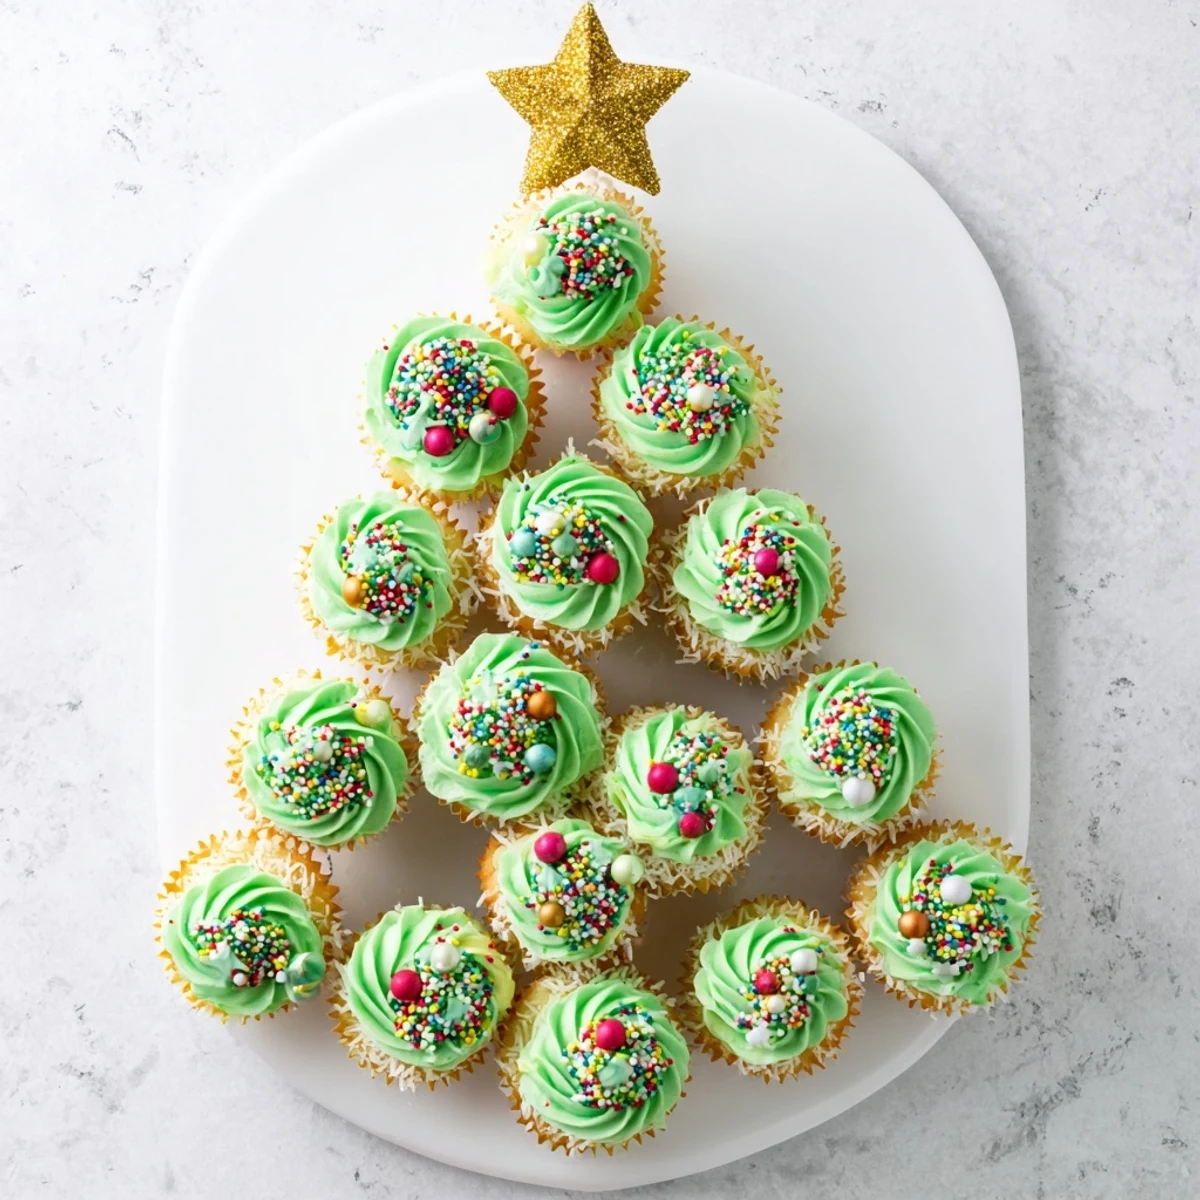
- Place sprinkles as ornaments add your gold star at the peak and finish with any optional decorations you love
 Save
Save This recipe has become such a beloved tradition in our house that my kids start asking about it the day after Thanksgiving. There is something so special about building something beautiful together as a family then getting to eat it too.
Building The Perfect Tree Shape
The first time I tried arranging the cupcakes I made them way too crowded and the tree looked more like a cupcake bush. Now I use a large cutting board as my canvas and space each row with about an inch between cupcakes. This gives the tree definition and makes each cupcake feel like an intentional part of the design.
Getting The Frosting Just Right
Temperature matters so much with buttercream frosting. If your kitchen is warm the frosting might get too soft to hold those tall swoops and you will need to pop it in the fridge for 15 minutes. On the flip side if your butter was too cold you will get air pockets so let everything come to room temperature before you start mixing.
Making It Your Own
Last year we did a Grinch themed tree with bright green frosting and red heart sprinkles that was absolutely hilarious and adorable. Consider matching your tree colors to your holiday decor or trying different cupcake flavors like chocolate or red velvet underneath all that green.
- Mini candy canes tucked between cupcakes look like little tree trunks or branches
- Shredded coconut sprinkled over everything mimics fresh fallen snow perfectly
- Edible glitter dusted lightly makes your tree sparkle under holiday lights
 Save
Save There is nothing quite like standing back after arranging that final star and seeing a room full of faces light up at your edible Christmas tree.
Recipe FAQs
- → How far in advance can I make this?
-
Prepare cupcakes up to two days ahead and store unfrosted in an airtight container. Frost and arrange within 4-6 hours of serving for best results. The buttercream holds up well at room temperature for several hours.
- → Can I use box cake mix?
-
Absolutely. Use your favorite white or vanilla cake mix to save time. The visual impact comes from the arrangement and decoration, so starting with a convenient base works perfectly.
- → How do I transport the tree?
-
Assemble on a sturdy cake board or large platter with a nonslip mat underneath. For travel, transport cupcakes unfrosted in containers and pipe frosting at your destination. Alternatively, use a foam cone support for stability.
- → What piping tip works best?
-
A large open star tip (such as Wilton 1M or 2D) creates beautiful textured swirls that resemble tree branches. Fill your piping bag only halfway for better control and consistent swirls.
- → Can I make different flavors?
-
The green frosting disguises any cupcake flavor, so feel free to use chocolate, red velvet, or spice cake. Just ensure the colors complement your holiday theme and decorations.
- → How many cupcakes do I actually need?
-
A standard triangular tree requires 24 cupcakes: rows of 7, 6, 5, 4, 2, and 1 at the top. Bake a few extra to allow for taste testing and any breakage during assembly.
