 Save
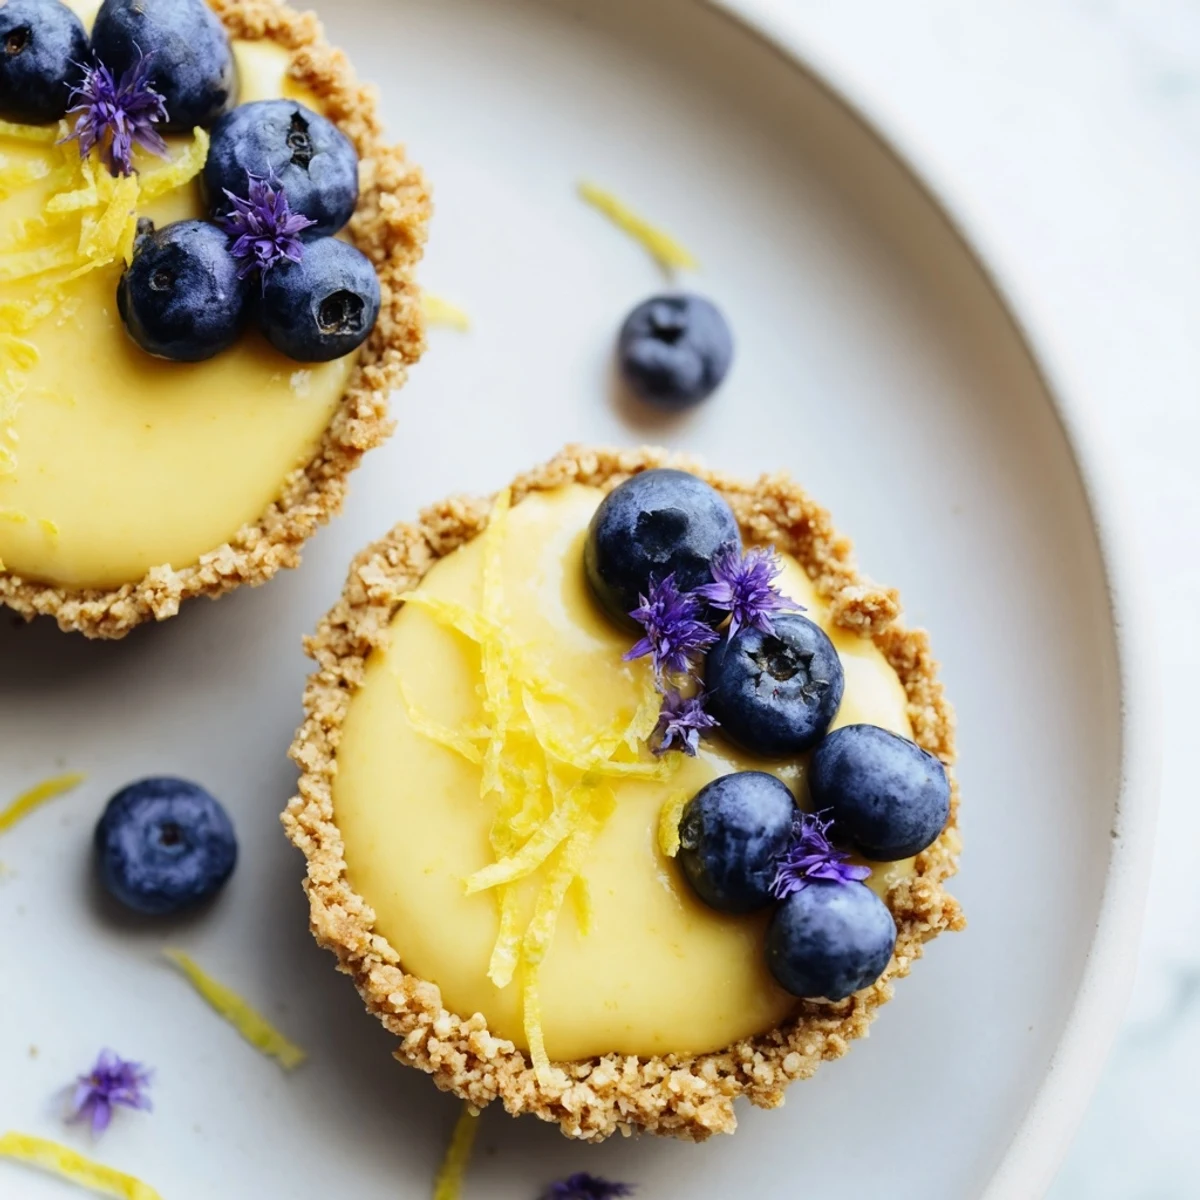
Save These delightful miniature tarts feature a buttery almond flour crust pressed into individual portions and filled with a silky coconut-based lemon custard. The filling achieves its vibrant golden hue naturally through turmeric while delivering an intense citrus punch from fresh lemon juice and zest. After a quick bake to set the crusts, the stovetop custard comes together in minutes, requiring constant whisking until thickened and glossy.
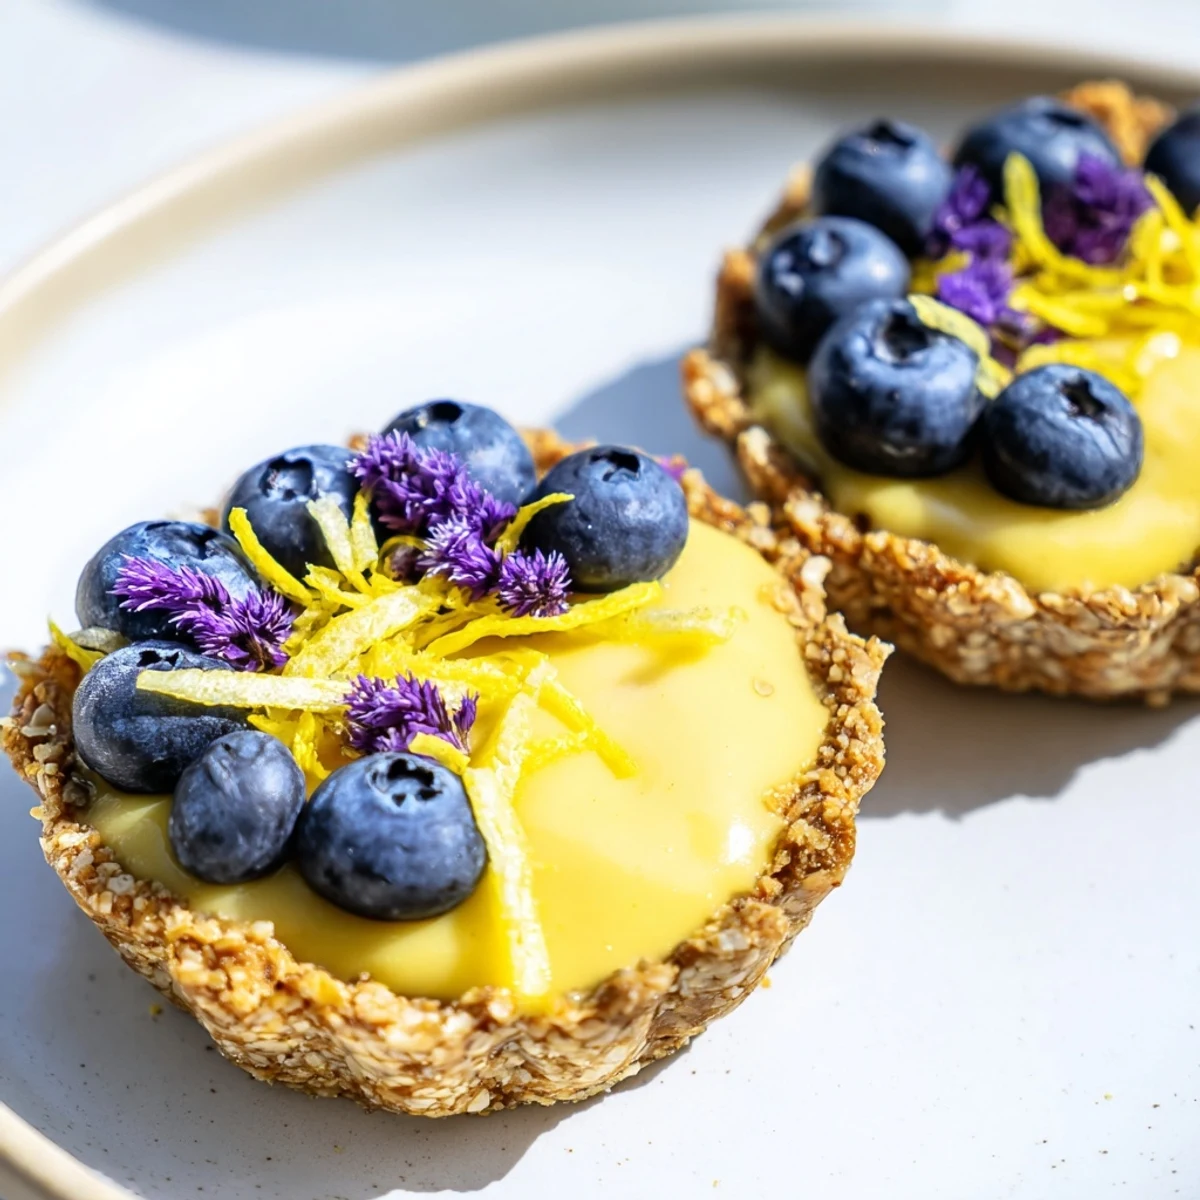
The finished tarts need at least an hour of chilling to achieve the perfect sliceable texture. Each bite delivers a satisfying contrast between the nutty, crumbly crust and the smooth, tangy filling that balances sweetness with bright acidity. Garnish simply with fresh berries or delicate lemon zest curls for an elegant presentation that impresses guests while remaining entirely plant-based.
The first time I served these at a summer dinner party, my friend Sarah actually asked if I'd secretly used heavy cream. Watching people's eyes light up when they realize something this creamy is completely plant-based never gets old. These little tarts have become my go-to when I want to impress without spending hours in the kitchen.
I developed these for my sister's baby shower when we needed something elegant that everyone could actually eat. My niece still asks for 'those lemon cups' every time she visits, and I love that I can say yes without worrying about dietary restrictions.
Ingredients
- Almond flour: Creates a naturally sweet, shortbreadlike crust that browns beautifully and holds up perfectly to the creamy filling
- Coconut oil: Use it melted and slightly warm for the smoothest dough that presses into tart shells without crumbling
- Maple syrup: Adds a subtle depth that pairs beautifully with bright lemon, plus it helps the crust bind together
- Full fat coconut milk: The secret to that luxurious texture, just make sure you whisk it really well before measuring
- Fresh lemon juice: You need the real stuff here, bottled juice just doesn't have that fresh, zesty brightness
- Cornstarch: This is what transforms the coconut milk into a proper custard that slices cleanly
- Turmeric: Just a pinch gives you that gorgeous sunny yellow color without any artificial food dyes
Instructions
- Prepare your tart shells:
- Press the dough firmly and evenly into each mini tart pan, working it up the sides. The crust should be thin enough to get crispy but thick enough to hold together when you remove them later.
- Par bake the crusts:
- The edges should turn a gentle golden brown while the centers feel set to the touch. Let them cool completely before filling, otherwise the custard will never set properly.
- Make the magic filling:
- Whisk everything together until absolutely smooth, then bring to a gentle bubble while stirring constantly. You'll feel it suddenly thicken, and that's your moment to remove it from the heat immediately.
- Fill and chill:
- Pour the warm custard into your cooled shells, then refrigerate for at least an hour. They should wobble slightly when you gently shake the pan but hold their shape completely.
 Save
Save These became a anniversary tradition for my husband and me because we made them together our first year dating. Now we argue over who gets to lick the spoon while the tarts chill in the refrigerator.
Make Ahead Magic
The crusts can be baked and stored at room temperature for up to 2 days, and the filling keeps beautifully in the refrigerator for 3 days before you're ready to assemble. Just don't fill them until the day you plan to serve, or the crust will start to soften.
Perfecting Your Crust
If your dough feels too crumbly to press into the pans, let it sit for 5 minutes so the coconut oil can soften slightly. The warmth from your hands will help too, just work quickly and press firmly into the corners for the most professional result.
Serving Suggestions
A few tiny edible flowers or a single perfect raspberry on top transforms these into something worthy of a special occasion. I love serving them with a cup of Earl Grey tea because the bergamot brings out the lemon beautifully.
- Bring them to room temperature for 15 minutes before serving for the best texture
- A dusting of powdered sugar right before serving adds such a lovely finish
- These are actually better the second day when the flavors have really melded together
 Save
Save There's something so satisfying about serving a dessert that feels indulgent and elegant while being completely kind to everyone at the table. Watch them disappear, and nobody will miss the dairy for a second.
Recipe FAQs
- → Can I make these tarts ahead of time?
-
Yes, these mini tarts are perfect for advance preparation. You can make the crusts and filling up to 2 days ahead. Store the crusts in an airtight container at room temperature and keep the filling refrigerated. Assemble and chill the tarts at least 4 hours before serving for the best texture and flavor.
- → What can I use instead of almond flour?
-
Oat flour or a nut-free gluten-free flour blend works beautifully as a substitute. The texture remains crumbly and crisp, though the nutty flavor profile will change slightly. Ensure your alternative flour is finely ground for the best structural integrity in the crust.
- → Why is my lemon filling not setting properly?
-
The filling needs sufficient cooking time on the stovetop to activate the cornstarch properly. Whisk constantly over medium heat until the mixture bubbles and thickens noticeably, about 6-8 minutes. Additionally, the tarts require adequate chilling time—at least 1 hour in the refrigerator—for the filling to fully set.
- → Can I use bottled lemon juice instead of fresh?
-
Freshly squeezed lemon juice is highly recommended for the bright, vibrant flavor that defines these tarts. Bottled juice often contains preservatives that can affect the taste and may result in a more muted citrus flavor. The zest also provides essential aromatic oils that enhance the overall lemon profile.
- → How should I store leftover tarts?
-
Store assembled tarts in an airtight container in the refrigerator for up to 3 days. The crust may soften slightly over time due to moisture from the filling. For best results, garnish with fresh elements just before serving rather than storing with berries or edible flowers already applied.
