 Save
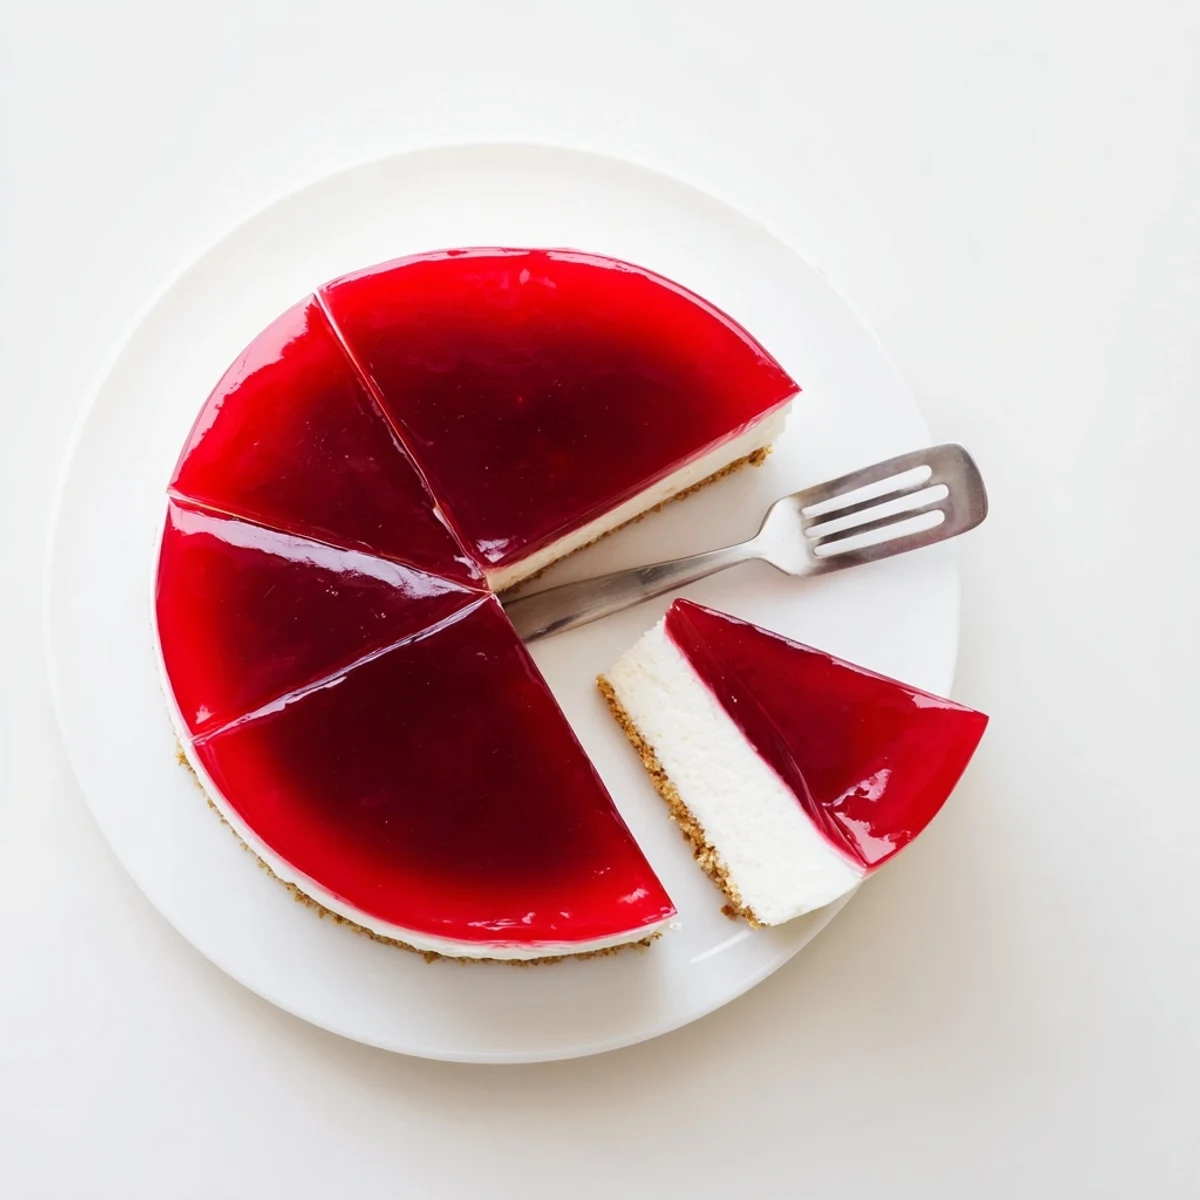
Save This luscious no-bake dessert combines the tangy creaminess of Greek yogurt cheesecake with a vibrant fruit jello topping. The buttery graham cracker crust provides the perfect crunch, while the silky filling requires zero oven time. Simply chill, set, and slice for a refreshing treat that's perfect for warm weather gatherings or whenever you crave something light yet satisfying.
My apartment's air conditioning had broken during the worst July heatwave, and the last thing I wanted to do was turn on my oven. That's when I discovered this no-bake cheesecake, and honestly, it changed everything about summer desserts for me.
I brought this to a friend's backyard barbecue last summer, and her uncle kept asking when I was planning to open my bakery. The jello layer had everyone fascinated, and the whole cake disappeared in fifteen minutes flat.
Ingredients
- Graham cracker crumbs: Use a food processor for the finest texture, or crush them in a ziplock bag with a rolling pin if you are feeling frustrated about something
- Unsalted butter, melted: Let it cool slightly before mixing so the crumbs do not turn into a gummy mess
- Cream cheese, softened: Leave it out for at least two hours, or you will end up with lumps no amount of beating can fix
- Greek yogurt: Full fat gives the best texture, but 2% works if you are watching things
- Powdered sugar: Sift it first because nothing ruins a smooth filling faster than discovering a lump of sugar halfway through
- Powdered gelatin: This little packet is what keeps everything stable without baking
- Fruit flavored gelatin: Strawberry and raspberry are classic, but lemon makes it taste like something from a fancy restaurant
Instructions
- Prep your pan like a pro:
- Cut a circle of parchment paper for the bottom of your springform pan. Trust me, you will thank yourself later when the cake slides right off.
- Build the crust foundation:
- Mix the crumbs, butter, and sugar until it feels like wet sand. Press it firmly into the pan bottom using the back of a measuring cup. Chill it while you make the filling.
- Bloom your gelatin:
- Sprinkle the powdered gelatin over cold water and let it sit for 5 minutes. It will look weirdly solid, but that is exactly what you want.
- Make the creamy filling:
- Beat the cream cheese until perfectly smooth. Add the yogurt, powdered sugar, vanilla, and lemon juice. Keep beating until it is silky and no one would guess there is yogurt in there.
- Melt and incorporate the gelatin:
- Microwave the bloomed gelatin for 15 seconds until it is completely liquid. Let it cool slightly, then whisk it into your filling quickly.
- Layer one complete:
- Pour the filling over your chilled crust. Smooth the top with a spatula and refrigerate for 2 hours until it is set to the touch.
- Prepare the jello topping:
- Dissolve the fruit gelatin in boiling water, then stir in the cold water. Let it cool to room temperature, watching it closely so it does not start setting on you.
- Add the wobbly crown:
- Gently pour the cooled jello over your set cheesecake layer. Refrigerate for at least 2 more hours until the jello is completely firm.
- The grand reveal:
- Run a thin knife around the edge before releasing the springform. Garnish with fresh berries if you are feeling fancy, or just slice it up and watch peoples faces when they take their first bite.
 Save
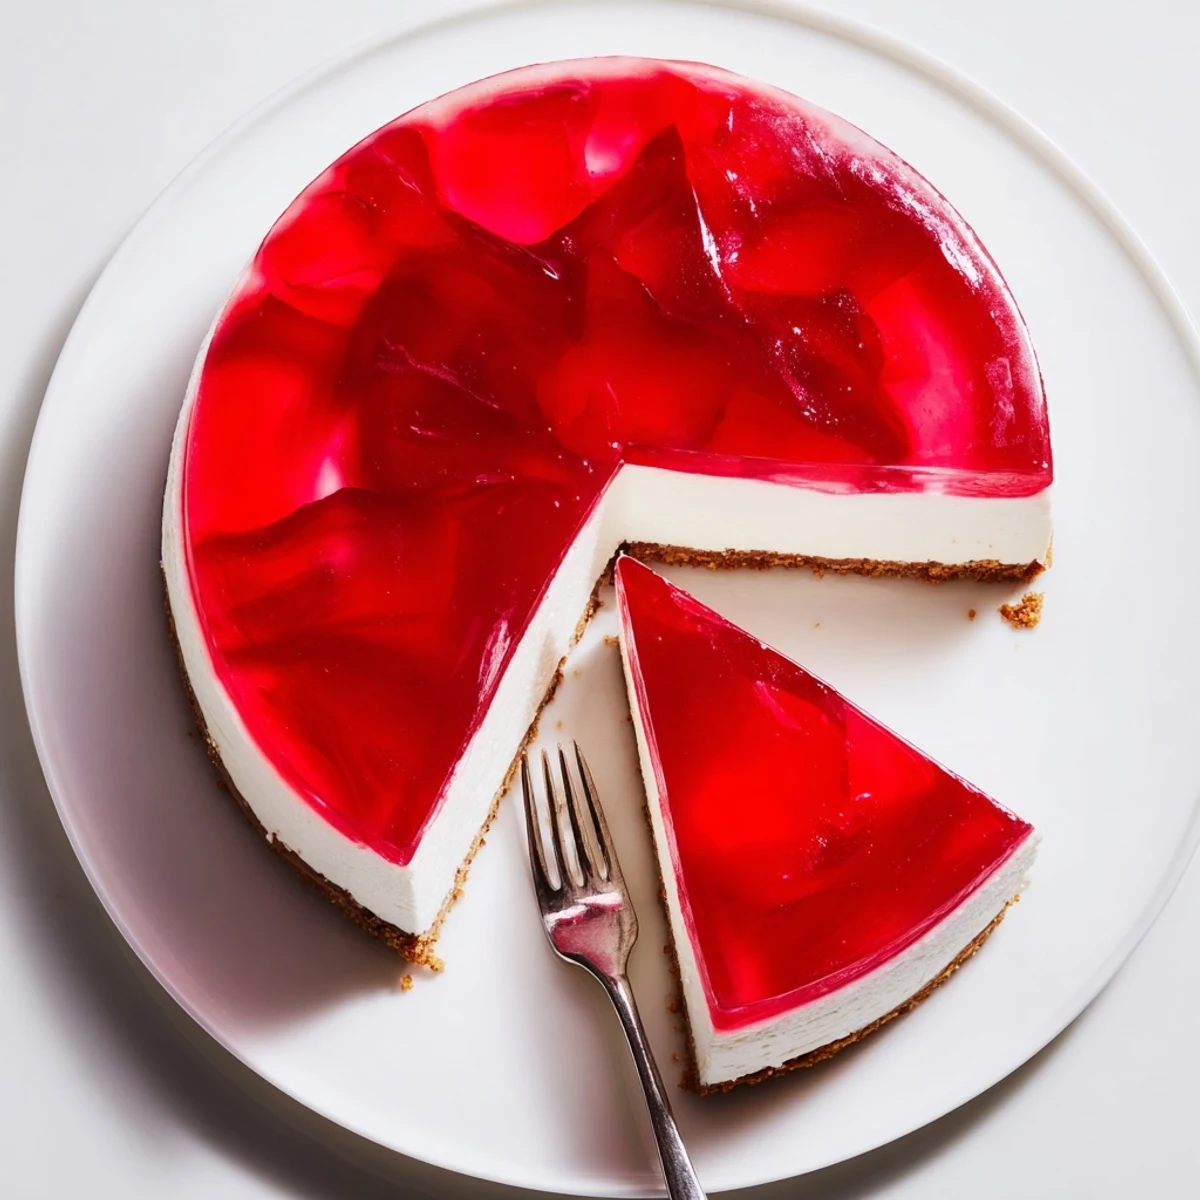
Save This has become my go to for summer potlucks because it travels beautifully and never fails to get those honest-to-goodness happy food noises from people.
Making It Your Own
The jello layer is basically a canvas for whatever flavor you are craving. Peach gelatin with fresh sliced peaches on top feels like a proper dinner party dessert, while cherry feels like childhood but elevated.
Texture Secrets
The key to that restaurant quality smoothness is making sure your cream cheese is genuinely softened and your powdered sugar is sifted. Taking these extra five minutes makes the difference between homemade tasting and bakery worthy.
Timing Everything Right
I have learned to start the jello cooling process about an hour before I need to pour it. That gives it enough time to reach room temperature without rushing me or risking it setting too soon.
- Set a timer when chilling the layers
- Make this the day before for the best texture
- Keep a damp paper towel nearby to wipe off any jello drips on the pan
 Save
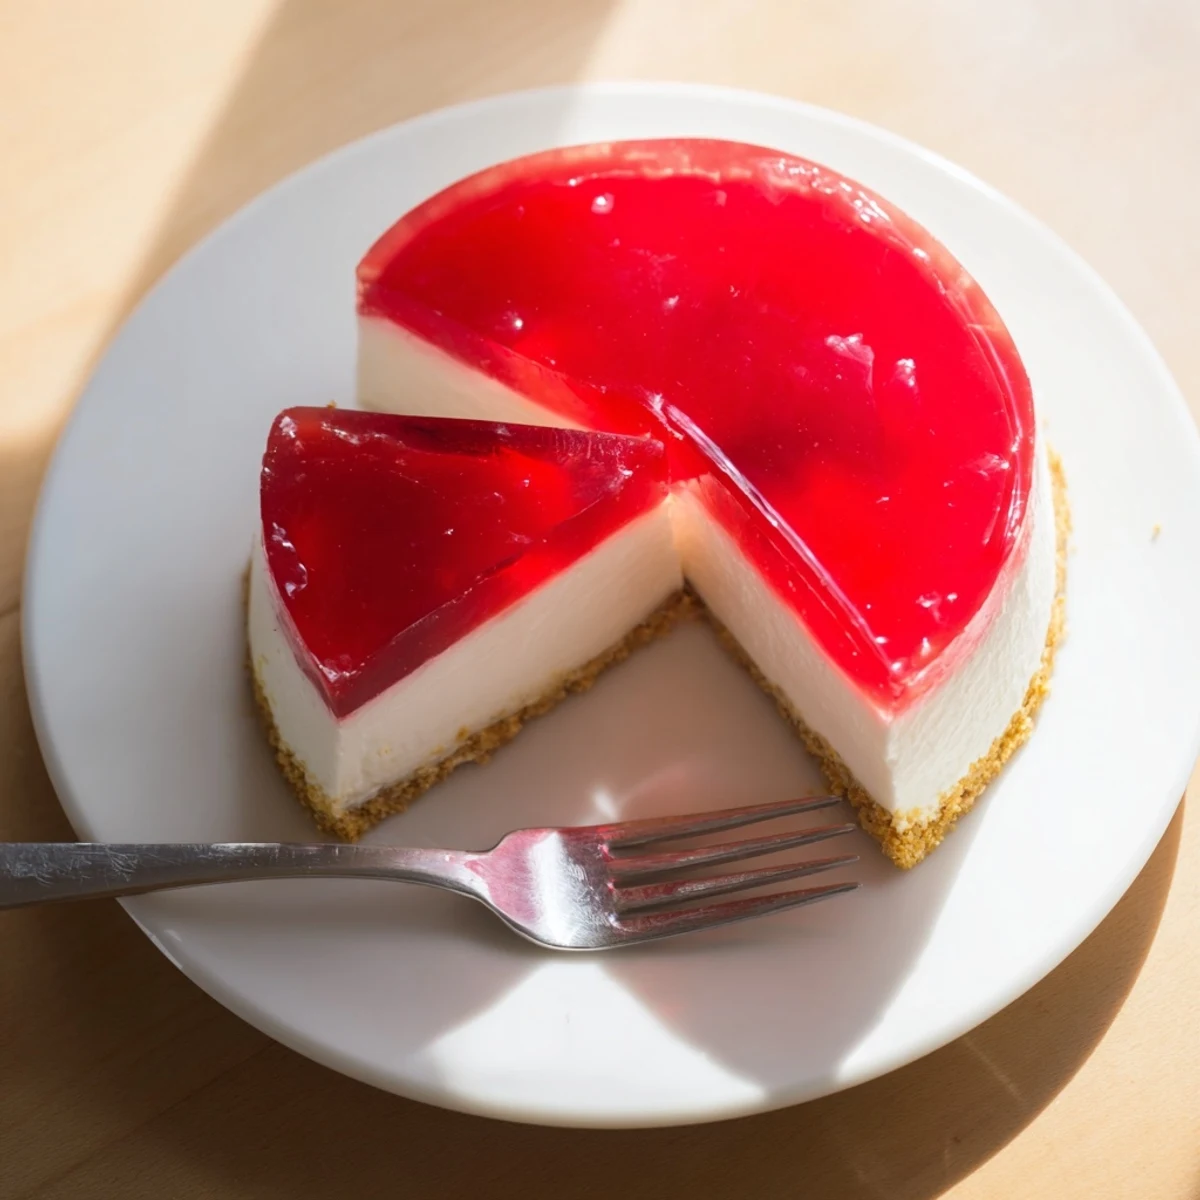
Save There is something deeply satisfying about slicing into that wobbly top layer and hitting that creamy filling underneath. Pure summer happiness on a plate.
Recipe FAQs
- → Can I make this cheesecake ahead of time?
-
Yes, this cheesecake actually tastes better when made ahead. You can prepare it up to 2 days in advance and store it covered in the refrigerator. The jello layer helps keep the filling fresh and prevents it from drying out.
- → What jello flavors work best?
-
Strawberry, raspberry, lemon, and orange are popular choices that complement the tangy Greek yogurt filling. Berry flavors add a beautiful contrast with their vibrant color and fruity sweetness.
- → Can I use regular yogurt instead of Greek yogurt?
-
Greek yogurt is recommended because it's thicker and creamier, which helps the cheesecake set properly. Regular yogurt contains more water and may result in a softer texture that doesn't hold its shape as well when sliced.
- → How long does it take for the cheesecake to fully set?
-
The cheesecake layer needs about 2 hours to set, and the jello layer requires an additional 2 hours. For best results, make this the night before you plan to serve it to ensure both layers are completely firm.
- → Can I make this vegetarian-friendly?
-
The traditional recipe uses gelatin, which isn't vegetarian. You can substitute with agar-agar powder for both the filling and topping. Follow the package instructions for proper ratios, as agar-aron sets differently than gelatin.
- → What's the best way to slice this cheesecake?
-
Run a thin knife under hot water, wipe it dry, then slice. Clean the knife between each slice for clean edges. The jello layer can be sticky, so a warm knife helps achieve smooth cuts.
