 Save
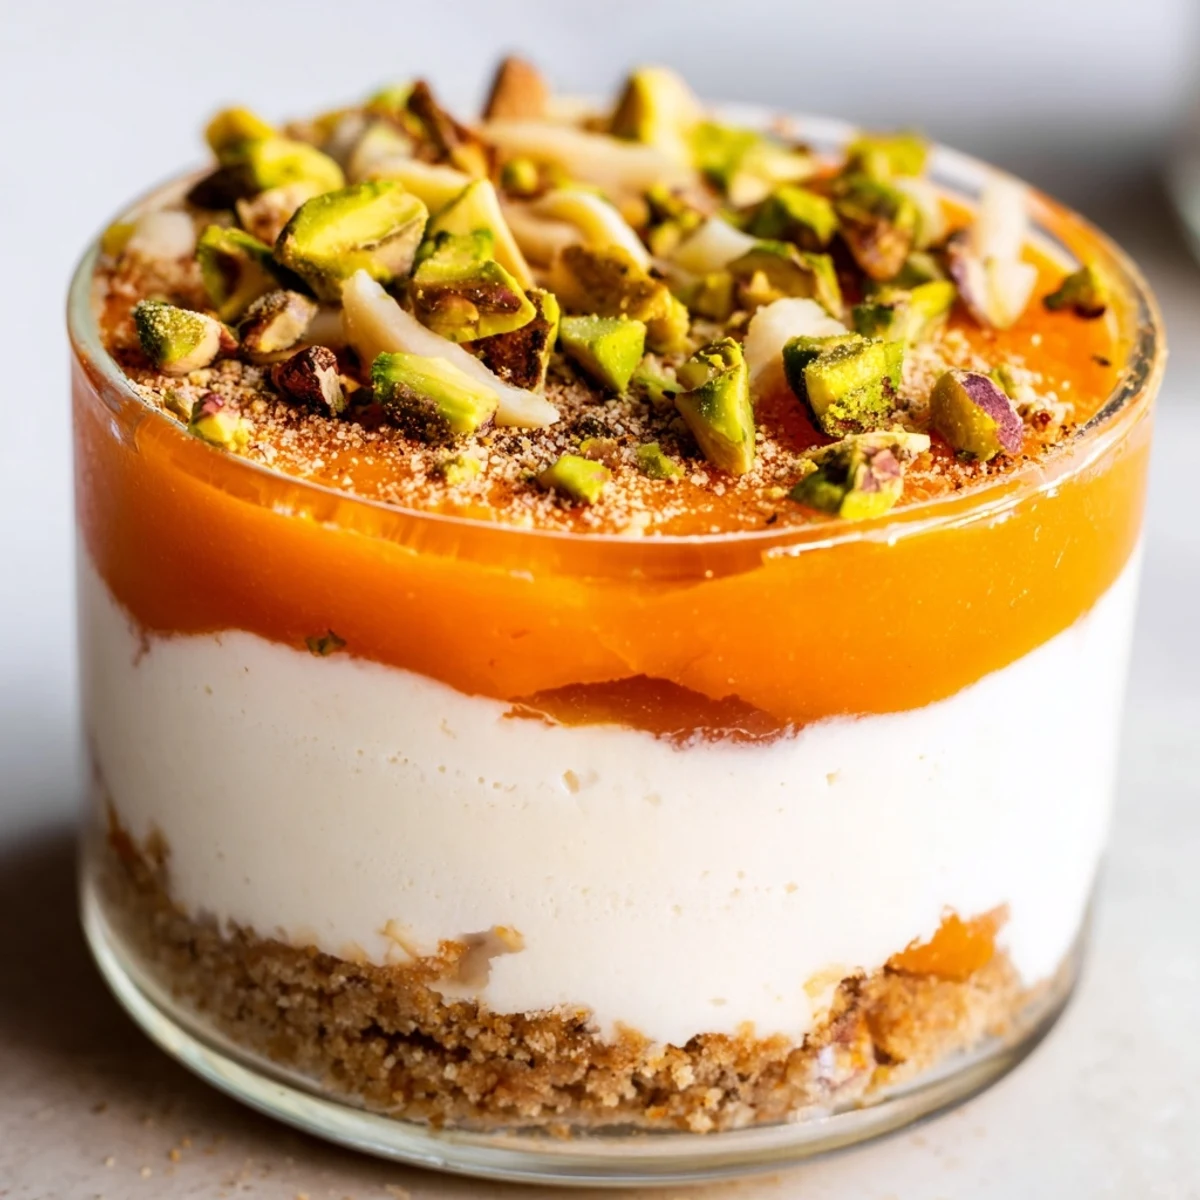
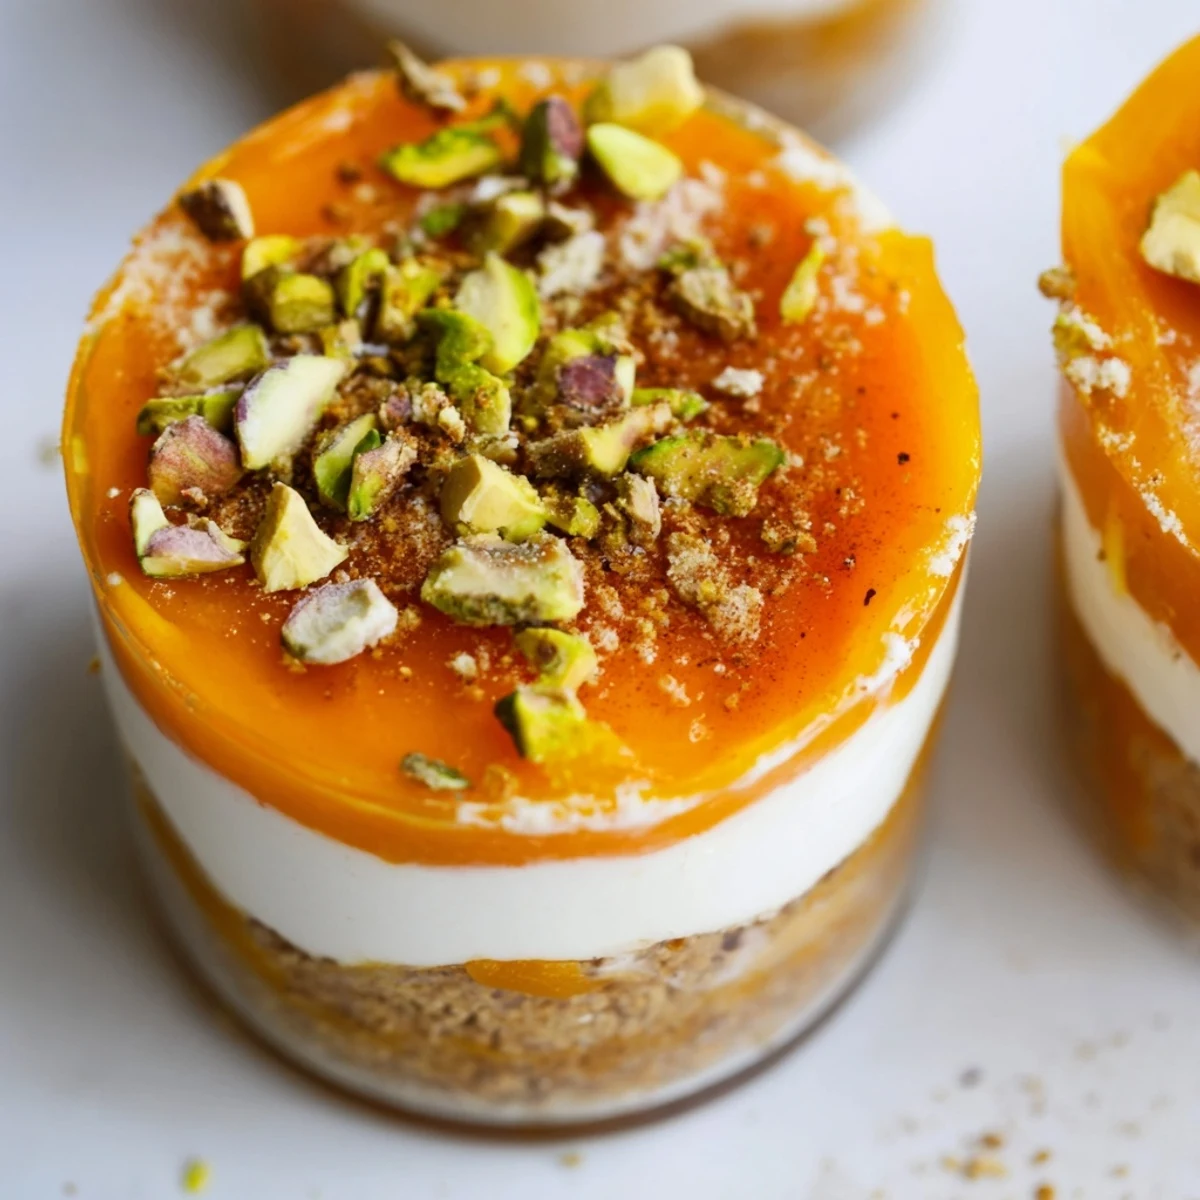
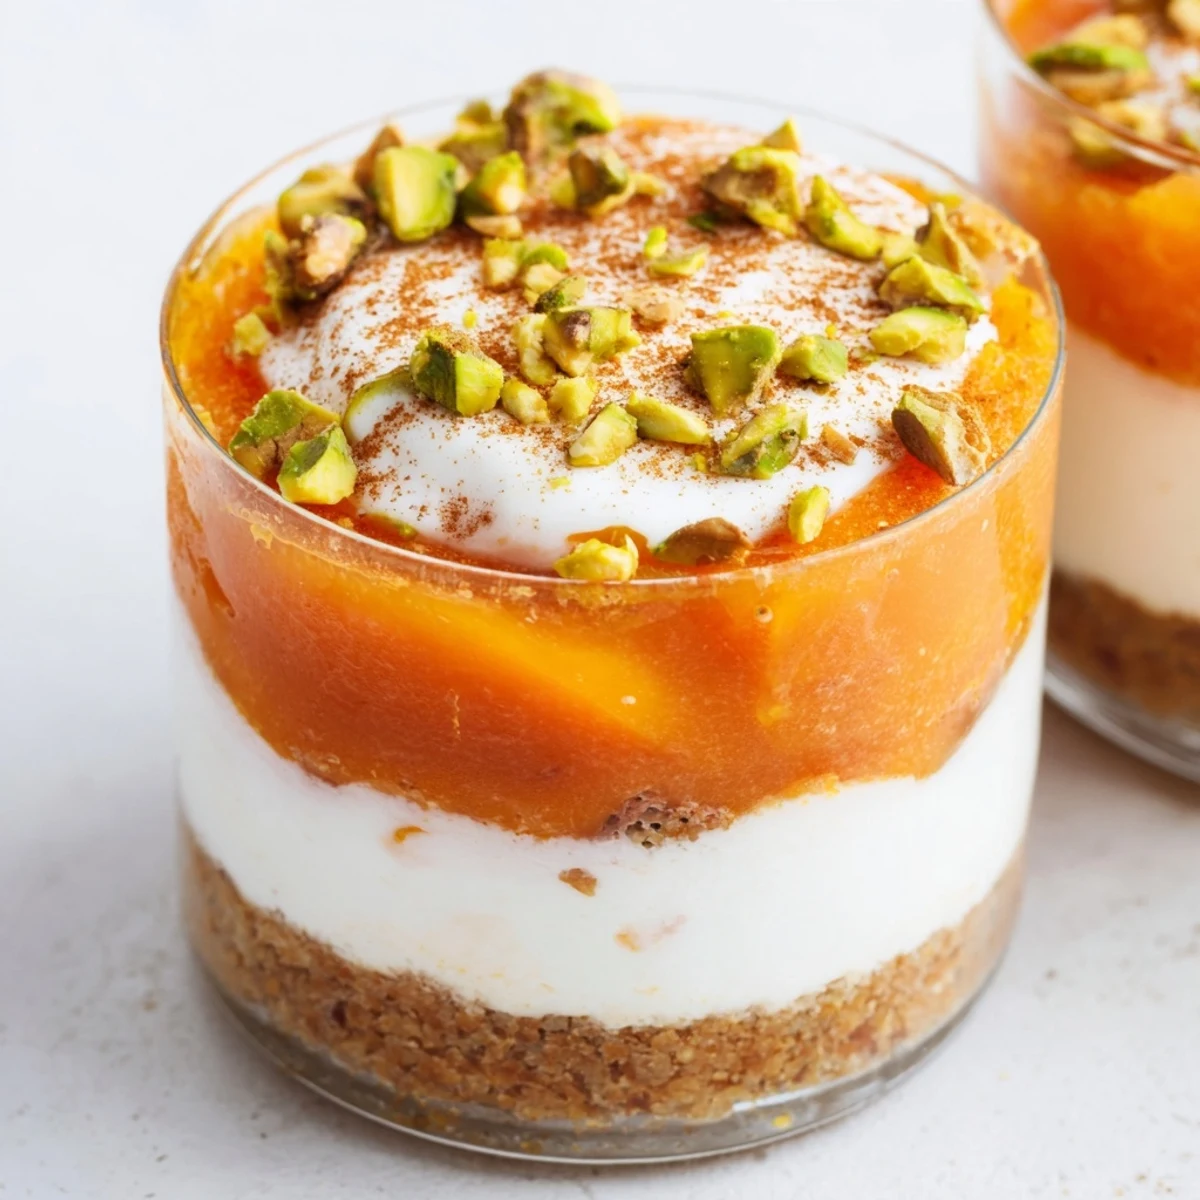
Save This elegant no-bake layered dessert combines the natural sweetness of ripe persimmons with a tangy dairy-free cream cheese filling. The individual glass presentation creates stunning visual appeal while keeping portions perfectly portioned. A crumbly graham cracker base provides satisfying crunch, followed by smooth vanilla-infused cream cheese layers, topped with vibrant persimmon puree. The entire assembly comes together in just 20 minutes of active preparation time, requiring only a brief chill period to set. Perfect for entertaining or meal prep, these individual portions stay fresh in the refrigerator for up to 24 hours. Garnish with chopped pistachios, pecans, or a dusting of cinnamon to add complementary flavors and a sophisticated finishing touch.
The first time I encountered persimmons in a dessert, I was skeptical about their bright orange hue translating into something elegant. Then a friend served these layered glasses at a dinner party, and I couldn't stop thinking about how the creamy cheesecake balanced perfectly against the fruit's natural honey-like sweetness. Now they're my go-to when I want something impressive but absolutely effortless.
Last autumn, I made a batch for my sister's birthday dinner. Everyone was so focused on conversation that they almost didn't notice me pulling these from the fridge until the first person took a bite and went completely silent. That moment of realizing I'd created something memorable without spending hours in the kitchen is exactly why this recipe stays in rotation.
Ingredients
- Vegan graham crackers: These create the essential crunchy foundation that contrasts beautifully with the smooth layers above
- Coconut oil: Binds the crust together while adding subtle richness that complements the tropical notes
- Maple syrup: Adds depth and natural sweetness throughout all layers without overpowering the persimmon's delicate flavor
- Vegan cream cheese: The backbone of the cheesecake layer, providing tanginess and luxurious texture
- Coconut yogurt: Lightens the cream cheese while contributing probiotics and a silky mouthfeel
- Vanilla extract: Rounds out all the flavors and makes everything taste more cohesive
- Lemon juice: Brightens both the cheesecake layer and fruit topping, cutting through the richness
- Ripe persimmons: The star of the show, bringing natural sweetness and the most gorgeous sunset color
- Chopped pistachios: Add crunch and a pop of color that makes these glasses feel extra special
Instructions
- Build the buttery crust:
- Pulse your crackers into fine crumbs until they resemble beach sand, then stir in melted coconut oil and maple syrup until everything clumps together when pressed. Divide among your glasses and press firmly with a spoon back to create an even foundation.
- Whip up the creamy filling:
- Beat the vegan cream cheese until it's completely smooth, then fold in the coconut yogurt, maple syrup, vanilla, and lemon juice until combined. Spoon this cloud-like mixture over your crust layers, smoothing each top with the back of your spoon.
- Prepare the persimmon swirl:
- Mash or blend your peeled persimmons with lemon juice and a touch of maple syrup until you have a glossy, jam-like consistency. Taste and add more sweetener only if your fruit needs it, then spoon generously over each cheesecake layer.
- Chill and garnish:
- Refrigerate your assembled glasses for at least two hours so everything sets properly and flavors meld together. Just before serving, sprinkle with chopped nuts and a dusting of cinnamon for that finishing touch.
 Save
Save These glasses have become my signature contribution to holiday gatherings. There's something magical about watching guests discover the layers as they dig down, each spoon revealing a new texture and flavor combination. The recipe has never failed me, and I love that I can prepare them hours before anyone arrives.
Make It Your Own
While persimmons are spectacular during their brief season, I've adapted this recipe with mangoes in summer and roasted peaches in spring. The beauty of the template is its flexibility, so don't hesitate to use whatever fruit looks most vibrant at your market.
Perfecting the Texture
I learned the hard way that over-blending the persimmon topping can make it too thin and watery. A rough mash with a fork often yields better texture than a smooth puree, giving you those gorgeous jewel-like flecks suspended in the fruit layer.
Serving Suggestions
These glasses shine brightest when served very cold, straight from the fridge. I like to set them out on the counter about ten minutes before dessert so they're not freezing, but still perfectly chilled and refreshing.
- Clear glasses show off the beautiful orange layers best
- Long handled dessert spoons make reaching the bottom easier
- Prepare them the night before for stress free entertaining
 Save
Save There's something deeply satisfying about a dessert that looks like it came from a professional kitchen but requires zero baking and minimal active time. These glasses have become my secret weapon for effortless entertaining.
Recipe FAQs
- → Can I make this dessert ahead of time?
-
Yes, these individual glass desserts can be assembled up to 24 hours in advance. Store them covered in the refrigerator and add garnishes just before serving for the freshest presentation.
- → What type of persimmons work best?
-
Both Fuyu and Hachiya varieties work wonderfully. Fuyu persimmons are naturally sweeter and firmer, while Hachiya varieties become incredibly soft and jammy when fully ripe. Choose whichever is available in your area.
- → How do I know when persimmons are ripe?
-
Ripe persimmons should yield gently to pressure, similar to a ripe tomato or avocado. Fuyu varieties retain some firmness while Hachiya types become quite soft. The skin will develop a deep orange-red color when fully mature.
- → Can I use different fruits for the topping?
-
Absolutely. Mango, apricot, peach, or berry purees work beautifully as alternatives. Simply blend sweetened fruit with lemon juice until smooth and adjust maple syrup to taste based on natural sweetness.
- → Is the crust necessary?
-
The crust adds a wonderful textural contrast but can be omitted for a lighter version. You could also use crushed nuts, seeds, or even a layer of granola for a gluten-free alternative with different texture.
- → How long should these chill before serving?
-
Minimum chilling time is 2 hours to allow the cream cheese layer to firm up properly. For best results, chill 3-4 hours or overnight. The flavors also meld together beautifully with longer chilling periods.
