 Save
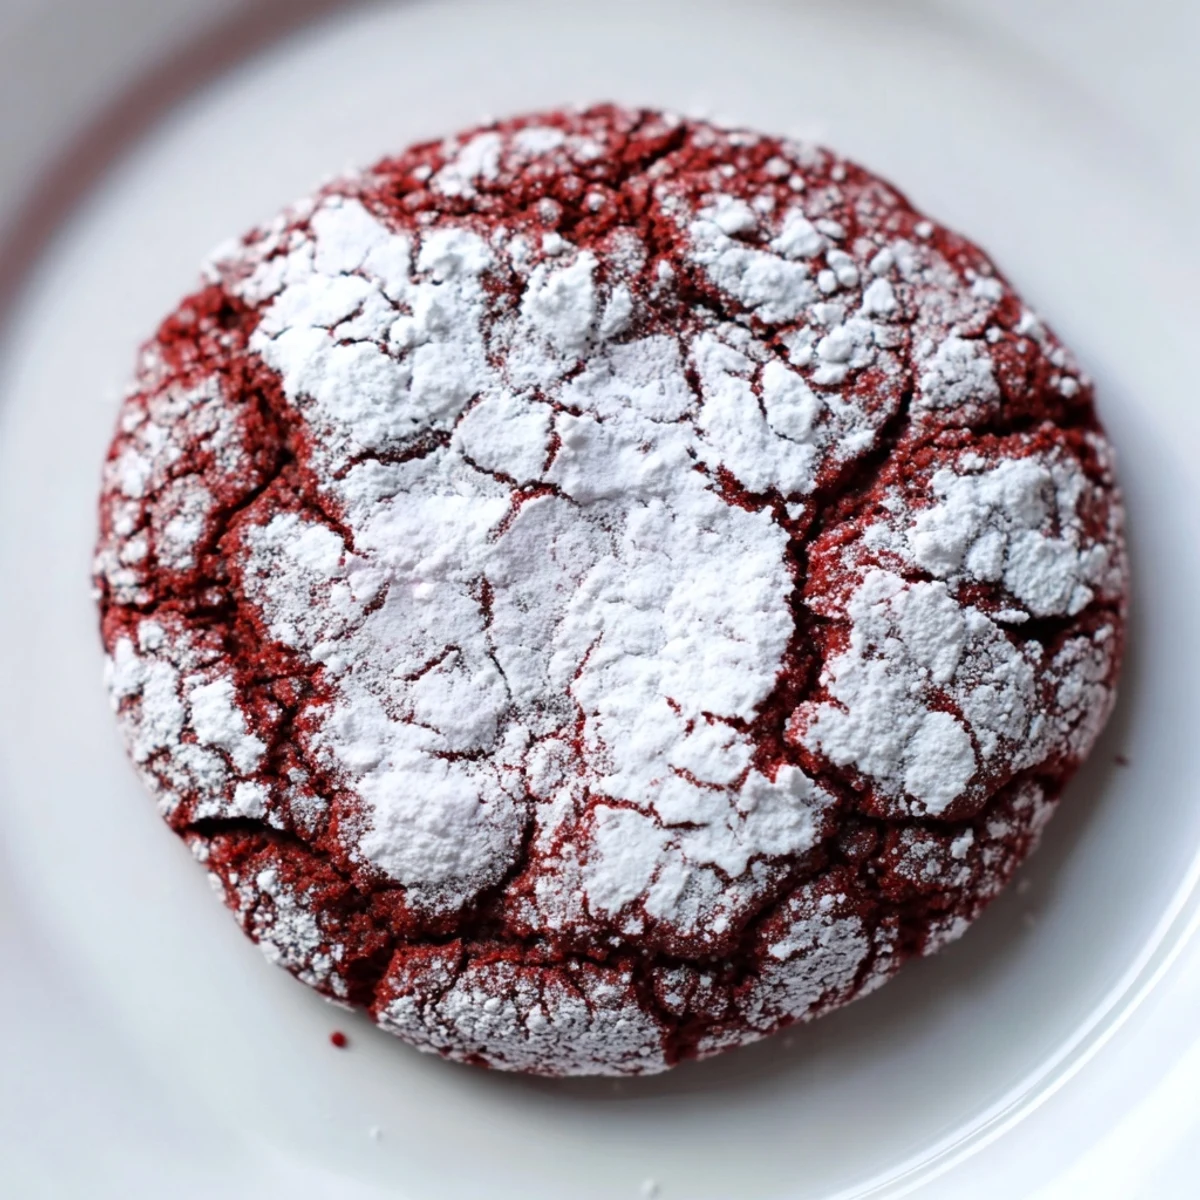
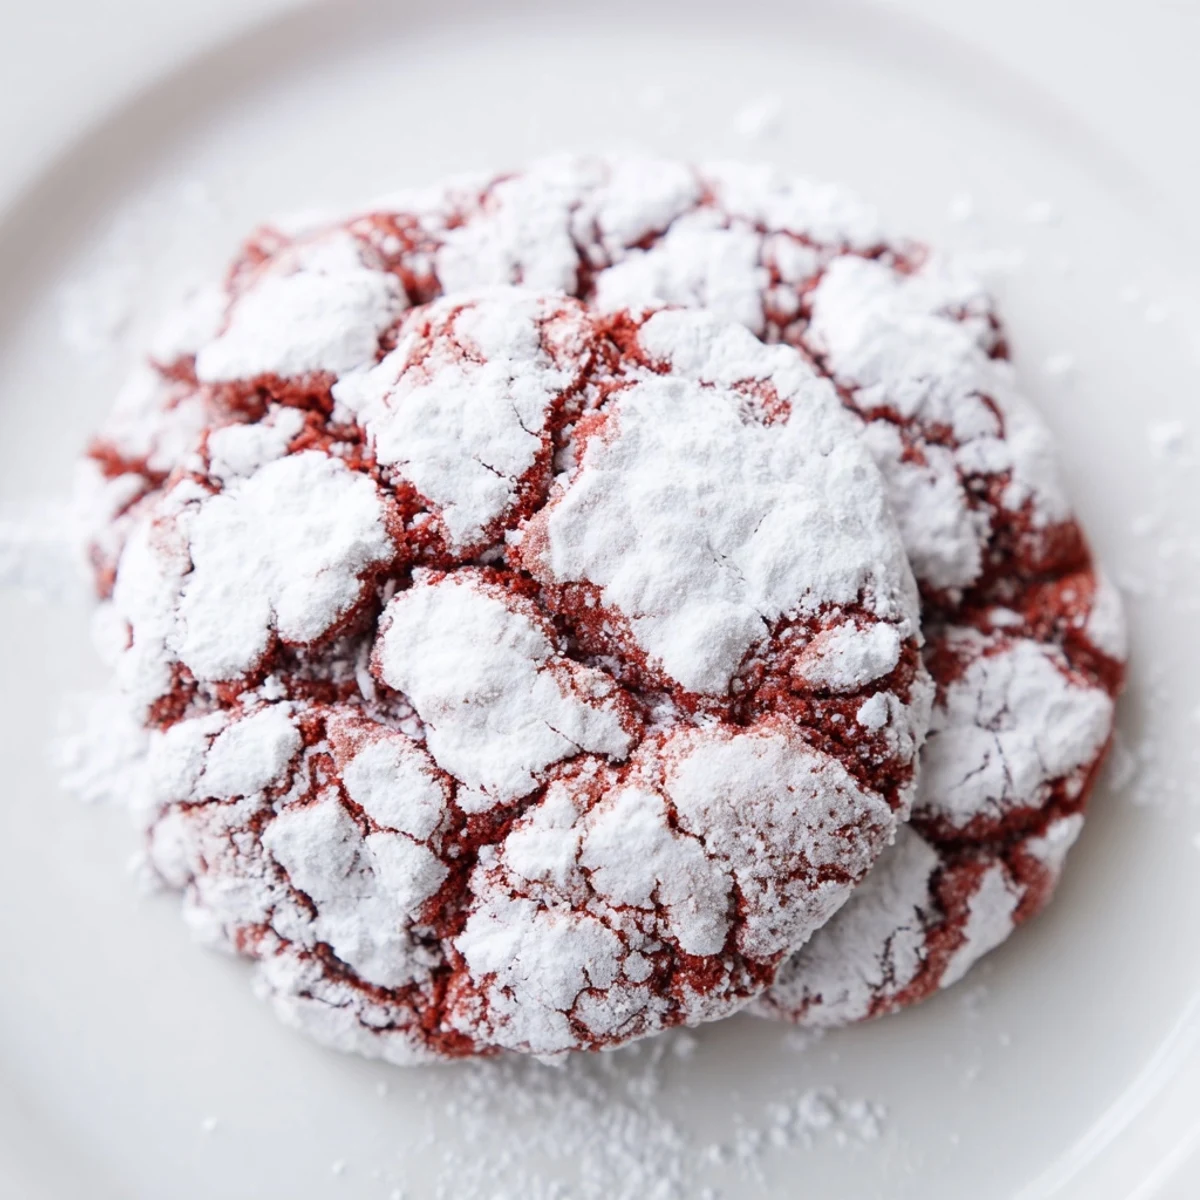
Save These soft and chewy red velvet cookies combine a subtle cocoa hint with a vibrant red hue enhanced by food coloring. Rolled generously in powdered sugar, they develop a festive crinkled surface after baking. The dough is chilled before baking to maintain shape and texture, producing tender centers with slightly crisp edges. Perfect for holiday gatherings or any sweet craving, these treats offer a delicate balance of flavor and texture with easy preparation steps and a yield of 24 cookies. Store in airtight containers to keep freshness for several days.
The first time I made these crimson beauties, my kitchen looked like a crime scene from a food coloring explosion. But when those crinkled tops emerged from the oven, all the red handprints on my countertop were suddenly worth it.
I brought these to a cookie exchange last December, and within ten minutes, three different people had cornered me demanding the recipe. Something about that red velvet combination feels fancy without being pretentious.
Ingredients
- Allpurpose flour: The backbone that gives these cookies their structure while keeping them tender
- Unsweetened cocoa powder: Just enough to add depth without overpowering that classic red velvet flavor
- Baking powder and baking soda: This double act creates the rise and spread that makes those signature crinkles possible
- Salt: Dont skip this even a small amount balances the sweetness and wakes up all the flavors
- Unsalted butter: Softening it properly is crucial because room temperature butter incorporates air and creates the right texture
- Granulated sugar: Cream this thoroughly with the butter or your cookies wont spread properly
- Eggs: These provide structure and moisture add them one at a time for proper emulsification
- Vanilla extract: Pure extract makes a noticeable difference here since the flavor profile is subtle
- Red food coloring: Gel coloring gives a more intense hue with less liquid but liquid works perfectly fine too
- White vinegar: This might seem odd but it reacts with the cocoa to enhance that classic red velvet tang
- Powdered sugar: Be generous when rolling this creates the snowy coating that makes the crinkles pop
Instructions
- Prep your oven and pans:
- Set your oven to 350F and line two baking sheets with parchment paper having everything ready before you start keeps the process smooth
- Whisk the dry ingredients:
- In a medium bowl combine the flour cocoa powder baking powder baking soda and salt until well blended
- Cream butter and sugar:
- Beat the softened butter and granulated sugar for 2 to 3 minutes until the mixture looks pale and fluffy this step is worth the extra time
- Add eggs and flavorings:
- Beat in eggs one at a time then mix in the vanilla red food coloring and vinegar until the color is uniform
- Combine the mixtures:
- Gradually add the dry ingredients to the wet mixture mixing just until you no longer see streaks of flour
- Chill the dough:
- Cover and refrigerate for at least 30 minutes or up to 2 hours this step prevents the cookies from spreading too thin
- Roll in powdered sugar:
- Scoop tablespoon sized portions roll into balls then coat each ball generously in powdered sugar
- Bake to perfection:
- Place the balls 2 inches apart on the prepared sheets and bake for 11 to 13 minutes until edges are set but centers still look slightly soft
- Cool completely:
- Let them rest on the baking sheet for 5 minutes then transfer to a wire rack to cool completely
 Save
Save My niece now requests these every time she visits. She calls them snow capped mountains and insists on helping with the powdered sugar rolling which always ends with us both wearing as much sugar as the cookies.
Getting That Perfect Crinkle
The science behind those gorgeous cracks is simple but fascinating. As the cookies bake the exterior sets quickly while the inside continues to expand forcing the surface to burst into those beautiful patterns. Too much flour or insufficient chilling and you lose this effect entirely.
Color Choices
Start with less food coloring than you think you need. You can always add more but going overboard results in an artificial taste and dye stains on everything you own. Gel coloring is more concentrated so you need less liquid which can affect the dough consistency.
Make Ahead Strategy
The dough actually improves after a day in the refrigerator. The flour hydrates more fully and the flavors meld together beautifully. You can scoop and freeze the balls on a baking sheet then transfer to a bag for freshly baked cookies whenever the craving strikes.
- Scoop the entire batch before freezing for portion control
- Add an extra minute or two to the baking time for frozen dough
- Roll in powdered sugar right before baking not ahead of time
 Save
Save These cookies have become my go to for everything from office parties to quiet Tuesday night cravings. Sometimes the simplest recipes create the most lasting memories.
Recipe FAQs
- → What gives the cookies their red color?
-
The vibrant red hue comes from red food coloring added into the batter, which enhances the classic velvet look.
- → Why are the cookies rolled in powdered sugar?
-
Rolling the dough balls in powdered sugar creates a festive, crinkled surface and adds a slight sweetness that balances the cocoa flavor.
- → How do I ensure soft and chewy texture?
-
Chilling the dough before baking helps control spreading and maintains a tender, chewy center with slightly crisp edges.
- → Can I substitute ingredients to adjust flavor or texture?
-
You can use gel food coloring for a more vibrant red or add white chocolate chips for extra richness and texture.
- → What is the best way to store these cookies?
-
Keep them in an airtight container at room temperature to preserve freshness for up to 5 days.
