 Save
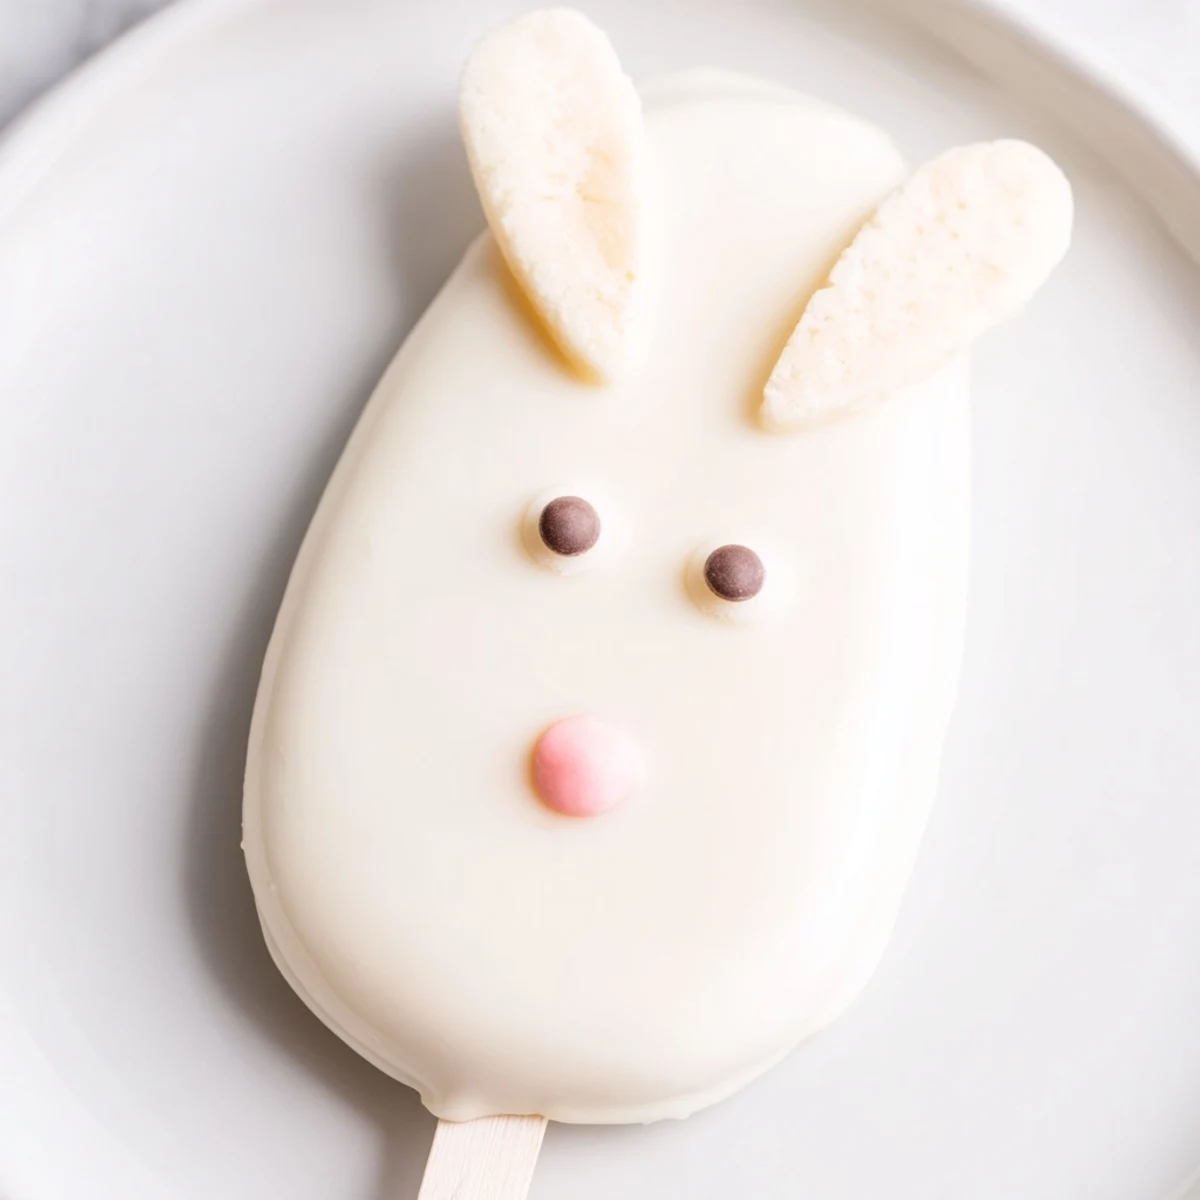
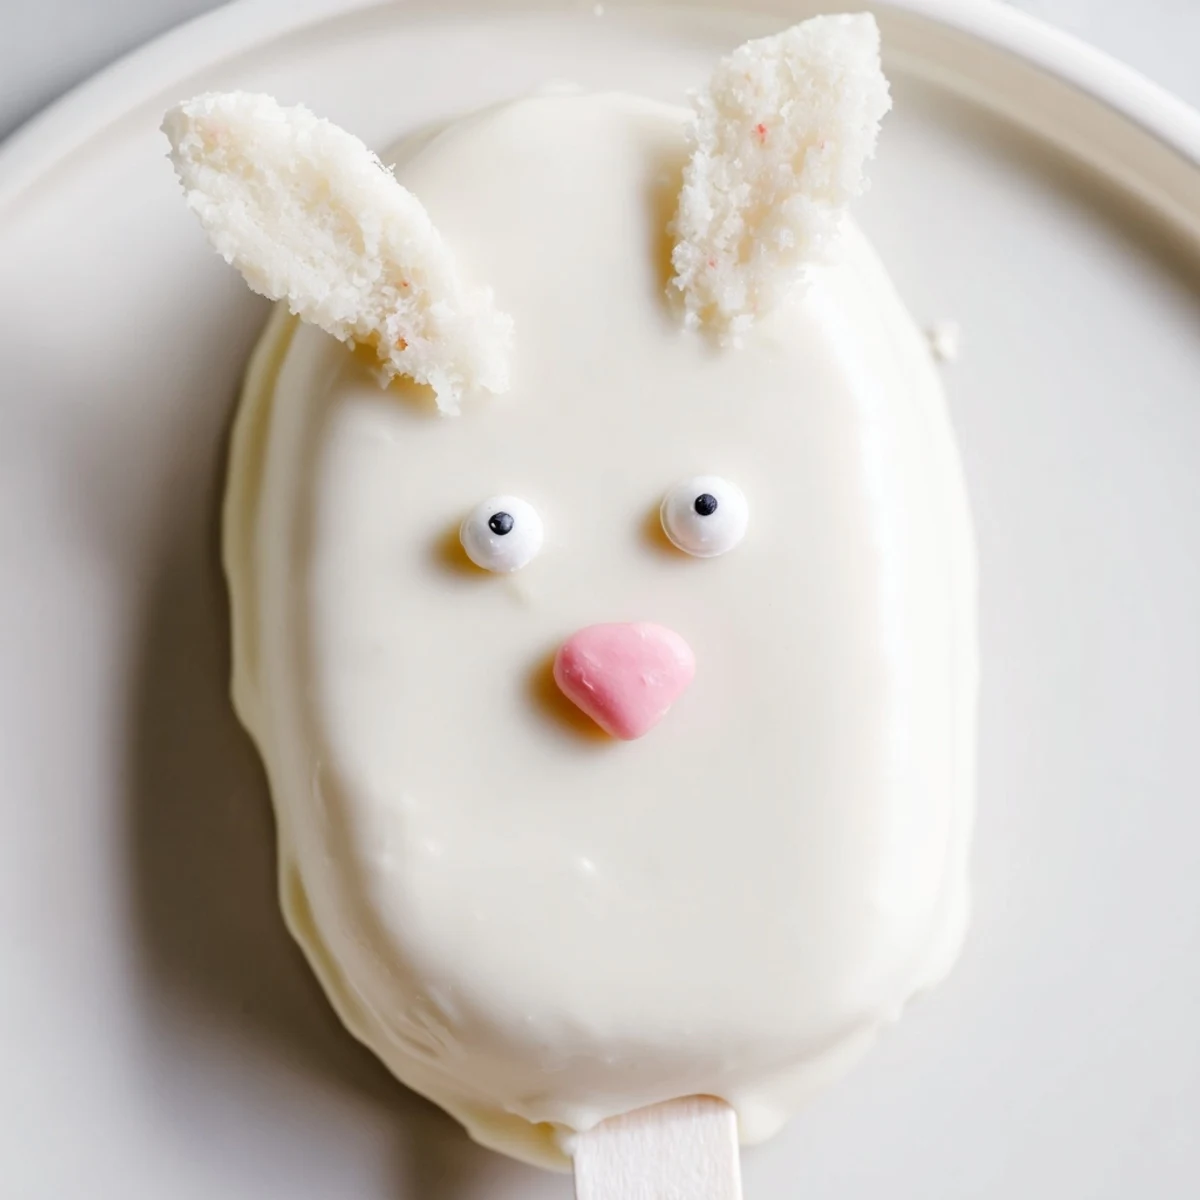
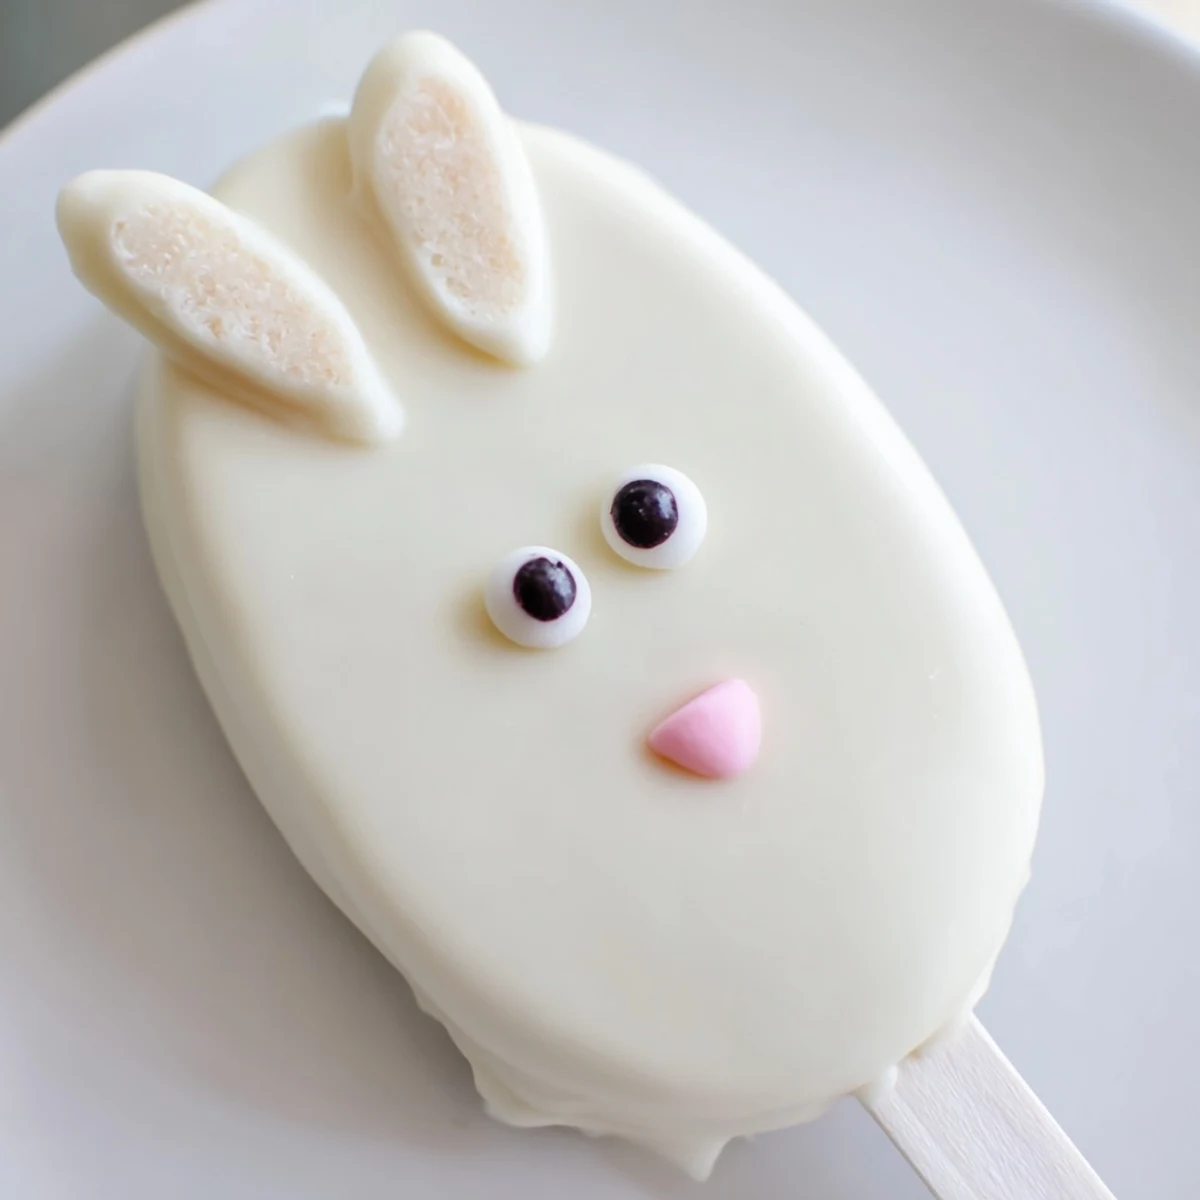
Save These charming bunny-shaped cakesicles combine moist vanilla cake with rich white chocolate coating, creating adorable handheld desserts perfect for Easter celebrations. The process involves mixing cake crumbs with cream cheese and butter, shaping them into bunny faces, dipping in melted white chocolate, and decorating with candy eyes, sprinkles, or fondant features. Ready in just one hour with simple ingredients, these treats offer a fun interactive baking activity that yields eight festive portions.
The first Easter I made these, my kitchen counter looked like a pastel explosion with sprinkles everywhere. My niece grabbed a still-warm cakesicle and promptly decorated her face more than the bunny. Now it is not Easter without someone ending up with frosting on their nose.
Last year I set up a decorating station and let the adults go wild with the food coloring. Some of the bunnies ended up looking slightly concerning but everyone laughed so hard it did not matter. The best ones always come from the kids who just pour every sprinkle they can find onto the chocolate.
Ingredients
- Vanilla cake crumbs: I keep leftover cake in the freezer just for moments like this but store-bought works perfectly fine too
- Cream cheese: Room temperature is non-negotiable here or you will end up with lumps in your mixture
- Unsalted butter: Softened butter helps bind everything together without making the mixture too greasy
- Powdered sugar: This sweetens just enough to balance the tart cream cheese
- White chocolate: Candy melts are easier to work with but good quality white chocolate tastes infinitely better
- Cakesicle sticks: Do not skip chilling the shapes first or the sticks will slide right out when you dip them
Instructions
- Make the cake mixture:
- Mix those crumbs with cream cheese butter powdered sugar and vanilla until everything clings together like playdough that wants to be eaten
- Shape your bunnies:
- Form eight portions into flattened ovals with slightly pointed tops where the ears will go then press sticks about halfway through each one
- Chill thoroughly:
- Let them rest in the fridge for at least 20 minutes because warm cake centers will make your coating slide right off
- Melt the chocolate:
- Heat your white chocolate in thirty second bursts stirring between each until it is silky smooth
- Dip and decorate:
- Submerge each chilled bunny into the chocolate let the excess drip off then immediately add those candy eyes and ears before the shell hardens
 Save
Save My neighbor asked me to teach her how to make these and we spent two hours making the most ridiculous bunny faces possible. Now every time she sees me she pulls out her phone to show me new ones she created. There is something so joyful about food that is supposed to be silly instead of perfect.
Making Them Ahead
I learned the hard way that these do not love humidity so if you are making them for a party keep them sealed tight until serving time. The white chocolate starts getting sticky if it sits out too long and nobody wants a sweaty bunny.
Decoration Ideas
Some years I do simple candy eyes and a pink nose while other years I go full art teacher and break out the food coloring pens. The ones with just a sprinkle of pink sanding sugar always look the most elegant somehow.
Troubleshooting Your Coating
If your chocolate is too thick to coat properly you can add a teaspoon of coconut oil or vegetable shortening to thin it out. This trick saved me during a particularly humid Easter when my chocolate refused to cooperate.
- Work quickly once the chocolate is melted because it will start thickening as it cools
- Keep a fork under the cakesicle while it sets to prevent flat spots on the coating
- Have all decorations ready before you start dipping because that chocolate waits for no one
 Save
Save There is something about seeing these lined up on a platter that makes everyone smile before they even take a bite. Happy Easter and may your sprinkles always land where you want them.
Recipe FAQs
- → How long do these treats stay fresh?
-
Store in an airtight container in the refrigerator for up to 3 days. The white chocolate coating helps maintain freshness while the cake interior stays moist.
- → Can I use different cake flavors?
-
Absolutely. Chocolate, lemon, red velvet, or funfetti cake crumbs work wonderfully. Just ensure the crumbs are finely textured for smooth shaping.
- → What if I don't have cakesicle molds?
-
Molds are optional. Hand-shaping into flattened ovals works perfectly. Use parchment paper on a tray for uniform dipping and easy cleanup.
- → How do I prevent the sticks from falling out?
-
Insert sticks before refrigerating the shaped mixture. The chilling step firms the dough around the stick, ensuring secure attachment during dipping.
- → Can I make these ahead for a party?
-
Prepare and decorate up to 2 days in advance. Store layered between parchment paper in the refrigerator. Bring to room temperature 15 minutes before serving.
- → What's the best way to melt white chocolate?
-
Microwave in 30-second bursts at 50% power, stirring between intervals. This prevents seizing and ensures smooth, pourable consistency for even coating.
